Table 2-16 Page 2 of the pulse trigger function menu:
Option Setup Description
Type Pulse
Trigger the pulse satisfying the condition when
selecting pulse.
Trigger mode
Auto
Normal
Single
See table 2-13. The “Normal” mode is most
applicable to application of most of the “Pulse
width” trigger.
Setup
Skip to the trigger setup menu (See table 2-14).
Back
Back to page 1 of the pulse trigger menu.
Operation description:
Set the type:
1) Press [TRIG MENU] to display “TRIGGER” menu.
2) Press “Type” to select “Pulse”.
Setup of the pulse trigger is similar with that of the edge trigger.
Set the condition:
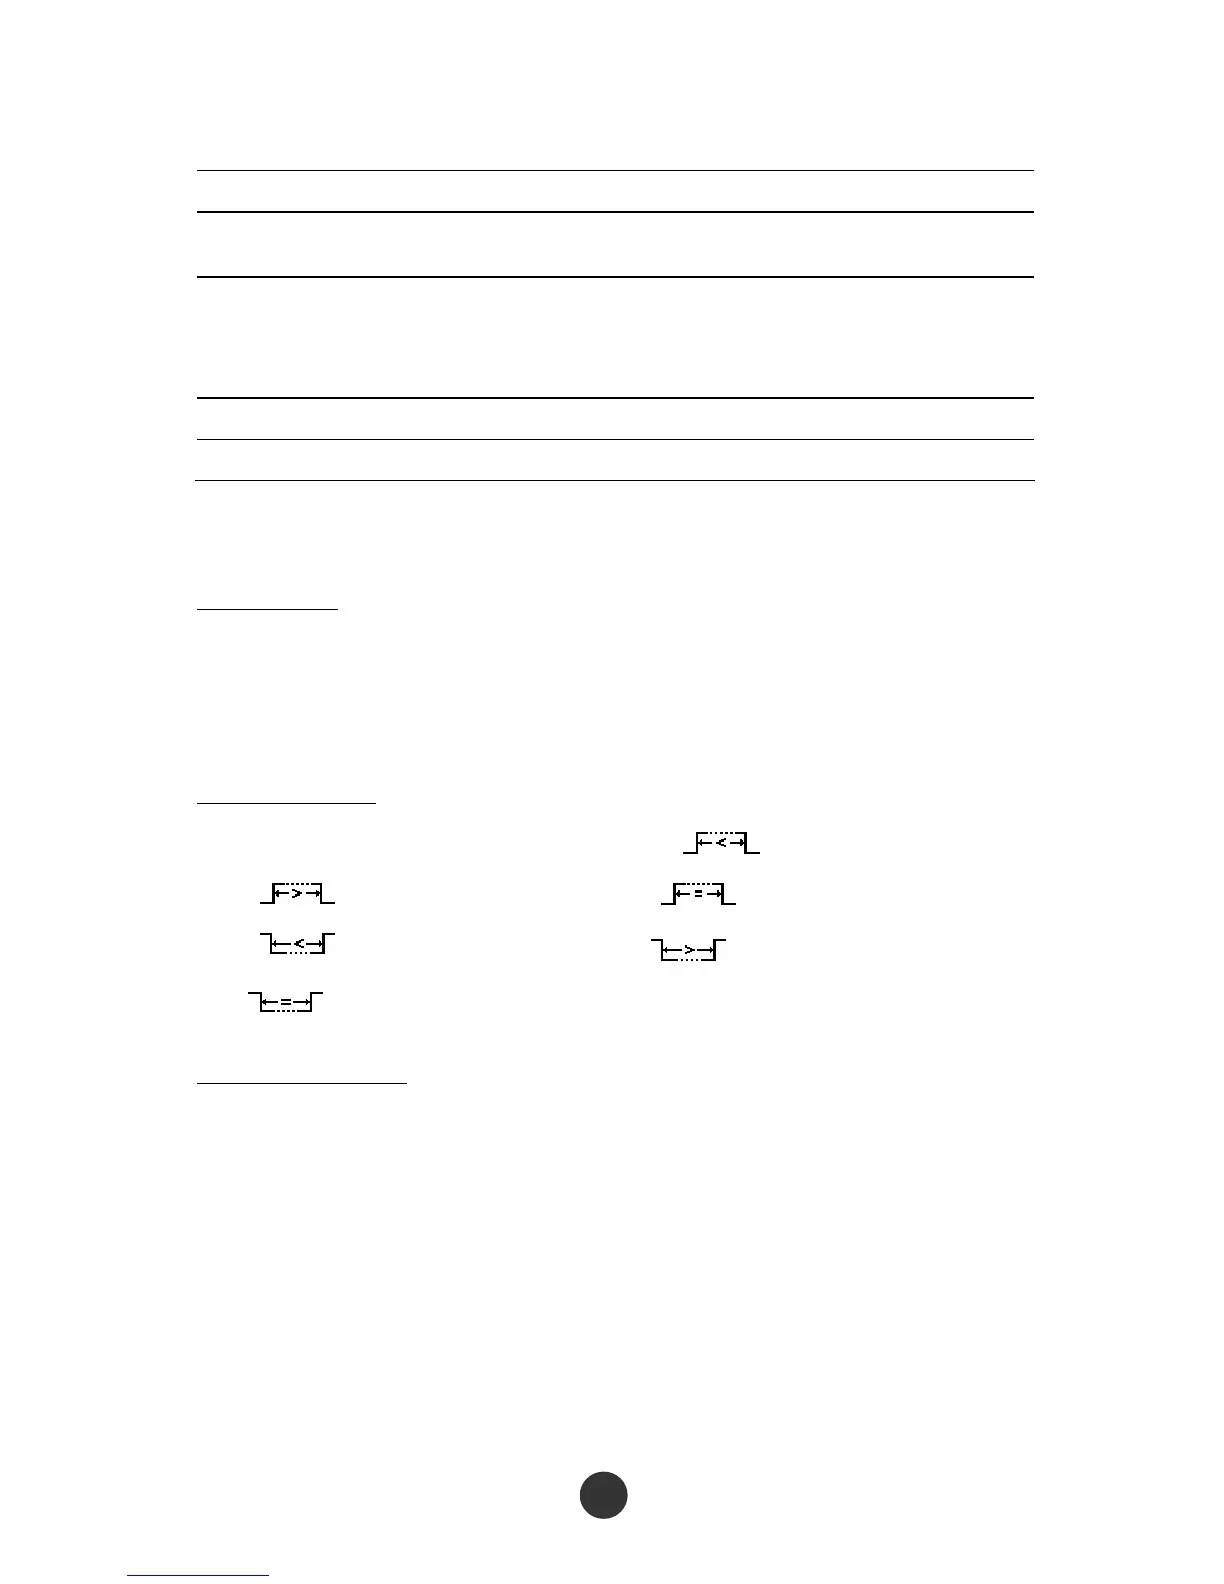
3) Press the “Condition” option key to select “ ” (positive pulse width <),
“ ” (positive pulse width >), “ ” (positive pulse width =),
“ ” (negative pulse width <), “ ” (negative pulse width >) or
“ ” (negative pulse width =).
Set the pulse width:
4) Revolve the [UNIVERSAL] knob to set the pulse width.
Press “Next Page 1/2” to skip to page 2 of the pulse trigger menu, and set the
trigger mode and the trigger coupling like the setup of the edge trigger.
3. Video trigger: Perform field or row video trigger on a standard video signal.