Figure 2-70 Screen test
2. Keyboard test
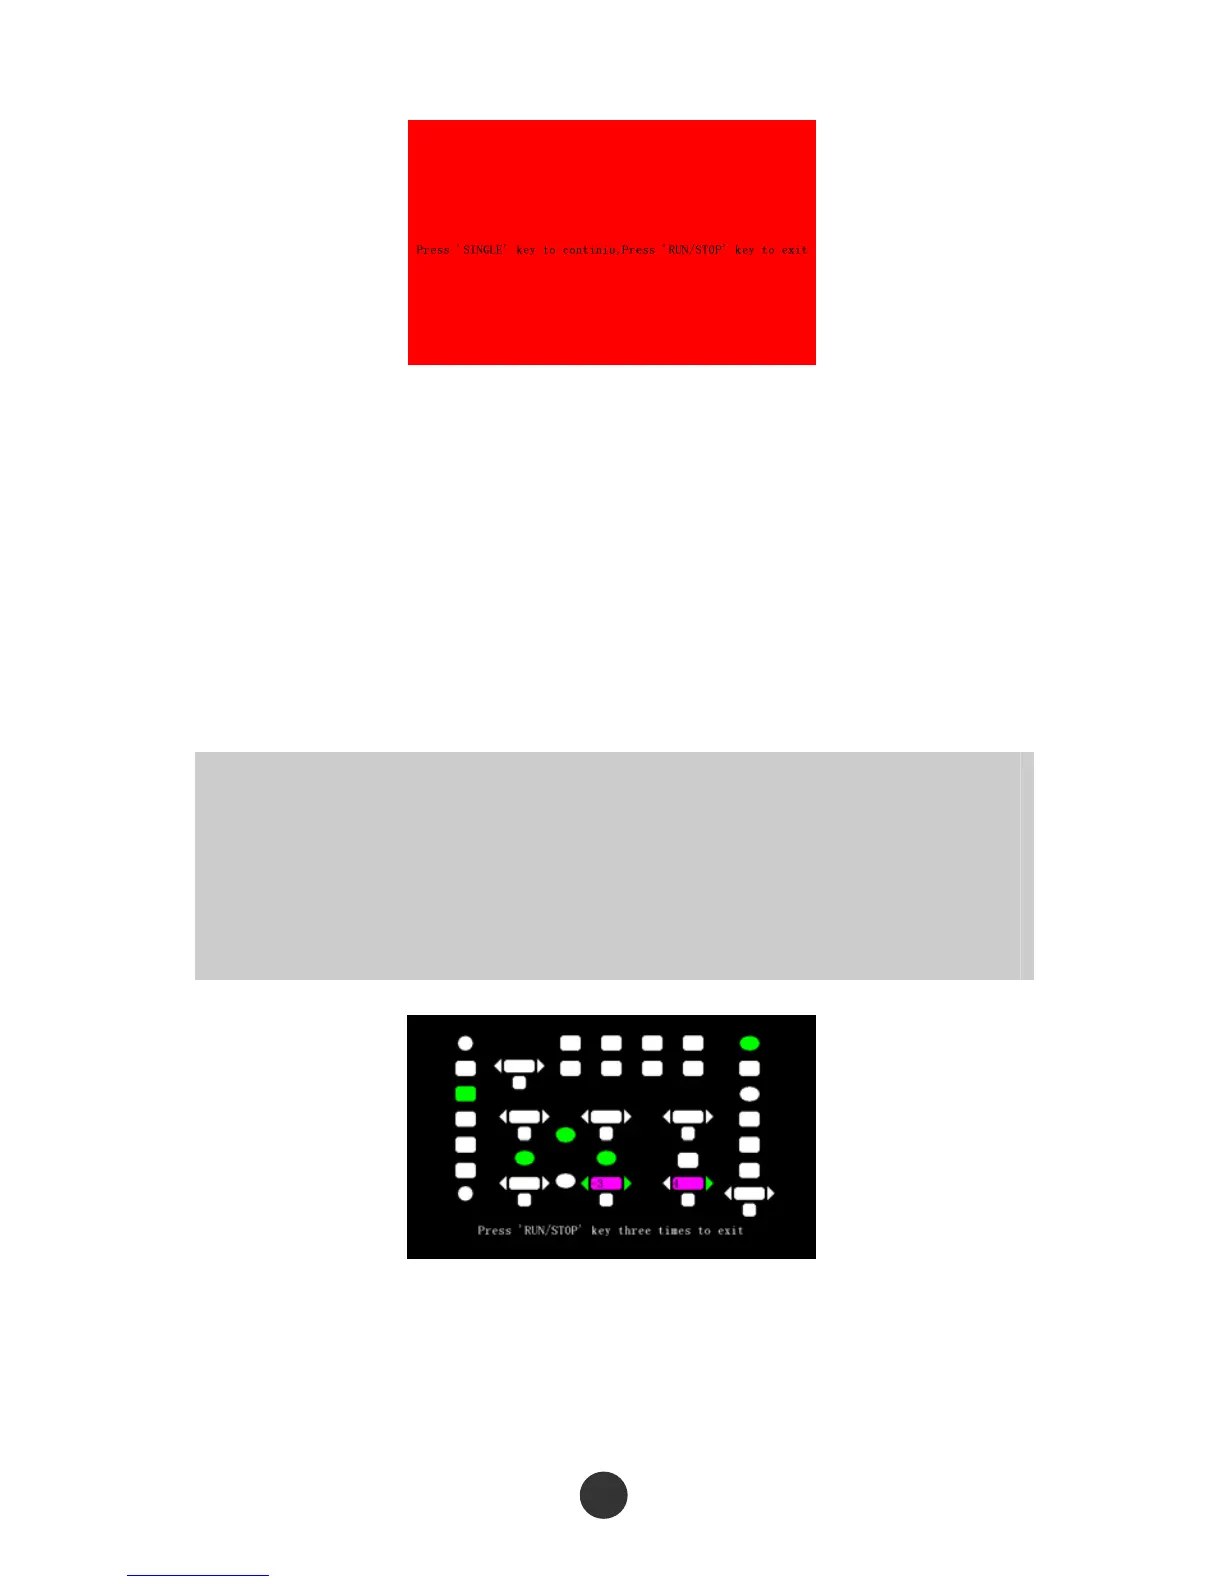
Select “Keyboard test” to skip to a keyboard test interface, as shown in figure 2-71. A
rectangular region in the interface represents the key at the corresponding position on
the panel; a lathy rectangle represents the knob at the corresponding position of the
panel; and a square represents the press-down function of the corresponding knob.
Test all the keys and knobs, and observe whether the keys and knobs respond
correctly.
The corresponding region of the screen will be in white during operation.
Tested keys are in green, and the knob region is in red, such as “-16” in the figure,
counterclockwise rotation represents “-”, clockwise rotation represents “+”, and the number
represents number of revolution.
A prompt message of “ Press RUN/STOP key three times to exit” is displayed at the bottom
of the screen to remind the user to exit the test method.
Figure 2-71 Keyboard test
3. Lightening test
Select “Lightening test” to skip to a lightening test interface, as shown in figure 2-72.
At the moment, the screen displays a prompt message of “Press SINGLE key to
73