Graupner mz-32 Help Reference Manual
Page 29 of 42 Help-Ref-EN-V1.0
The dots above the bar mark the worst reception signal levels since the opening of the "RF
Status" display. Reset these data points by simply exiting and reentering this display.
Additional numeric information about the signal levels is provided on the left.
S01S2
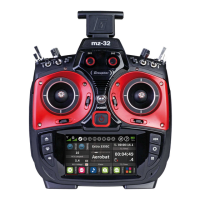
SETTINGS AND DATA VIEW
Tap on the Setting & Data View Detail field, in case you
wish to view and/or change the settings which are
stored in a receiver or flight controller.
The display will switch to the ASCII interface to view
the settings or make changes. If there is no connection
to a receiver, no data is displayed.
You can also access the ASCII menu directly by
pressing the telemetry key on the transmitter front
panel (right side center key).
Select a different sensor, in case there more than one,
by tapping on the sensor field in the ASCII interface
(lower right corner of display).
A detailed description for settings of standard receivers such as the GR-12 or GR-16 can be
found in the respective receiver manual. Please note that receivers like the GR-12L, GR-
16L, GR24L and GR-32L are functionally identical.
Specialty receivers, such as the GR-18 HoTT (No. 33579 or S1019), are equipped with
separate versions of the "SETTING & DATA VIEW" menu. The descriptions of these special
settings are contained in the respective receiver manual.
Tap on the arrow icons to move between menus. Use the enter/select icon (check mark) to
select and change settings.
S01S3
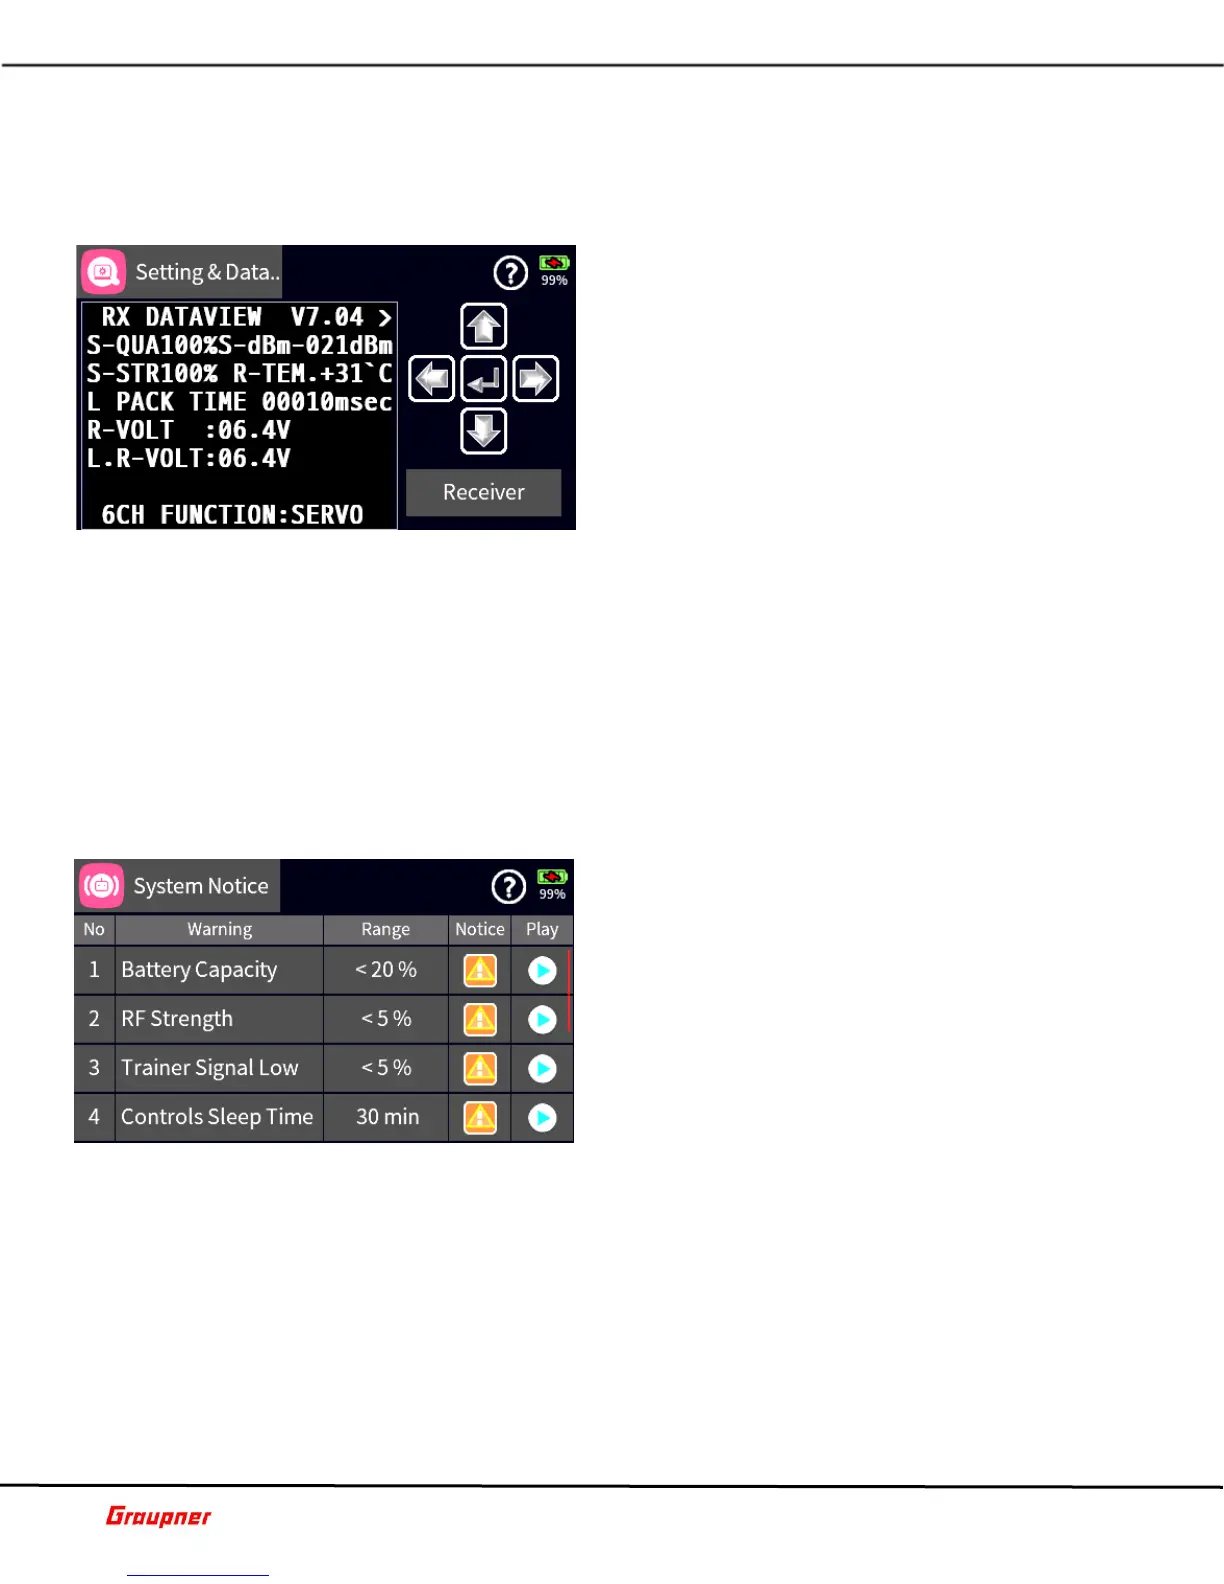
SYSTEM NOTICE
Use the System Notice menu to configure System
notifications and warning messages during the
transmitter startup.
There are total of nine warning messages to select
from.
Select a Warning message by tapping on the message
number, which will open the edit tool bar. Tap on the
Up/Down arrow icons to change the message priority.
Tap on the Range field of a warning message to set its
trigger threshold. The edit tool bar will be activated.
Use the slider control bar for large value changes or
the arrow keys for single digit changes.
Tap on the Notice field of a warning message to activate or de-activate the available
notification types. A list of available notices will be displayed.
The Warning option will activate or de-activate the message. Vibration will activate or de-
activate the vibration (haptic) feedback. You can choose from 10 different vibration types.
Pre-Warning will activate or de-activate the Pre-Warning, which is the name of the warning
message.
Value will activate or de-activate a value announcement for the warning message, if
applicable.
Available notice settings vary depending on the warning message.
Tap on the Play button to test the notice, based on the current settings.
 Loading...