13
Stored Readings
You may also view stored readings after logging them in a location file. From the
main WolfSense IAQ LAP screen, click on or tap File, Open Location or View, View
Location. Click, tap or scroll through the site folder directory to the desired site
folder. Double-click or double-tap the site folder for a list of its location files. Double-
click or double-tap the desired location file. The location file will automatically open in
WolfSense PC. For information on data and file manipulation, see “Navigating in
WolfSense PC” on page 24. See also “Printing Location Files, Notes, Reports &
Calibration Data from WolfSense PC” on page 26.
Notebook
Notebook contains one Text Note, one Drawing Note, multiple Report Templates, one
Sound Note and one Custom Note for each location file. All of the notes and reports
may be updated as often as needed. You may create one report from each of the
report templates. You may also add or delete your own customized report templates
for the “Report” selection in the \ProgramFiles\GrayWolf\WolfSense\Templates
directory. The Sound Note uses your system’s sound recording software and a
microphone to record an audio note. Custom Note lets you set a default file type
such as Excel or Visio for a custom note you might want to create. Creating and
printing each type of note or report is described in the following sections.
Just as you do when you set up a log, you must first select the location file for which
you wish to create a text note, drawing note or report.
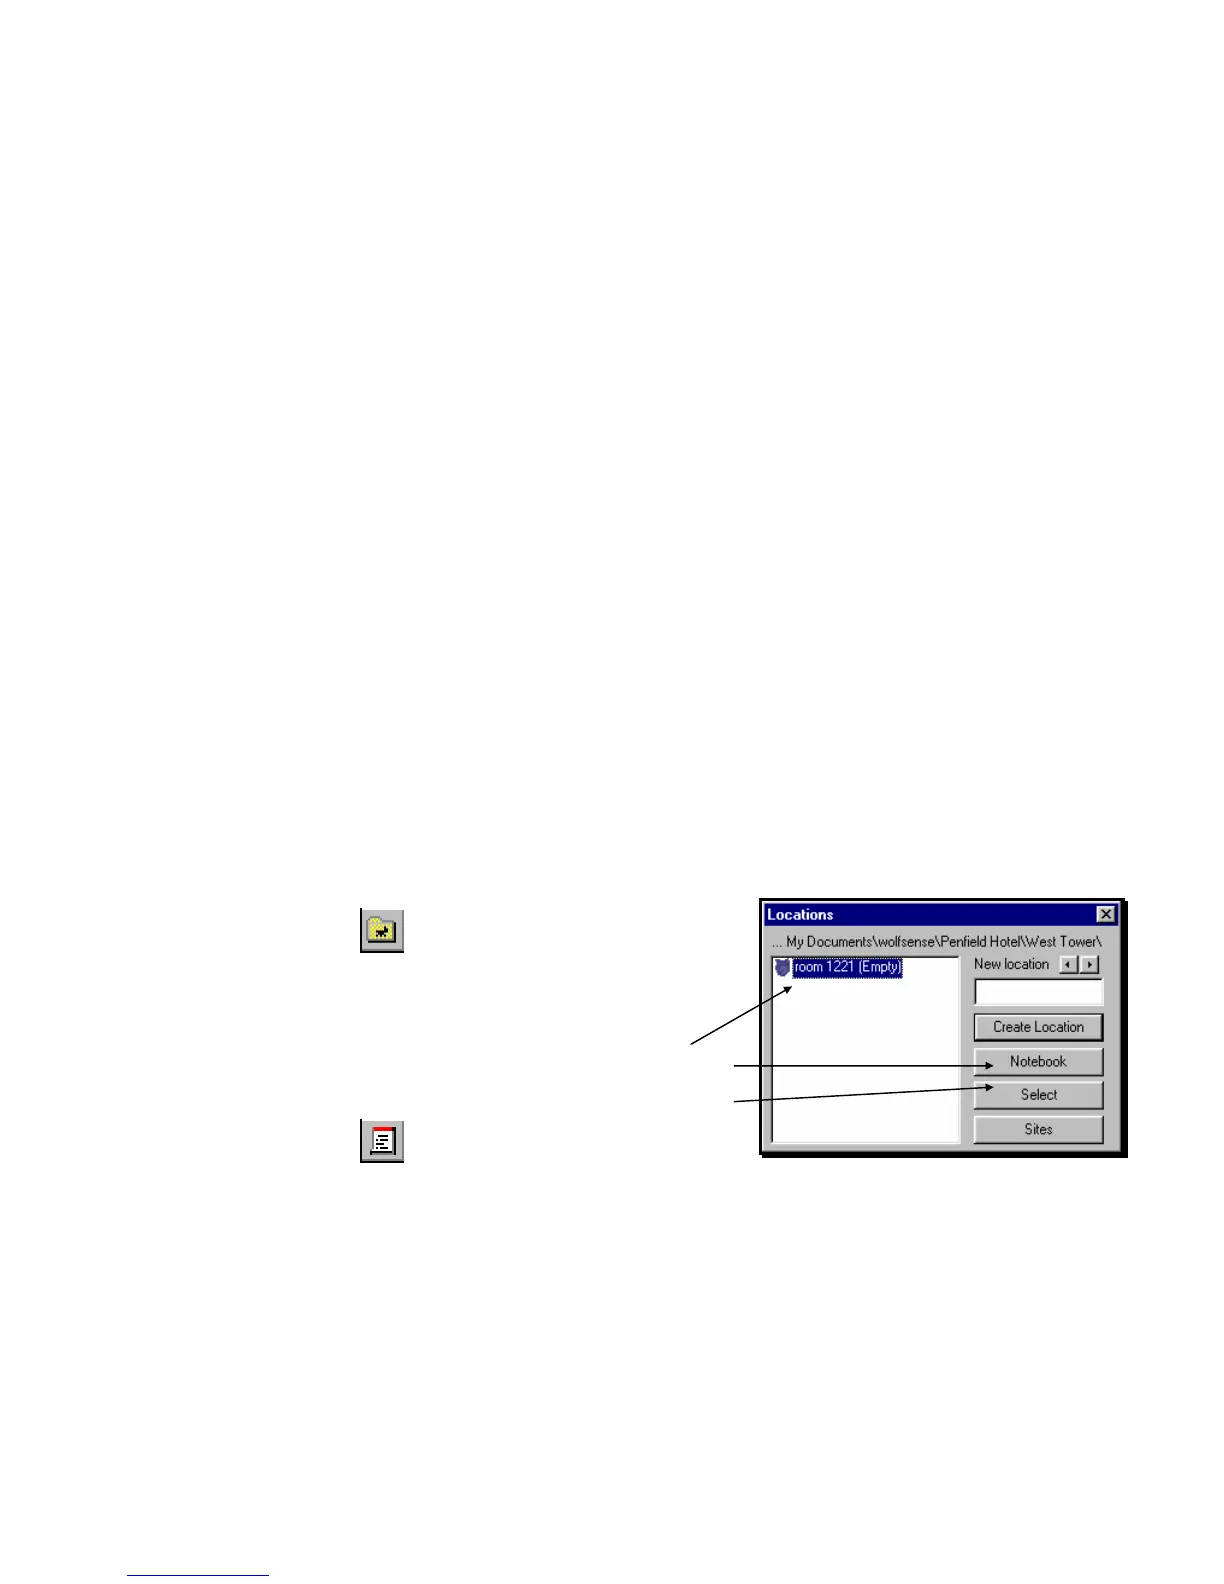
From the main WolfSense IAQ LAP screen,
click on or tap the Set Site/Location toolbar button
or Log, Locations/Sites.
Click on or tap Sites to find the desired site folder.
Click on or tap Locations for a list of location files.
Click on or tap the desired location file name.
Click on or tap Notebook or Select. Notebook puts
you into the NOTEBOOK dialog box immediately.
Select selects the file and closes the dialog box.
Click on or tap the Notebook toolbar button
or File, Notebook to go to the NOTEBOOK dialog box
for the selected location file.
Shortcut: If you click on or tap the Notebook toolbar button or File, Notebook without first selecting a
location file, you will go to the last location file selected.
Figure 23 - LOCATIONS dialog box: Using Notebook