Maintenance
Replacement Procedures
8-58
(Revised 1/02)
Boiler Replacement
The following instructions are applicable for CC10-G and CC20-G ovens.
Single Units and Top Boiler on Double Stacked Units
Removal
WARNING
Be sure oven is disconnected from the branch circuit before
performing any repair work.
Be sure to close the gas supply line to the oven and place the
main gas valve switch in the OFF position, before disconnecting
the gas supply line.
1. Turn off oven power and disconnect oven from the branch circuit.
2. Remove top, back, left side, and right side covers.
3. Place main gas valve switch in the OFF position.
4. Turn off oven gas supply and disconnect supply line from the oven.
5. Shut off oven water supply.
6. Remove drain piping and all hoses from the boiler and water valves.
7. Remove boiler manifold (see page 8-52) and pilot burner (see page
8-53).
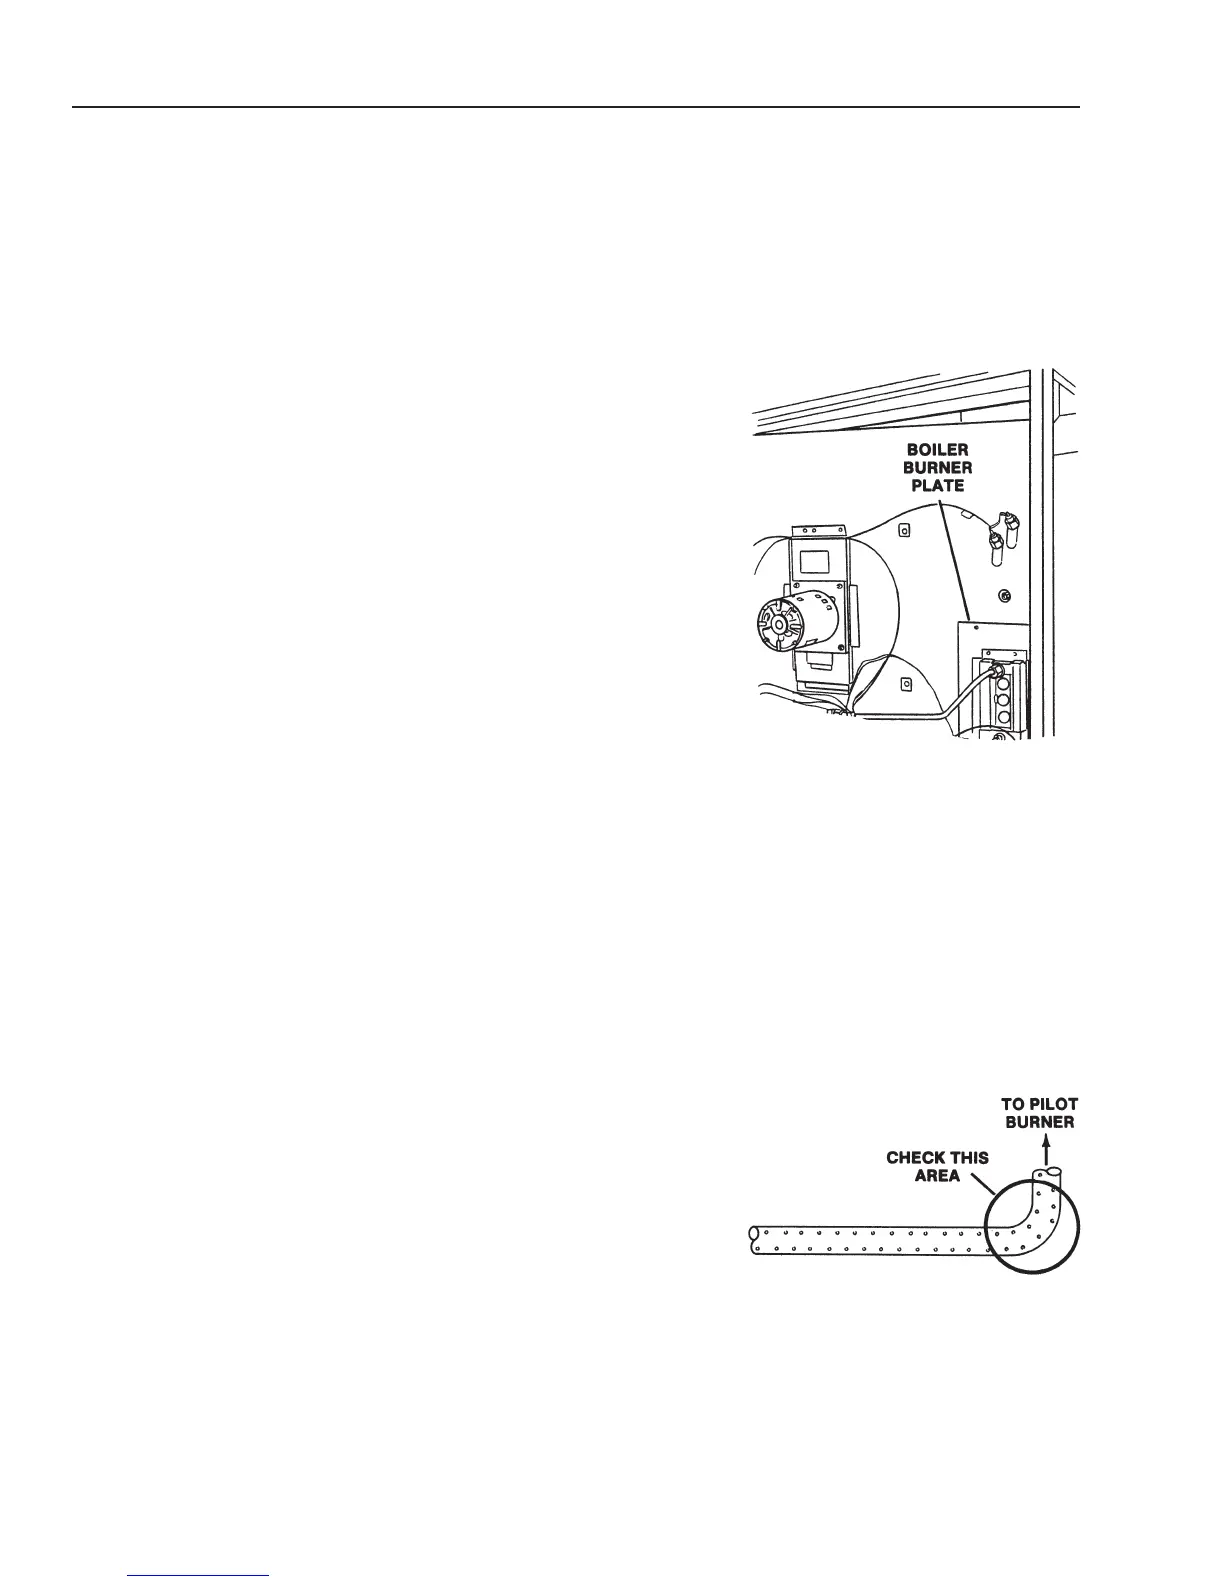
8. Remove boiler burner mounting plate.
9. Remove drain valve and hose (see page 8-29).
10. Remove water level probes (see page 8-12).
11. Remove boiler temperature probe (see page 8-15).
12.
Be sure wire identification is legible, then disconnect any electrical
wiring that interferes with boiler removal. If wire ID is not legible,
identify and mark wires before disconnecting them.
13. Remove boiler mounting screws and remove boiler from the oven.
14.
Inspect pilot runner tube for water deposits (see illustration). Clean
tube if necessary.