Installation28
Date of issue: October 2011
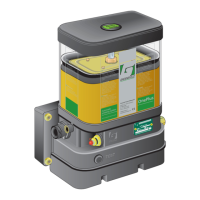
Automatic Greasing System OnePlus
EG1605R01
5. Place, using two toothed spring washers, the compression bolts through their
respective holes. Tighten the two bolts alternately and in phases (allen key:
5mm). Tightening moment: 12 Nm.
6. If two output ports of a doser segment need to be combined, remove (allen
key: 2,5mm) the little internal plug that seperates the two output ports. The
grease output of the port that remains open will then be double its normal
output.
7. Mount the couplings, non-return valves and plugs into the output ports of
the distribution blocks, as indicated on the drawing.
8. Mount the secondary grease lines.
9. Connect a grease pump or manual grease gun to the port of the primary
grease line to test the operation of the distribution block and to check for
leakage.
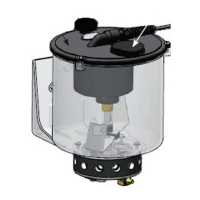
4.5.3 Mounting the distribution blocks
Determine the location of the distribution block on the vehicle or machine. Consult
the specific installation instruction card and/or take account of:
• No stresses may be present in the mounted distribution block. It is best to use
mounting brackets to install the distribution blocks!
• The distribution blocks should not be installed too near moving parts.
• The distribution blocks should not be installed near parts that become hot
(e.g. turbo charger, exhaust).
• Existing mounting holes in the chassis should be utilised, whenever possible.
The distribution blocks can be mounted with the mounting brackets in two ways:
1. First mount the brackets. Then mount the distribution block onto the brackets
(this method is compulsory if the brackets are welded onto the vehicle or
machine).
2. First mount the distribution block onto the bracket. Then mount this assembly
on the vehicle.
Which method is to be preferred depends on the manoevring space you have avail-
able.
ATTENTION:
Always apply toothed spring washers to the M5 mounting nuts and bolts of
the distribution blocks. Tighten the bolts alternately and evently. Maximum
tightening moment: 5 Nm.