Image 19. Navigator window.
8. Click Scan to start the scanning. The remaining scan time is shown on screen and once the scan is completed, the
scanned areas are marked with gray outlines in the overview image, and you can zoom into them.
Tip: The image is saved automatically in the scanner’s hard drive. If you want to give the image a specific name, type the name in
the File name field.
Tip: You can use the scanner in live view for quick viewing of details on a slide. The image can be panned by dragging the image
with mouse or fingertip. Live view can be activated by clicking Live view and full screen mode can be entered by clicking .
You can also take a snapshot image of the live view by clicking Save image. To zoom in and out on the specimen, use your
mouse scroll, or click +, - or 5x/10x/20x/40x quick buttons next to the zoom bar on display (see image 17).
Tip: Understanding how the scanner’s focusing system works will help to achieve better results faster. With vast majority of
sample types, it is easiest and fastest to just select a scan area and click Scan. In this case, the scanner will point the objective in
the center of the selected scanning area and seek focus from that location.
Tip: User can manually set focus using live view before scanning. The manually selected focus position is used as the starting
point for scanning. To manually set the focus, disable autofocus and user the sliders to set the focus. (See image 18).
Tip: Scanner’s electronic fine and coarse focus can be adjusted with the sliders on the right side of the live view image. If you use
a mouse with roller wheel, the roller will move the focus when mouse cursor is on top of the slider. The fine focus is much more
precise than the coarse focus but is limited in range. Clicking Seek will search the optimal position for coarse focus. Clicking AF
next to the slider activates the automatic fine focusing mode, where the fine focus will be continuously kept in optimal position.
Tip: You can find a measurement tool under the zooming options. (See image 17).
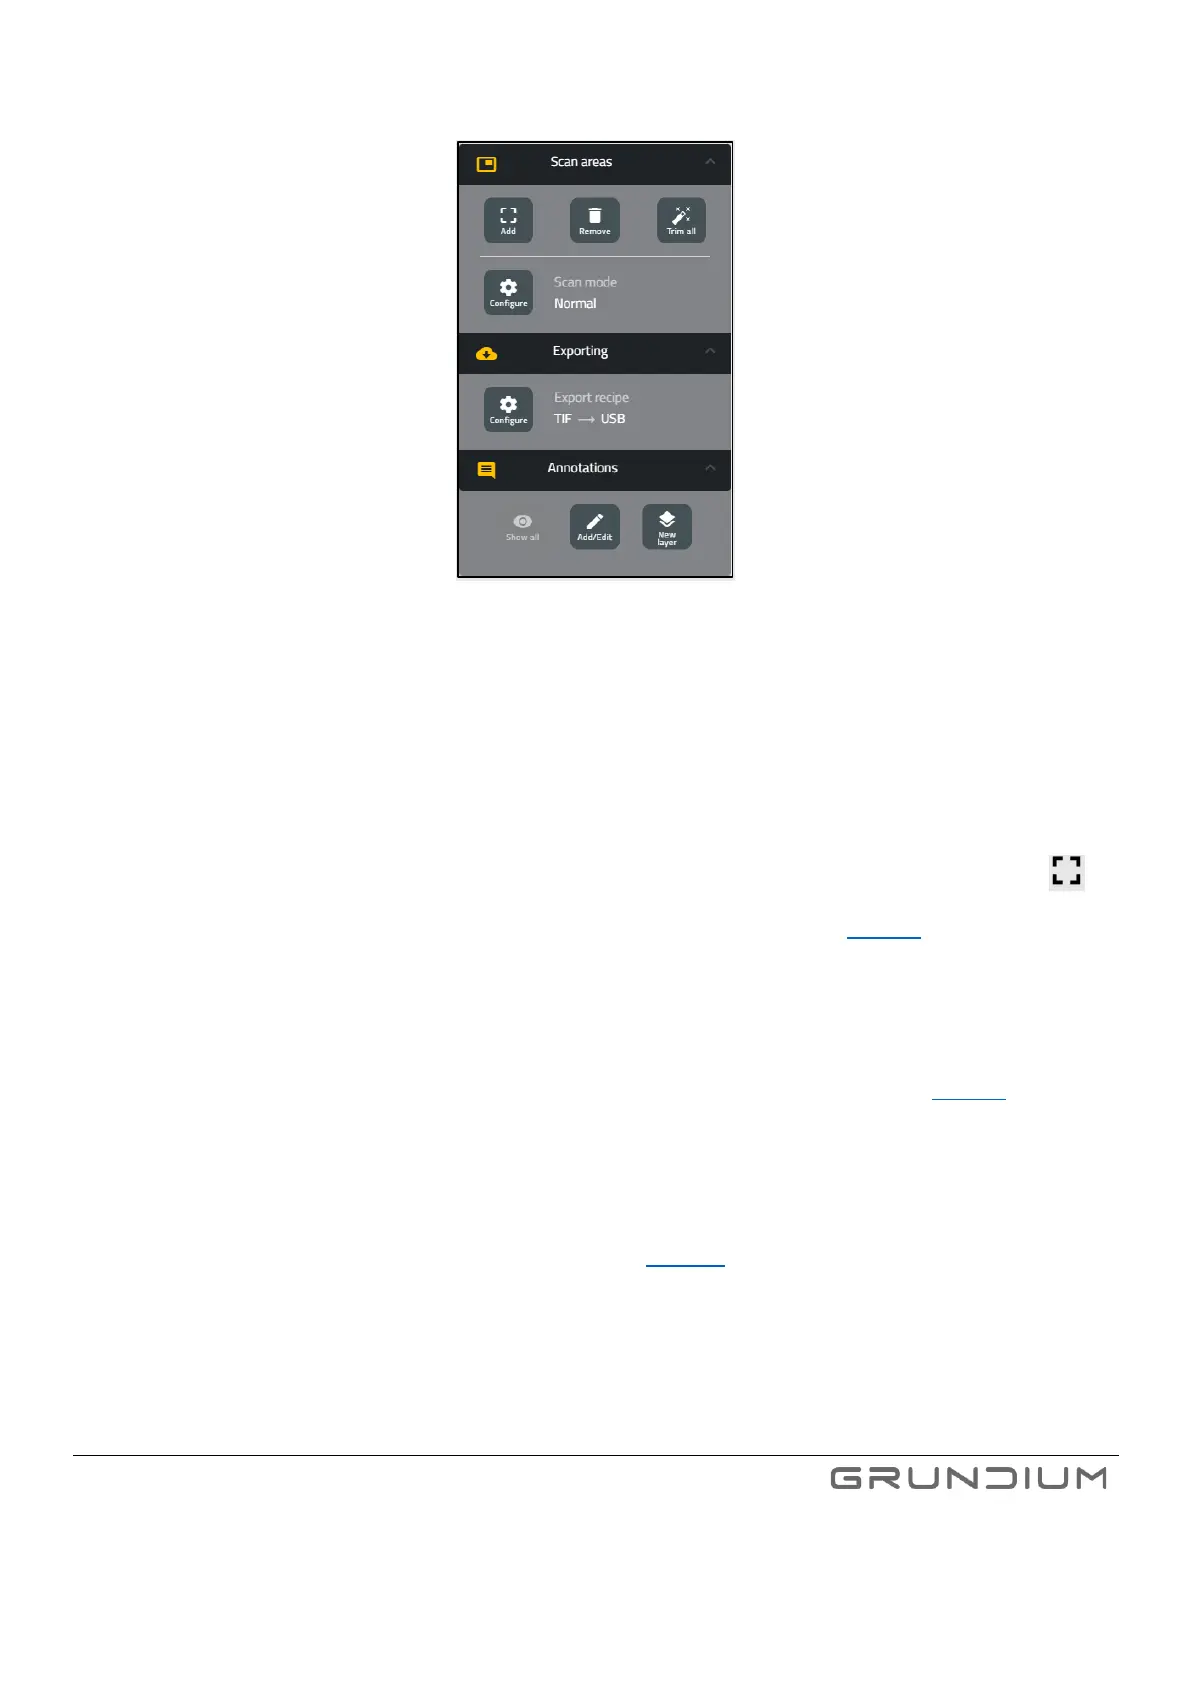
Tip: To quickly remove extra areas from the selected scanning area, click Trim all. The success of trimming depends on
the sample, so always confirm the trimming result visually.
Note: Ocus 40 optics has been designed for 0.17mm cover slip thickness. As high NA objectives are very sensitive to
variation in cover slip thickness, best results can be achieved using precision cover slips. Scanning with different thickness
slips or even without a slip is possible but resulting image quality will be degraded.