Ocus®40 MGU-00002 User Guide version 7.0
Saavutustenkatu 3, 33720 Tampere, Finland
©2022 Grundium. All rights reserved.
6-8G, 33720 Tampere, Finland
©2022 Grundium. All rights reserved.
3.
Place the slide in the scanner so that the label is on the right. Push the lever right to secure the slide.
4.
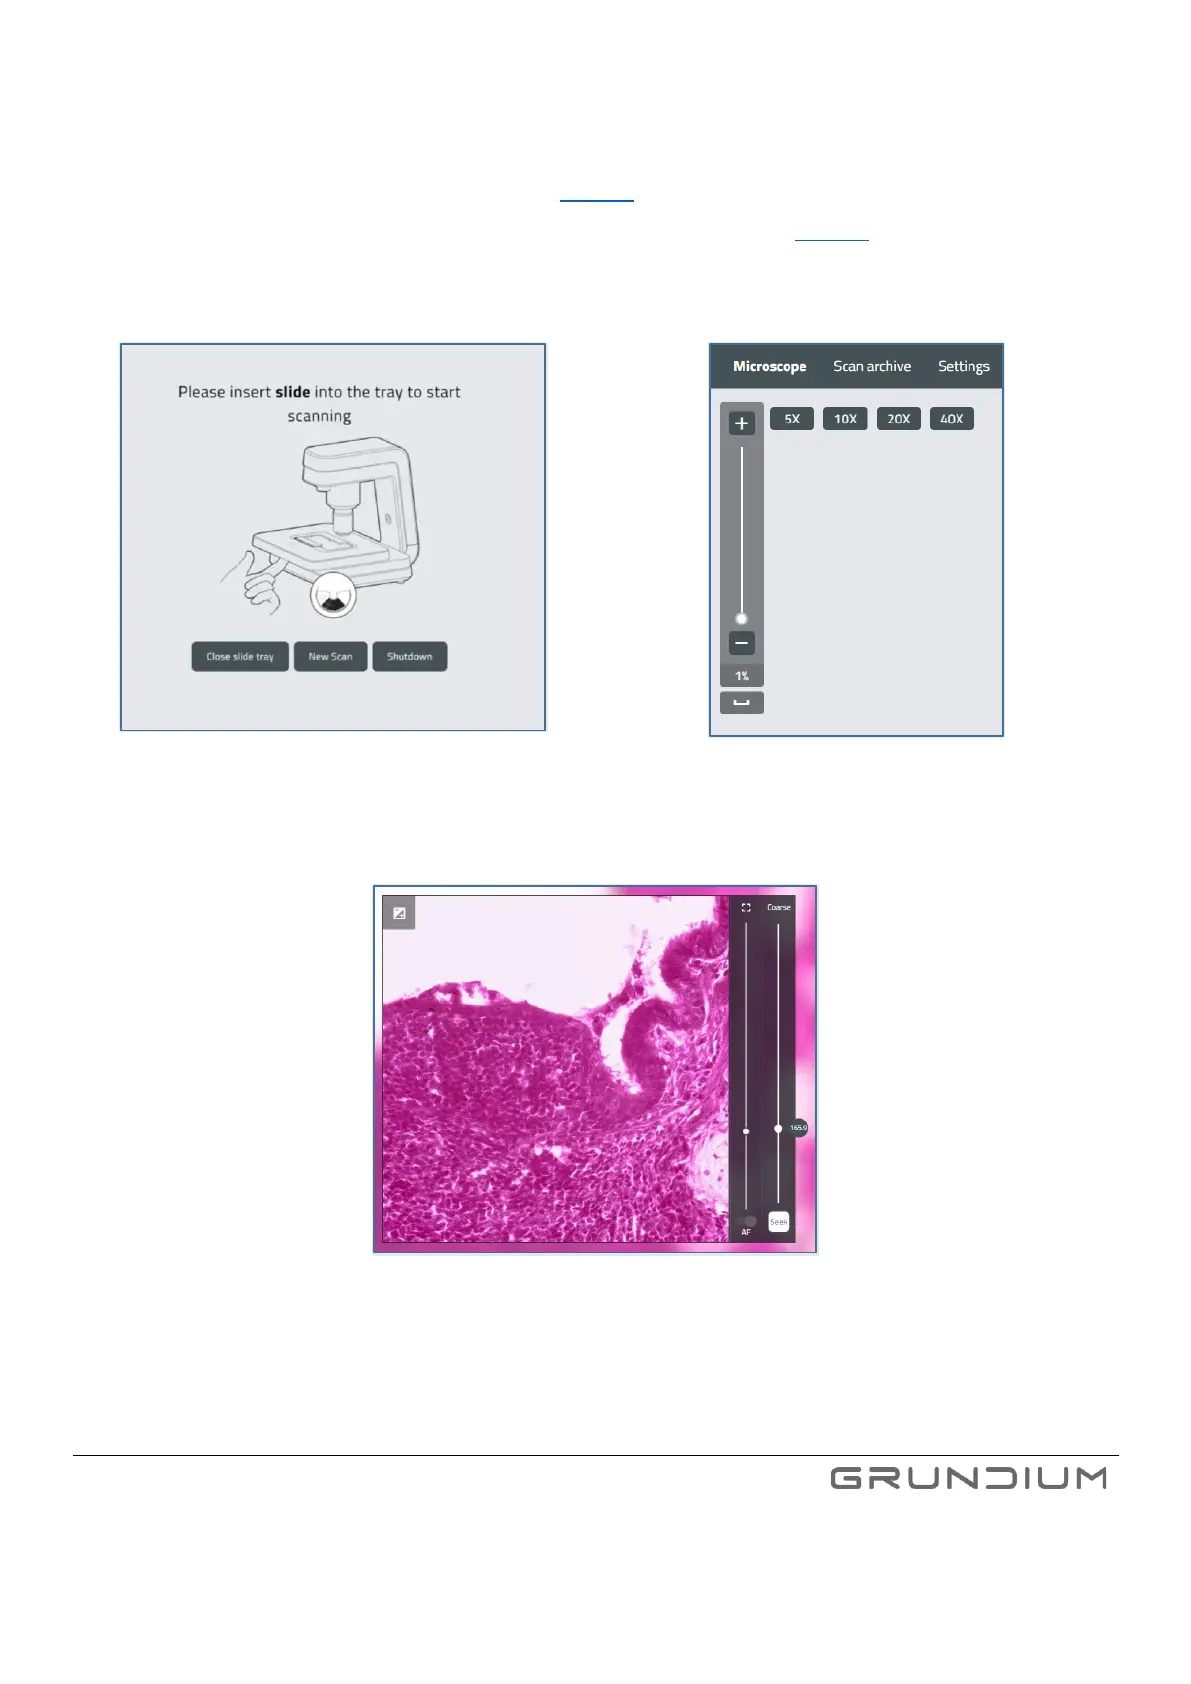
Click New scan to take an overview image. (See image 16).
5.
Set the region of interest to be scanned using the Add scan area button (See image 19).
6.
Click Scan to scan the defined scan area.
Image 16. Start taking an overview image by selecting New
Scan.
Image 17. Zooming options.
Image 18. Auto focus sliders in the live view window.
7. Zoom out, click Add and select one or more areas you want to scan. To adjust the areas further, drag the borders of the
areas. Estimated scan time is shown on bottom left corner of the UI.