Saavutustenkatu 3, 33720 Tampere, Finland
©2022 Grundium. All rights reserved.
6-8G, 33720 Tampere, Finland
©2022 Grundium. All rights reserved.
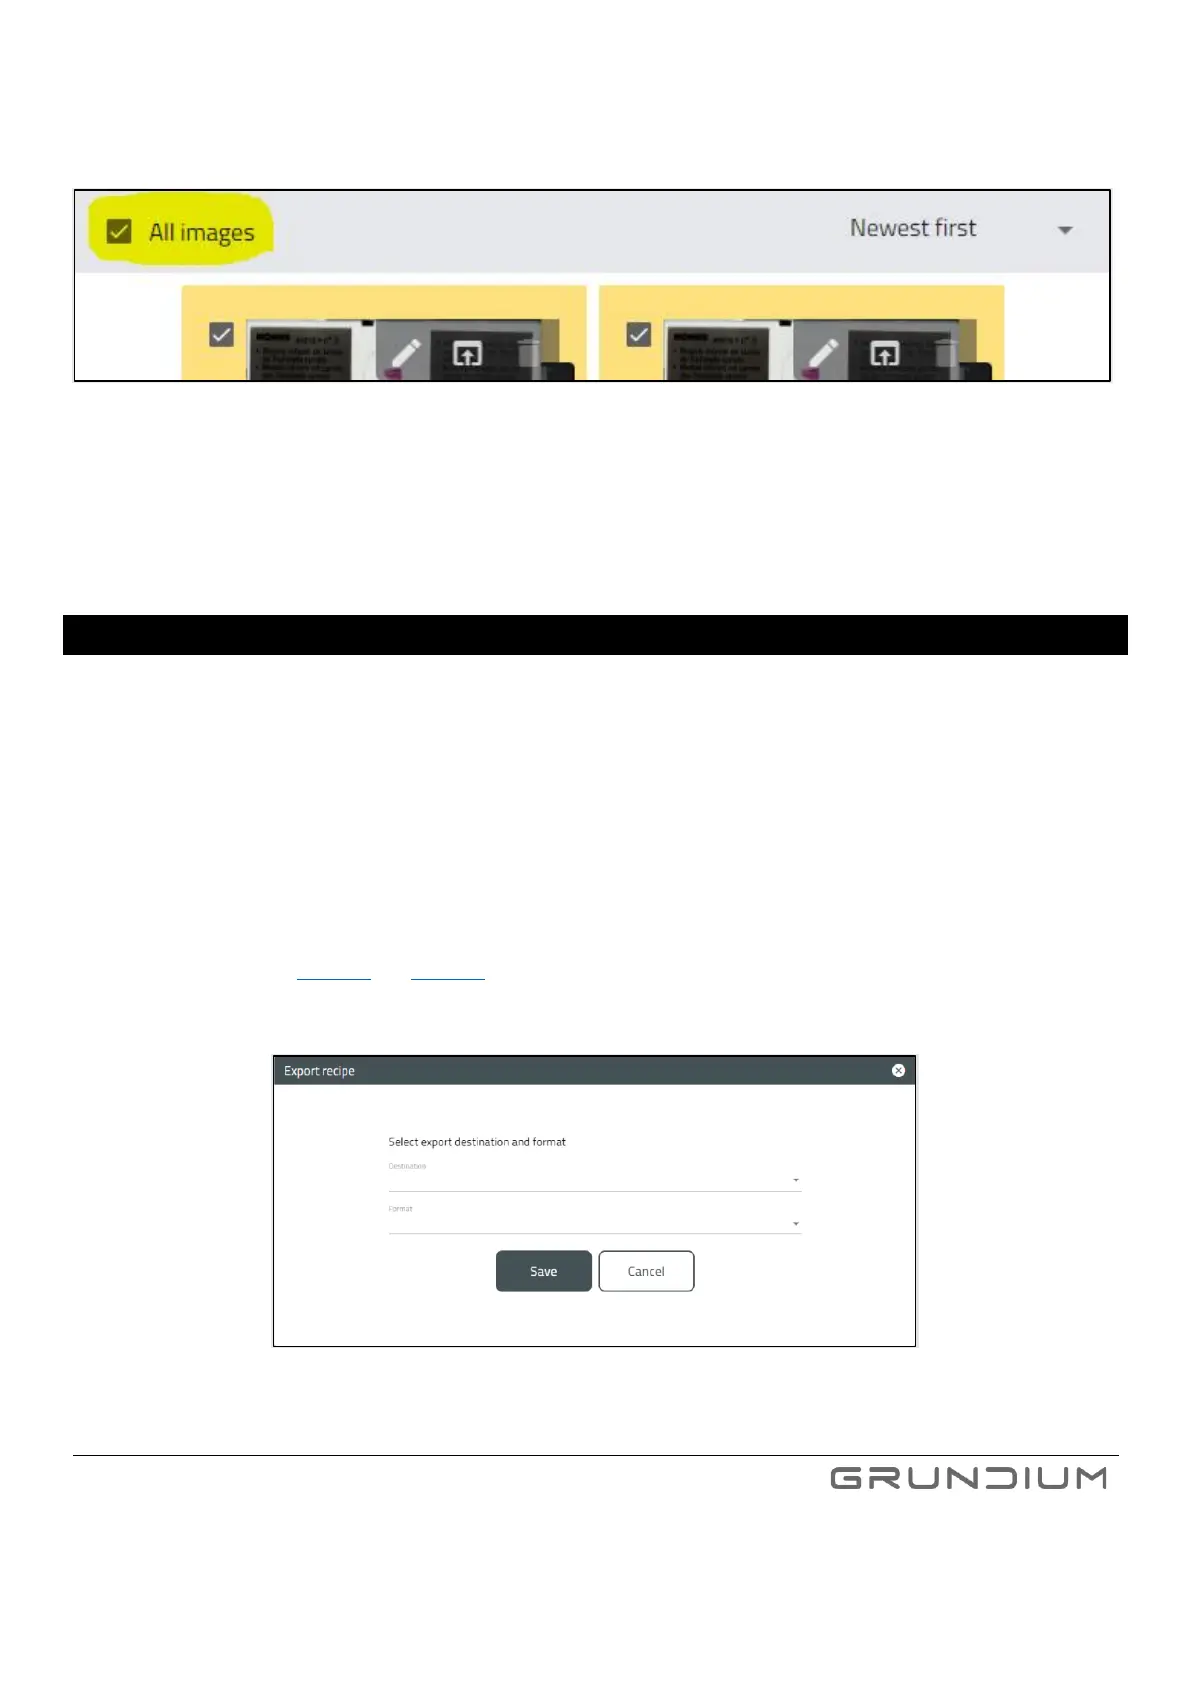
To select all scans, click “all images” – checkbox.
Image 28. Select all images checkbox highlighted.
Note: When using the “all images” – checkbox, even the scans not visible in the current page are selected.
Note: Once scans are deleted, they cannot be recovered.
Note: The current “active” scan cannot be deleted until the currently inserted slide is removed from the scanner. To remove the
slide, go to microscope view, and click change slide.
11 EXPORTING AN IMAGE
You can export the scanned images in three ways:
1. Export from Scan Archive slide selection view. This will automatically export all scanned areas on the slides selected.
2. Export from Scan Archive single slide view – you can select the scanned areas you want to export.
3. Export from Microscope view by using Scan & Export button. This automatically exports all scanned areas on the slide
after the scanning is completed.
Common to all three export methods is that the export parameters, meaning destination and format, need to be first configured
by using Export recipe (see image 24 and image 29). You can configure the recipe either from Microscope or Scan Archive view.
Image 29. Export destination and format can be selected in export recipe window.