31
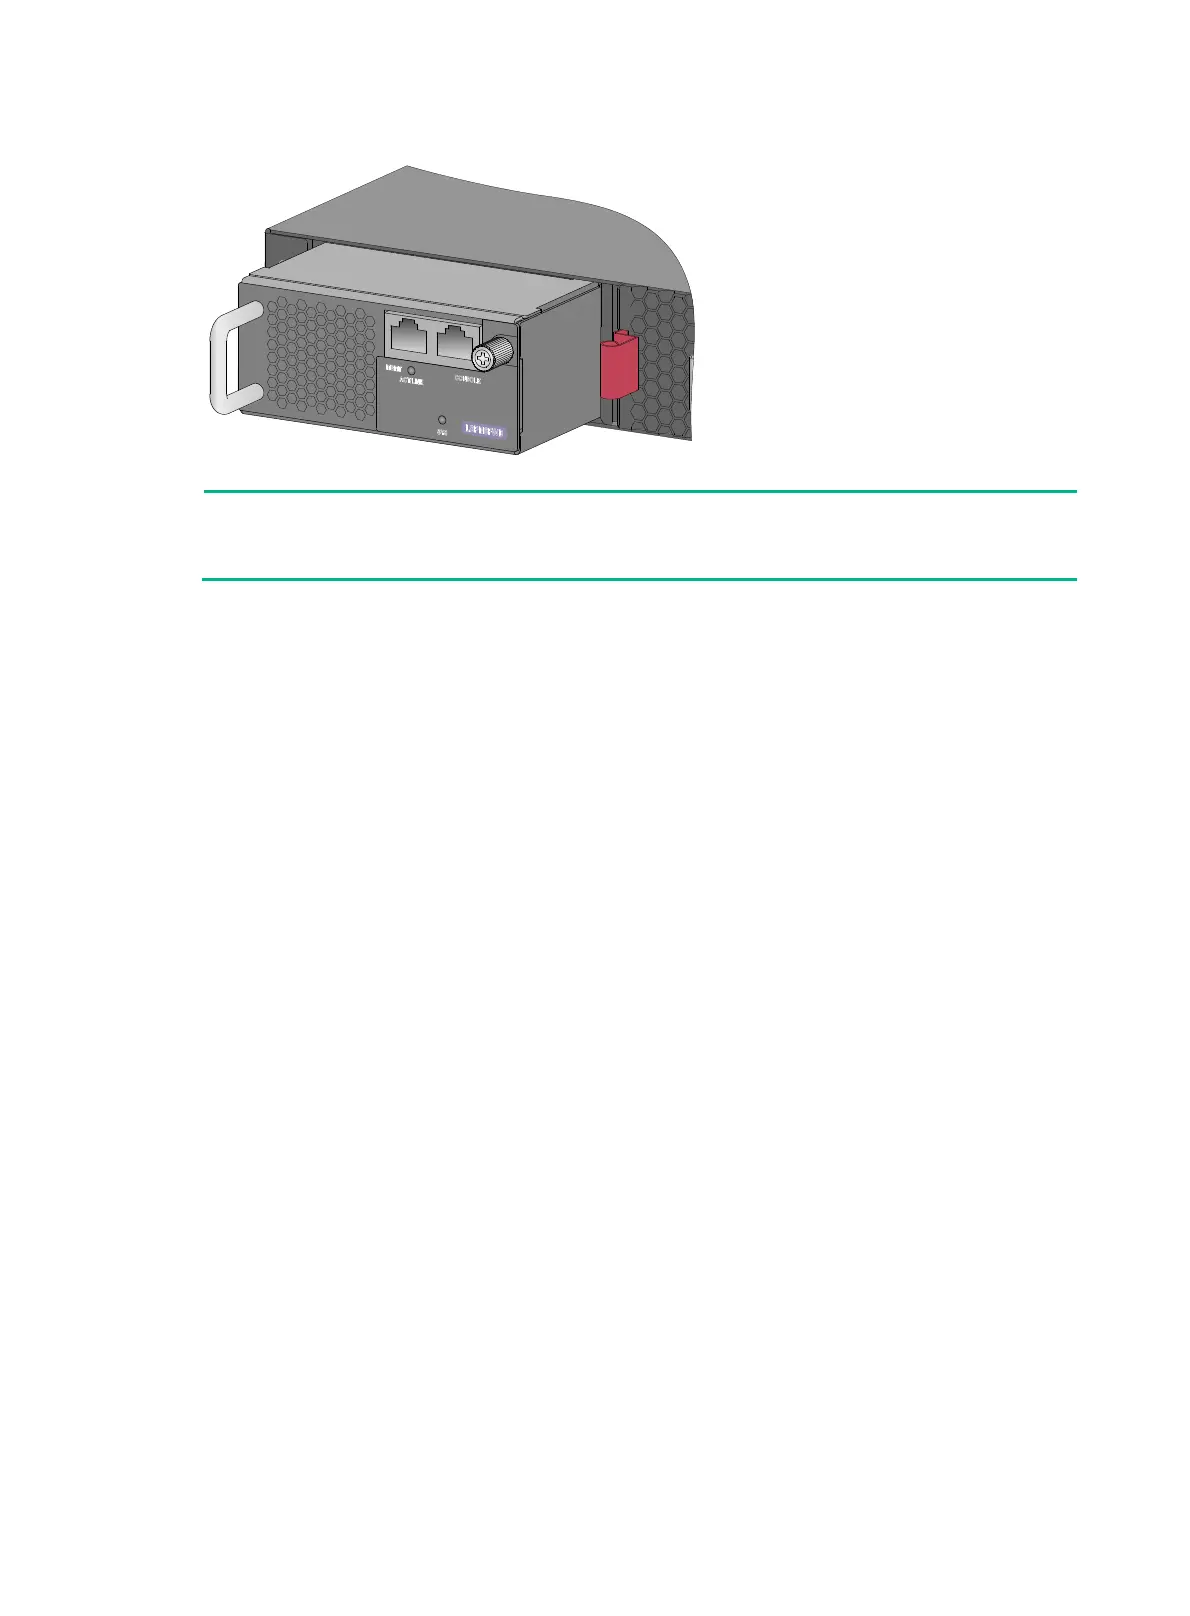
Figure 41 LSPM6FWD firewall card installed in the switch
NOTE:
An LSPM6FWD or LSPM6FWD8 firewall card (including its handle) adds 75 mm (2.95 in) to the
chassis depth when installed on the device.
Removing an expansion card
1. Wear an ESD wrist strap and make sure it makes good skin contact and is reliably grounded.
2. Use a Phillips screwdriver to remove the captive screw on the expansion card.
3. (Optional.) If the expansion card has an ejector lever, rotate out the ejector lever.
Skip this step if the expansion card does not have an ejector lever.
4. Gently pull the expansion card out of the chassis along the guide rails.
5. If you are not to install a new expansion card after removing the original one, install a filler panel
in the slot to prevent dust and ensure good ventilation in the switch.
Verifying the installation
After you complete the installation, verify the following information:
• There is enough space for heat dissipation around the switch, and the rack or workbench is
stable.
• The grounding cable is securely connected.
• The correct power source is used.
• The power cords are correctly connected.
• All the interface cables are cabled indoors. If any cable is routed outdoors, verify that the socket
strip with lightning protection and lightning arresters for network ports have been correctly
connected.

 Loading...


