49
INSTALLATION
June 1999
96-8000
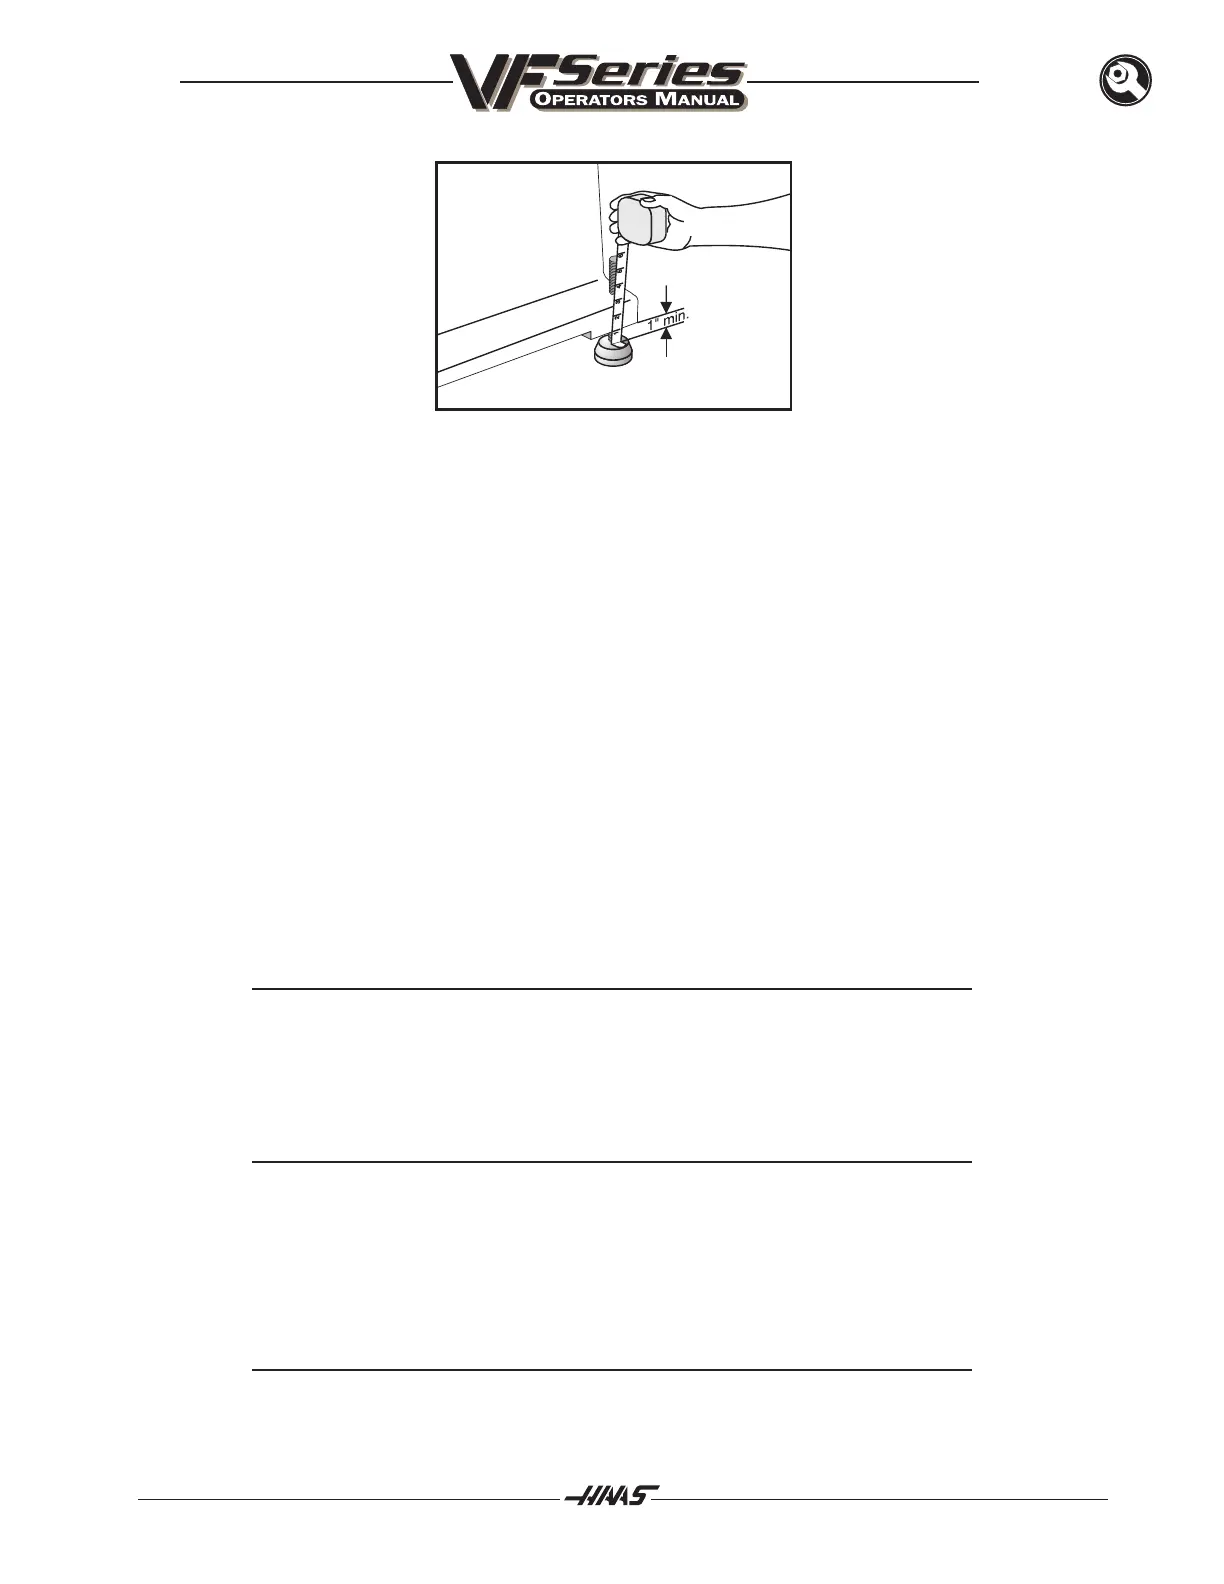
1. Screw the four leveling screws at the corners through the base until the base is 2½" to 3" above
the floor. That translates into a minimum of one inch of the leveling screw extending out of the
bottom of the base of the machine, or one inch between the pads and the casting. Turn each
screw until the tension is about the same as the tension on the other screws (it takes the same
effort to turn each screw).
2. Install the two center leveling screws, ensuring that they do not touch the floor.
3. Use HANDLE JOG set for 0.01 on the X- and Y- axes for the leveling procedure. (See the "Intro-
duction" section for details on selecting jog rate and axis.) This provides a good rate of travel as
you manually move the table.
4. Using the jog handle, center the table under the spindle. You do not need to move the table while
rough-leveling the machine.
5. Place the level parallel to the X-axis (side-to-side) on the table and observe the bubble. If the
bubble is centered, the table is level on this axis. If the bubble is off to the left of the level, it means
that the left side of the table is high. And, conversely, if the bubble is off to the right, it means that
the right side of the table is high.
NOTE: Each time you read the level, make sure that the bubble has steadied before
you take the reading.
6. Turn the screws on the low side of the machine clockwise (screw them in) a little at a time and
check the level until the bubble is centered.
NOTE: In most cases it is better to raise a side or corner than it is to lower it when
you lower a machine there is a greater risk of running out of adjustment.
7. Repeat the previous steps with the level on the Y-axis (front-to-back).
8. Continue this process until the machine is level on both axes.
NOTE: If the level is off on both axes, it indicates that one corner of the machine is high
or low.