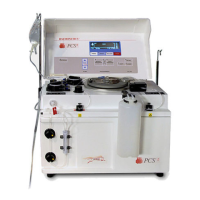
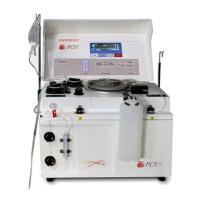
Chapter 5, Operating the TEG
®
Analyzer 57
Haemonetics
®
TEG
®
6s User Manual P/N 115191-IE, Manual revision: AB
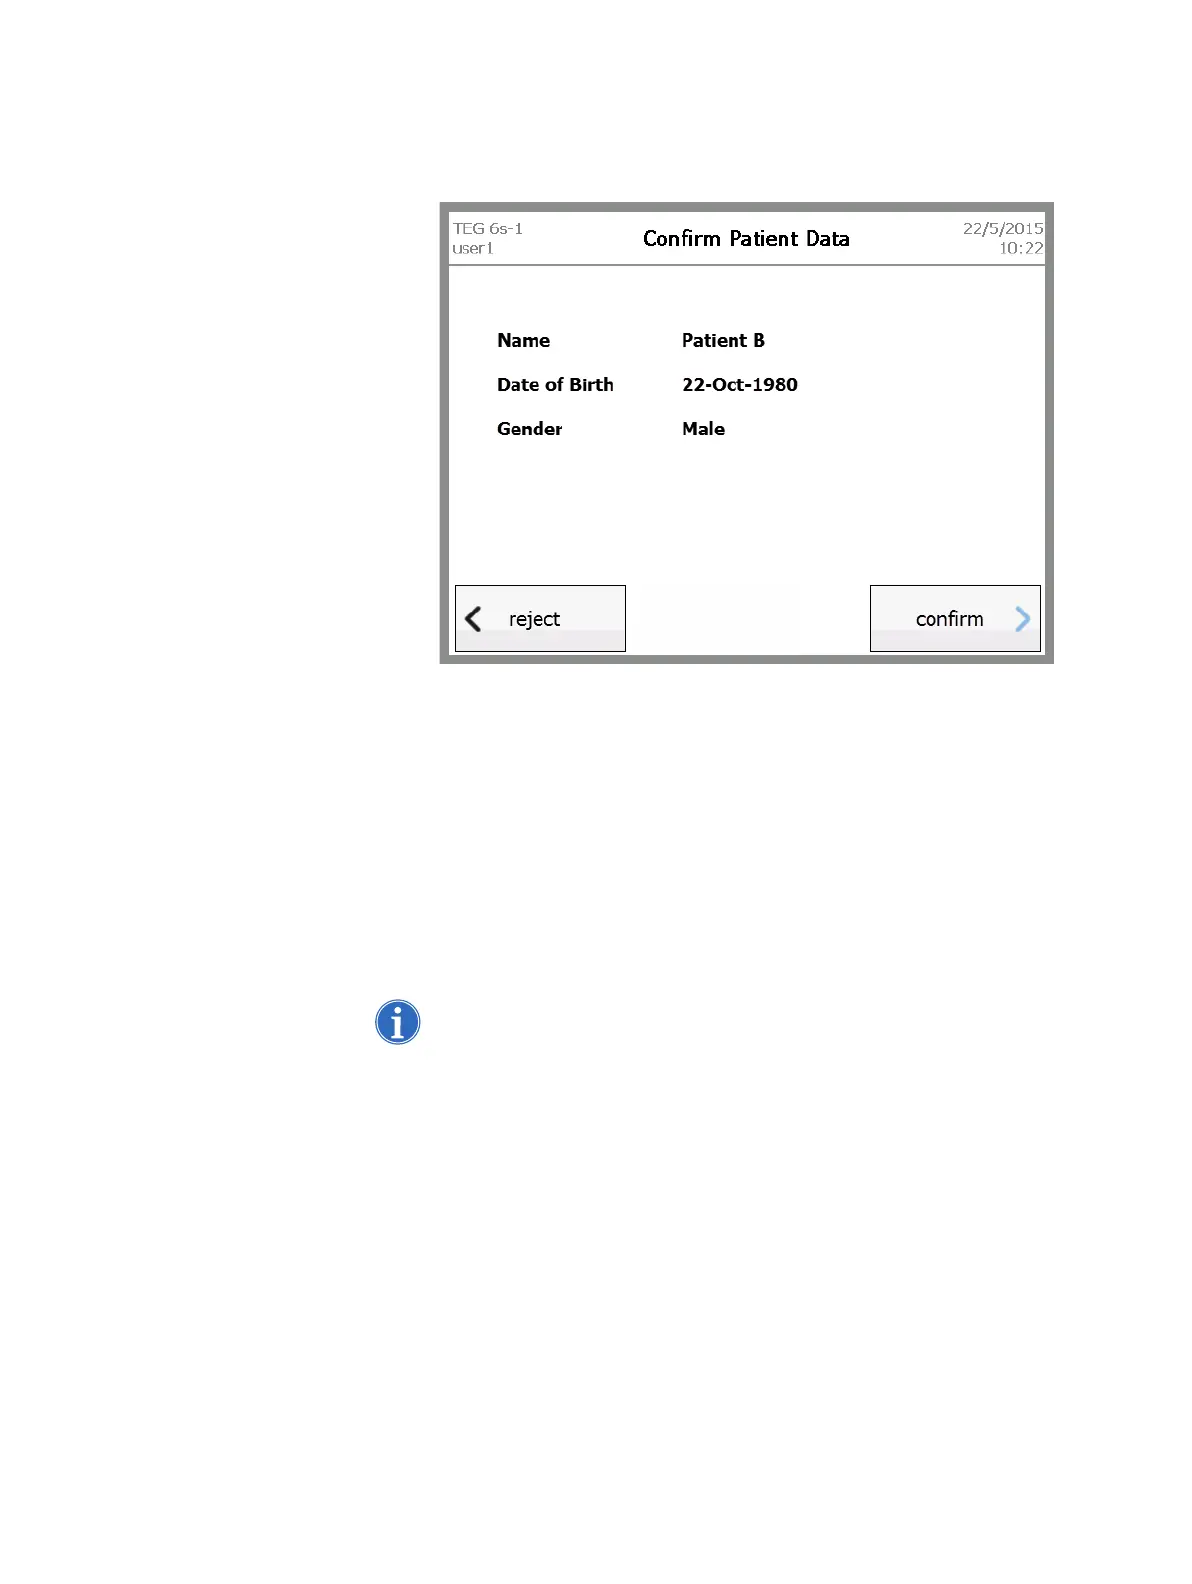
5. If the analyzer is linked to TEG Manager and a Library Information
System (LIS), the Confirm Patient Data screen displays the name, date
of birth, and gender of the patient.
Figure 5-4, Confirm Patient Data screen
Do one of the following:
Touch confirm if the patient information is correct.
Touch reject if the patient information is incorrect.
In the confirmation message that appears, touch yes if you wish to
continue the test with rejected patient data, or touch no to return to the
Select Patient screen.
6. Remove the desired patient test cartridge from its sealed pouch.
7. Insert the cartridge into the slot, as indicated on the Preparing Test –
Insert cartridge screen, with the bar code on the left side.
Note: Only a Haemonetics assay cartridge can be inserted into the
cartridge slot. Check the label to be sure you are using the intended
assay.