34
TROUBLE SHOOTING GUIDE
UNDER VOLTAGE FAULT
In the case of an Under Voltage Fault, use a multi-meter to check line voltage to be sure that the voltage is within name plate
tolerance. If so, reset the power to the Acadia outdoor unit and check for normal operation. If the voltage is low, contact the
power company and let them know of the problem.
PRESSURE SAFETY FAULT
1. In the case of a Pressure Safety Fault, check the system pressures. The pressure safety switches are an automatic reset type so
you may have to reset the Controller to check the pressures. If the pressure is low, check the system for leaks, and repair as
necessary. In very cold climates, the low pressure could trip the Low Pressure Safety at a coil temperature of -
If the system has not gone into defrost with the coil covered in an excessive amount of frost accumulation, the coil temperature
may drop below -45orce the Acadia outdoor unit Controller into a Manual Defrost. If the system does defrost, check the
Temperature Sensor Fault section for trouble shooting the sensors. If the system does not defrost, go through the Defrost
Trouble Shooting section.
2. The Acadia outdoor unit may lock out on a High Pressure Safety. The system has to be run to watch the head pressure. If
system is in the Heating Mode, check the indoor air handler fan and the air filter. If the system is in the Cooling Mode, check the
outdoor coil and outdoor fan motor.
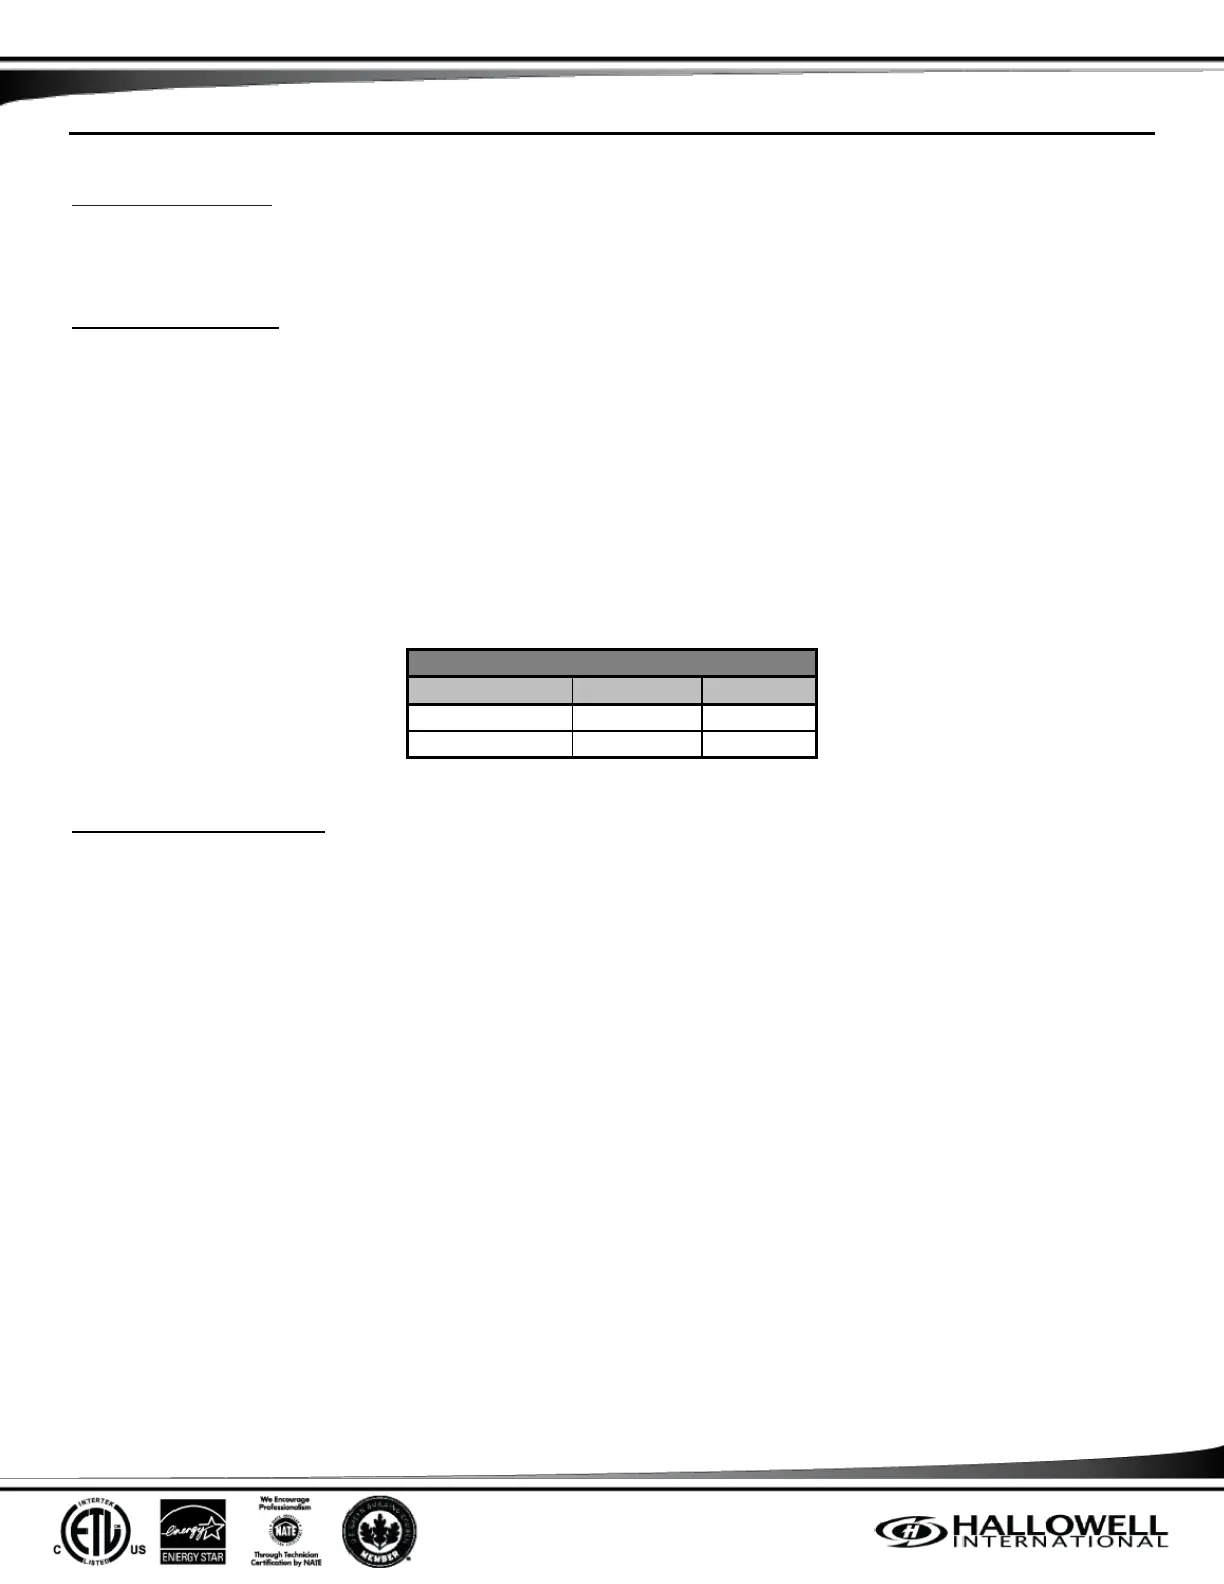
Table 9: Pressure Safeties
TEMPERATURE SENSOR FAULT
(NOTE) Make sure the system power is OFF before trouble shooting the temperature sensors.
1. At the top of the Acadia outdoor unit Controller are the plugs for the temperature sensors. Unplug the sensors by depressing
the tab on the top and pulling the plug straight out from the Controller.
2. Check the connection of the wires in the plug making sure the insulation is not in the pin connector and/or the wire has not
been broken.
3. For the next steps, a thermocouple, a thermocouple reader, and a multi-meter are needed. Using the thermocouple, take the
temperature at each sensor.
a. The Brown Wire is the Coil Sensor and is located on the 2
nd
distributor tube up from the bottom of the coil.
b. The Yellow Wire is the Inter stage or Line Sensor and it is located on the suction header from the Primary Compressor
to the Booster Compressor.
c. The Black Wire is the Outdoor Air or Ambient Sensor and is located under the radiant shield on the left of the electrical
box, on the electrical and pipe connection side of the system.
4. Using a multi-meter, take an ohm reading of each sensor and check the resistance of each compared to the temperature in
Table 10.