13
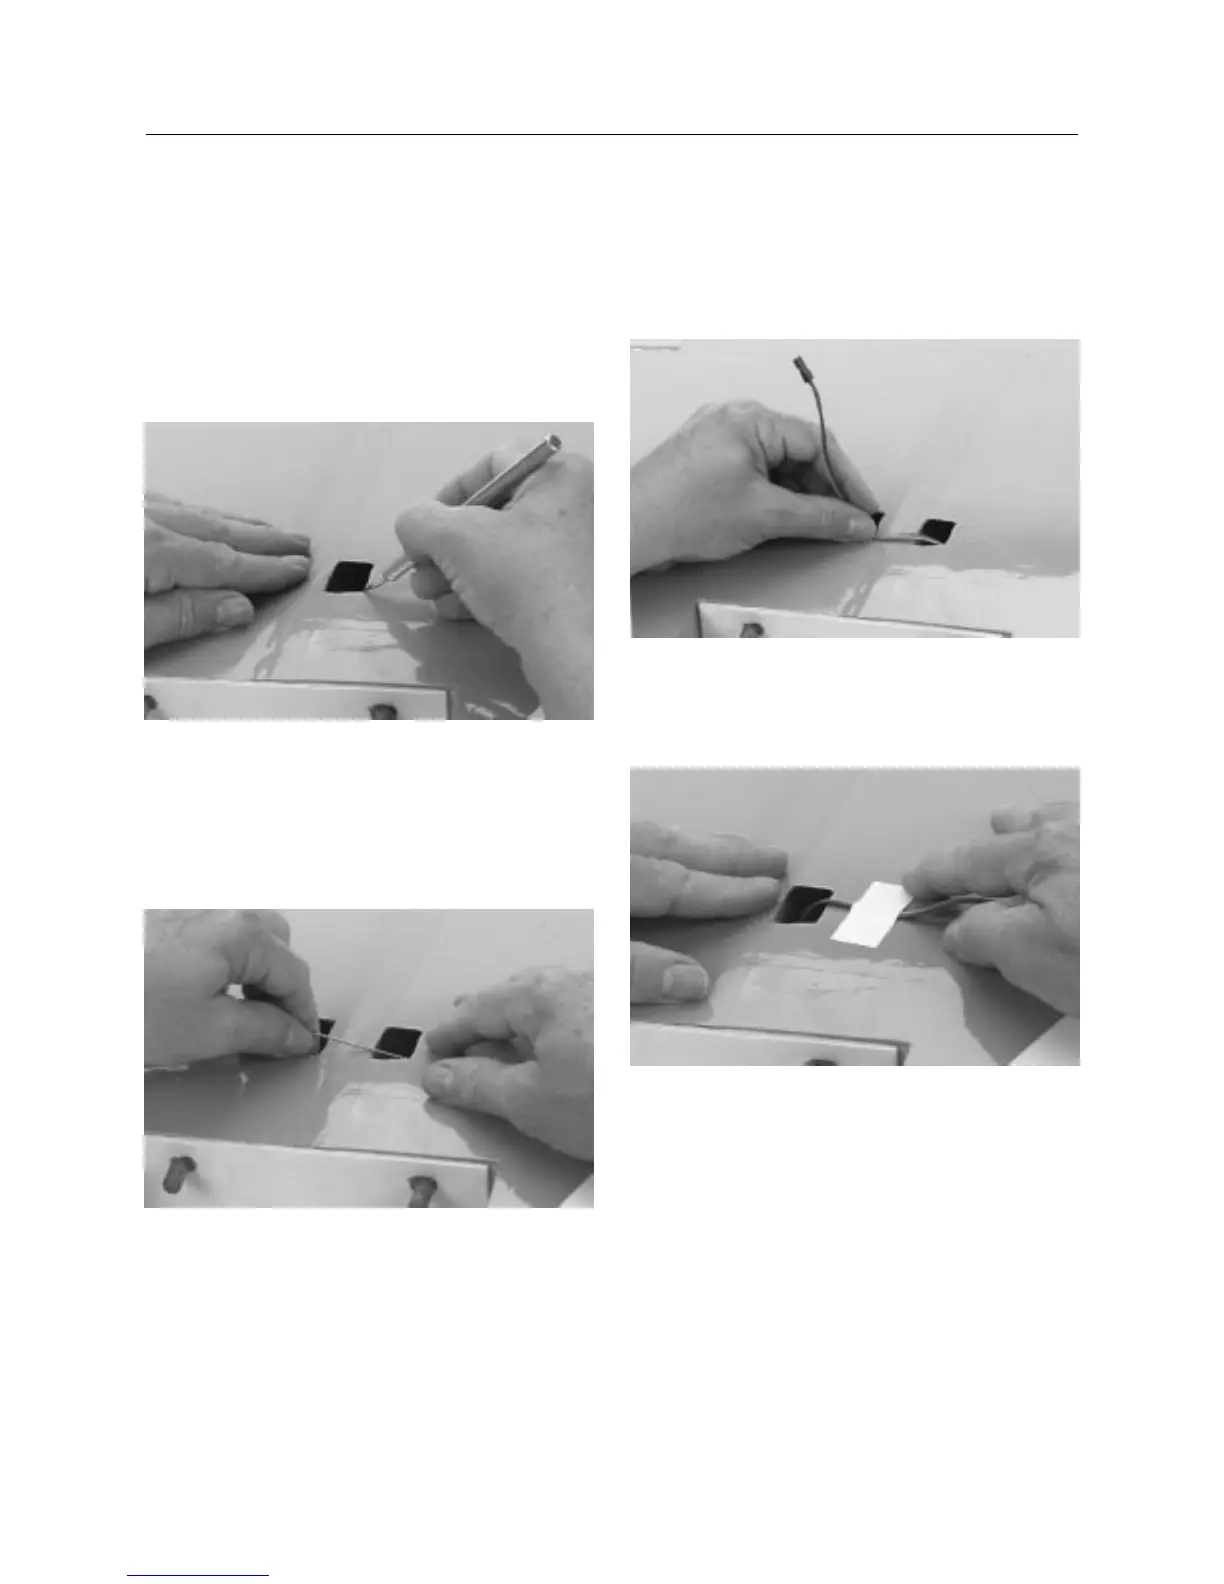
Step 5. Before mounting the servo, it would be wise to run the
servo lead and extension through the wing and out the opening
provided near the wing center. The servo lead exit is located on
the top of the wing. Turn the wing half over and look carefully for
a square opening near the center of the wing close to where the
wing joiner slot is. You will have to trim away the covering to
expose the opening. Using a sharp hobby knife, remove the
covering over the opening.
Step 6. Using a small diameter piece of music wire (36′′), thread
the music wire through the servo opening. You will have to guide
the wire as you thread it through the wing openings. Use care to
make sure you do not crush any of the wing structure. Once you
see the end of the music wire, a needle nose pliers can be used to
grasp the wire and pull it out of the opening.
Step 7. Once you have the music wire threaded through the
wing, make a small hook on one end and tape it to one end of the
servo wire/extension. Carefully thread the wire and lead through
the wing.
Step 8. To prevent the lead from falling back inside the wing,
use masking tape to temporarily hold it in place by taping the
lead to the wing top.
Step 9. Repeat the procedure for the other wing half.
Note: If using a non-computer radio, it will be necessary to
use a Y-harness to connect both aileron servos to the
aileron channel.
CONTINUED
Section 3: Installing the Aileron Servos