12
Step 1. Locate the servo opening in one of the wing halves.
Install the recommended servo hardware supplied with your
radio system onto your servos (grommets and eyelets). Install a
servo extension lead to the servo as well (a 12′′ extension is
recommended). Secure the connectors with either masking tape
or a commercial connector that prevents the servo connectors
from becoming disconnected.
Hint: It’s always a good idea to tape the servo connections
and extension together to prevent the wires from
becoming unplugged in the wing.
Step 2. Trial fit the servo into the servo opening. Some
trimming may be required, depending on the type of servo
installed.
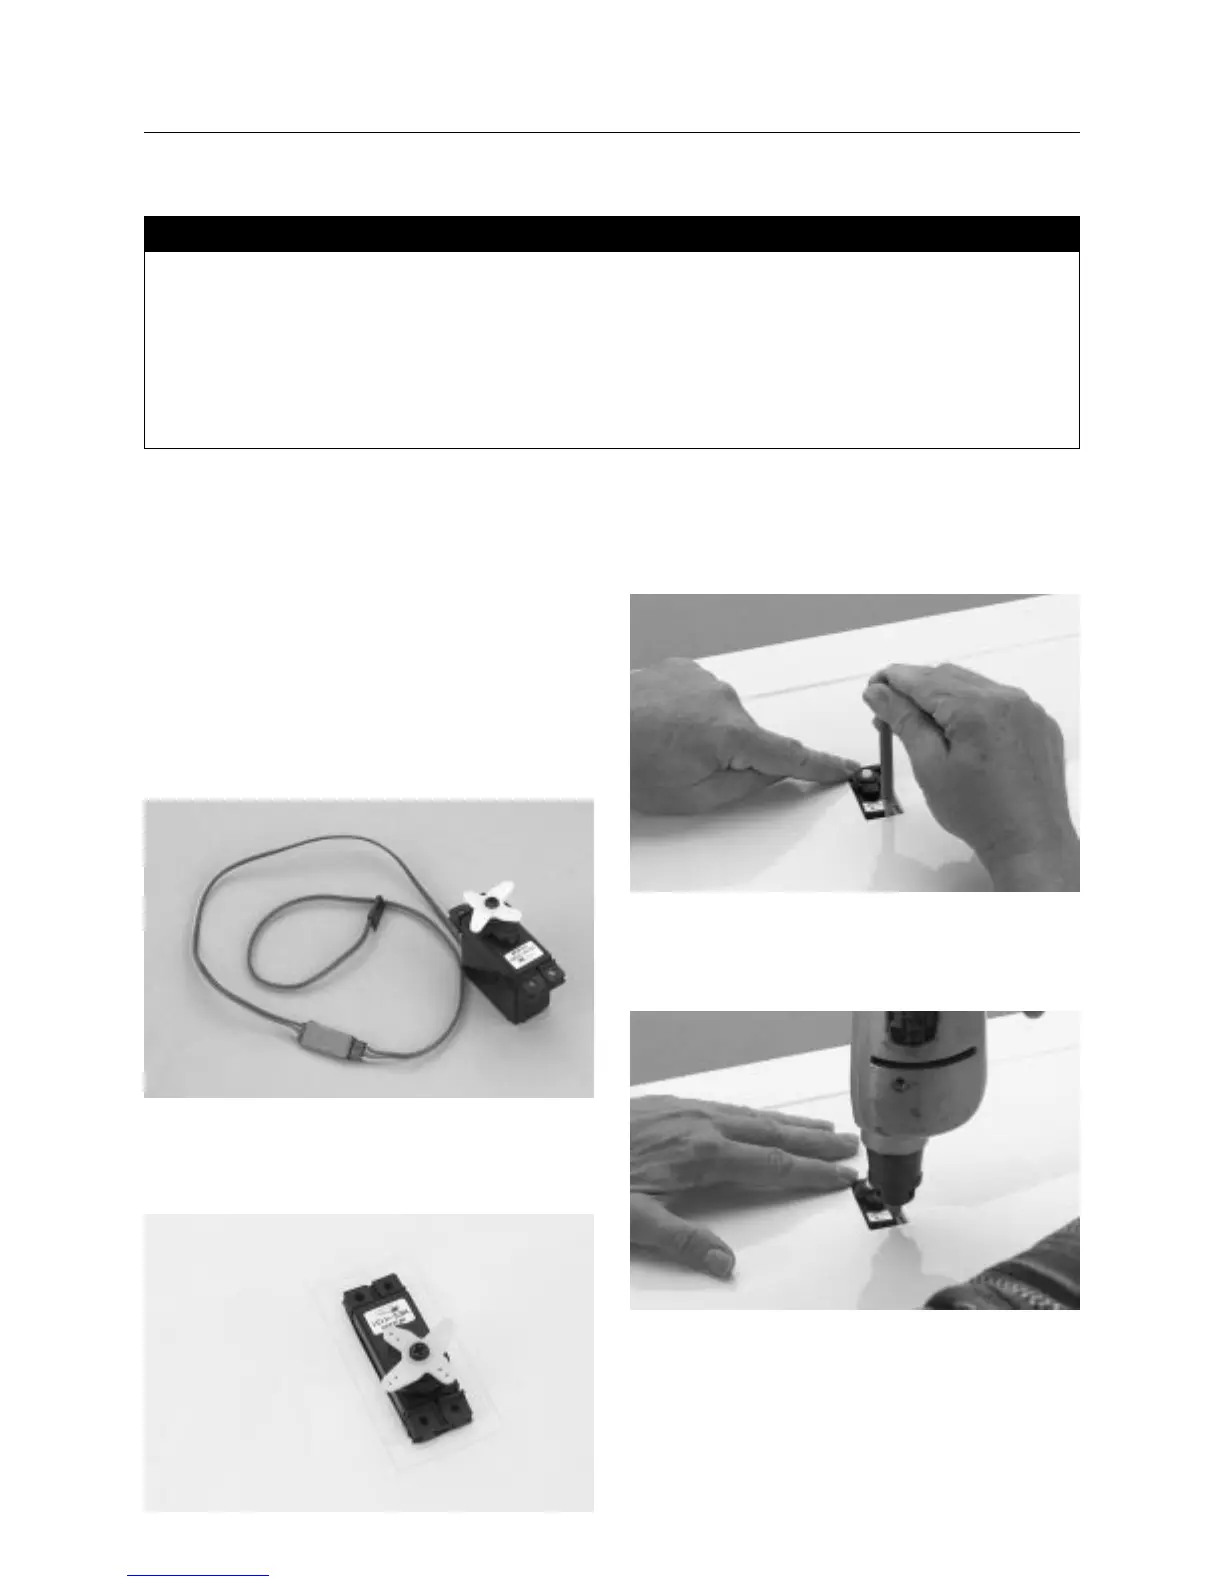
Step 3. With the servo in place, mark the location of the servo
screws that are used to mount the servo to the plywood rail
inside the servo opening in the wing.
Step 4. Using a 1/16′′ drill bit, drill the servo screw locations
marked in the previous step.
• Left/right wing halves
• Standard size servos (2)
• Servo extension(s) — (12′′ recommended) (2)
• Music wire (36′′)
• Y-harness (if using a non-computer radio)
• Hobby knife
• Phillips screwdriver (medium)
• Drill
• 1/16′′ drill bit
• Masking tape
• Pencil or felt tipped pen
• Needle nose pliers
Parts Needed Tools and Adhesives Needed
Section 3: Installing the Aileron Servos