31
Step 1. Mix up approximately 2 oz. of 30-minute epoxy and
brush it on the firewall to seal it. Allow the epoxy to dry.
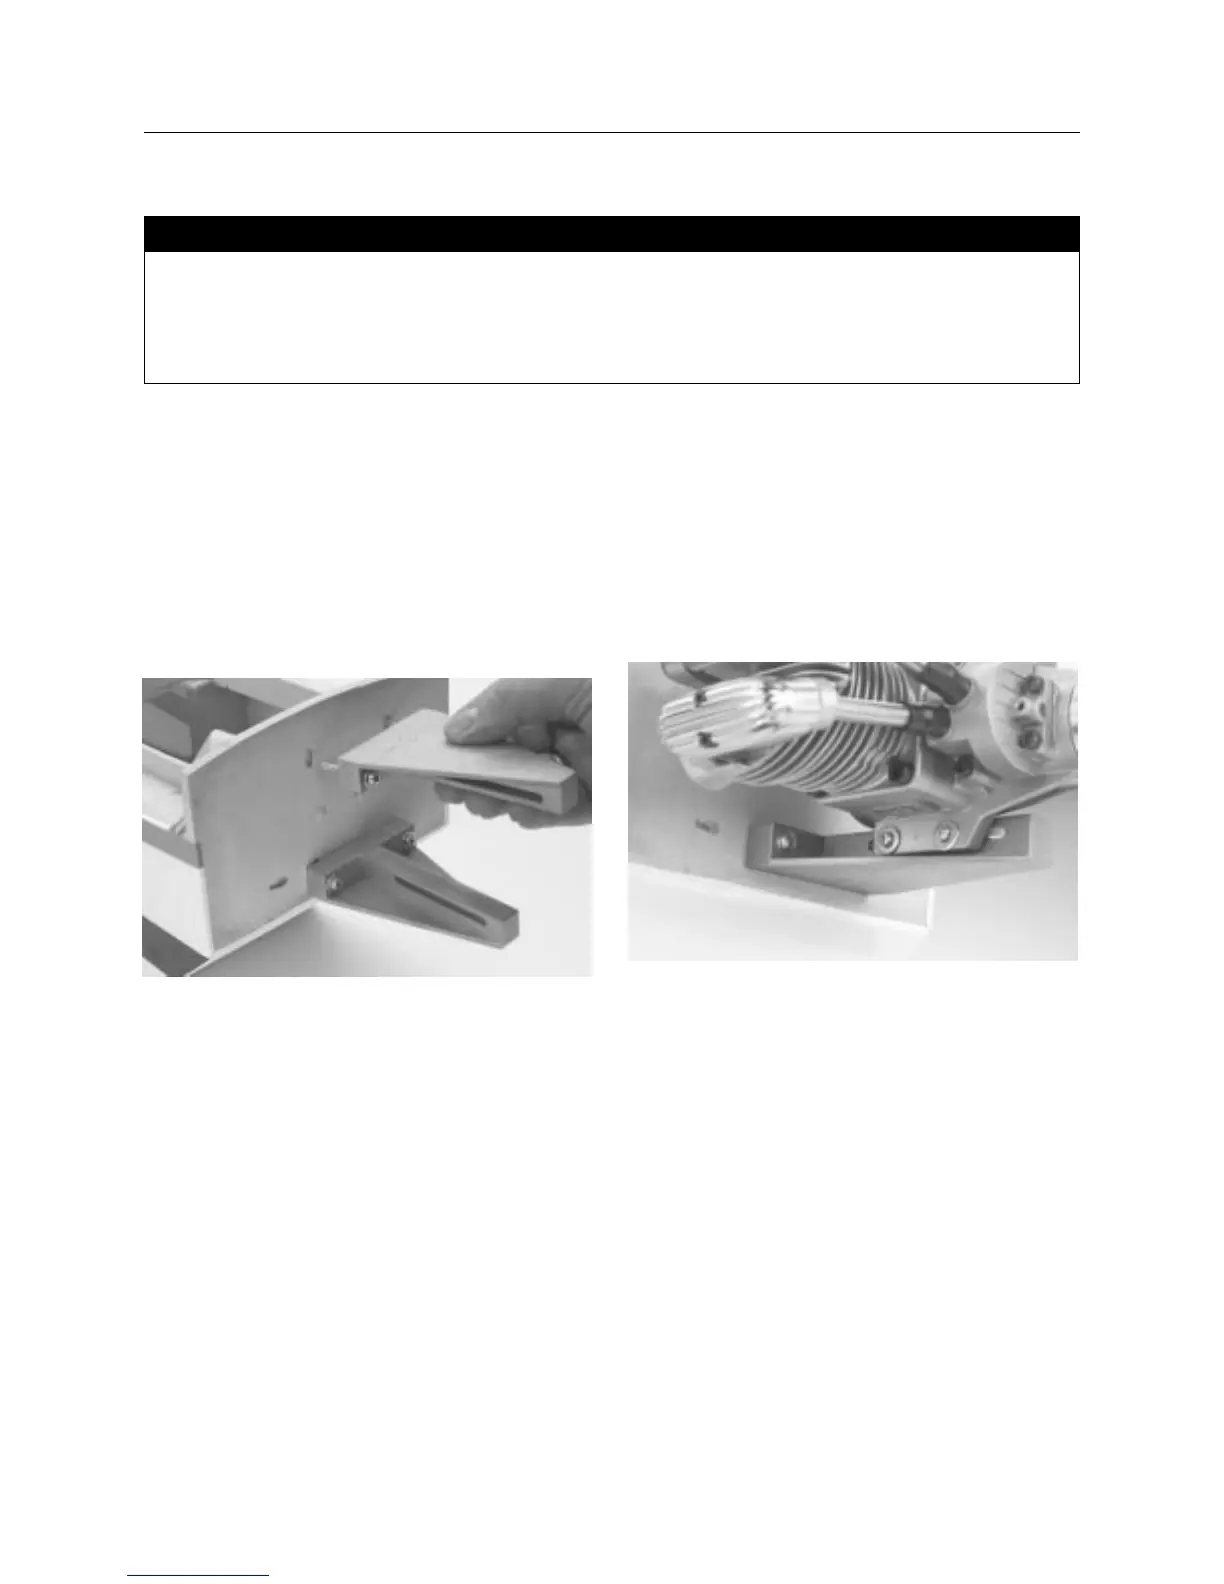
Step 2. Locate the two metal motor mounts and associated
mounting hardware. Note there are slots on the firewall, so the
width of the engine can vary.
Step 3. Mount the metal motor mounts on the firewall using the
hardware provided. Do not overtighten the bolts as the width of
the mount will vary with the size and type of engine mounted.
Note: It may be necessary to cut off the bottom motor mount
bolts flush with the nuts to insure that they do not
puncture the tank.
Step 3. Trial fit your engine on the motor mount. Once the
proper width has been determined, tighten down the motor
mount bolts. You can then remove your engine while completing
the following sections. Prior to installing the control linkages,
you will want to remount your engine.
Section 12: Installing the Engine
• Fuselage
• Metal motor mounts
• Mounting hardware
• Engine
• Phillips screwdriver
• Allen wrench
• 30-minute epoxy
• Epoxy brush
Parts Needed Tools and Adhesives Needed