34
Step 1. Locate the plywood servo rails and the two “U” shaped
plywood braces. Trial fit the servos on the rails. When you have
determined the proper spacing, mark the location of the rails.
Mix up 1 ounce of 6-minute epoxy. Apply the epoxy to the rails
and braces and install them in the fuselage compartment. Allow
the epoxy to cure completely.
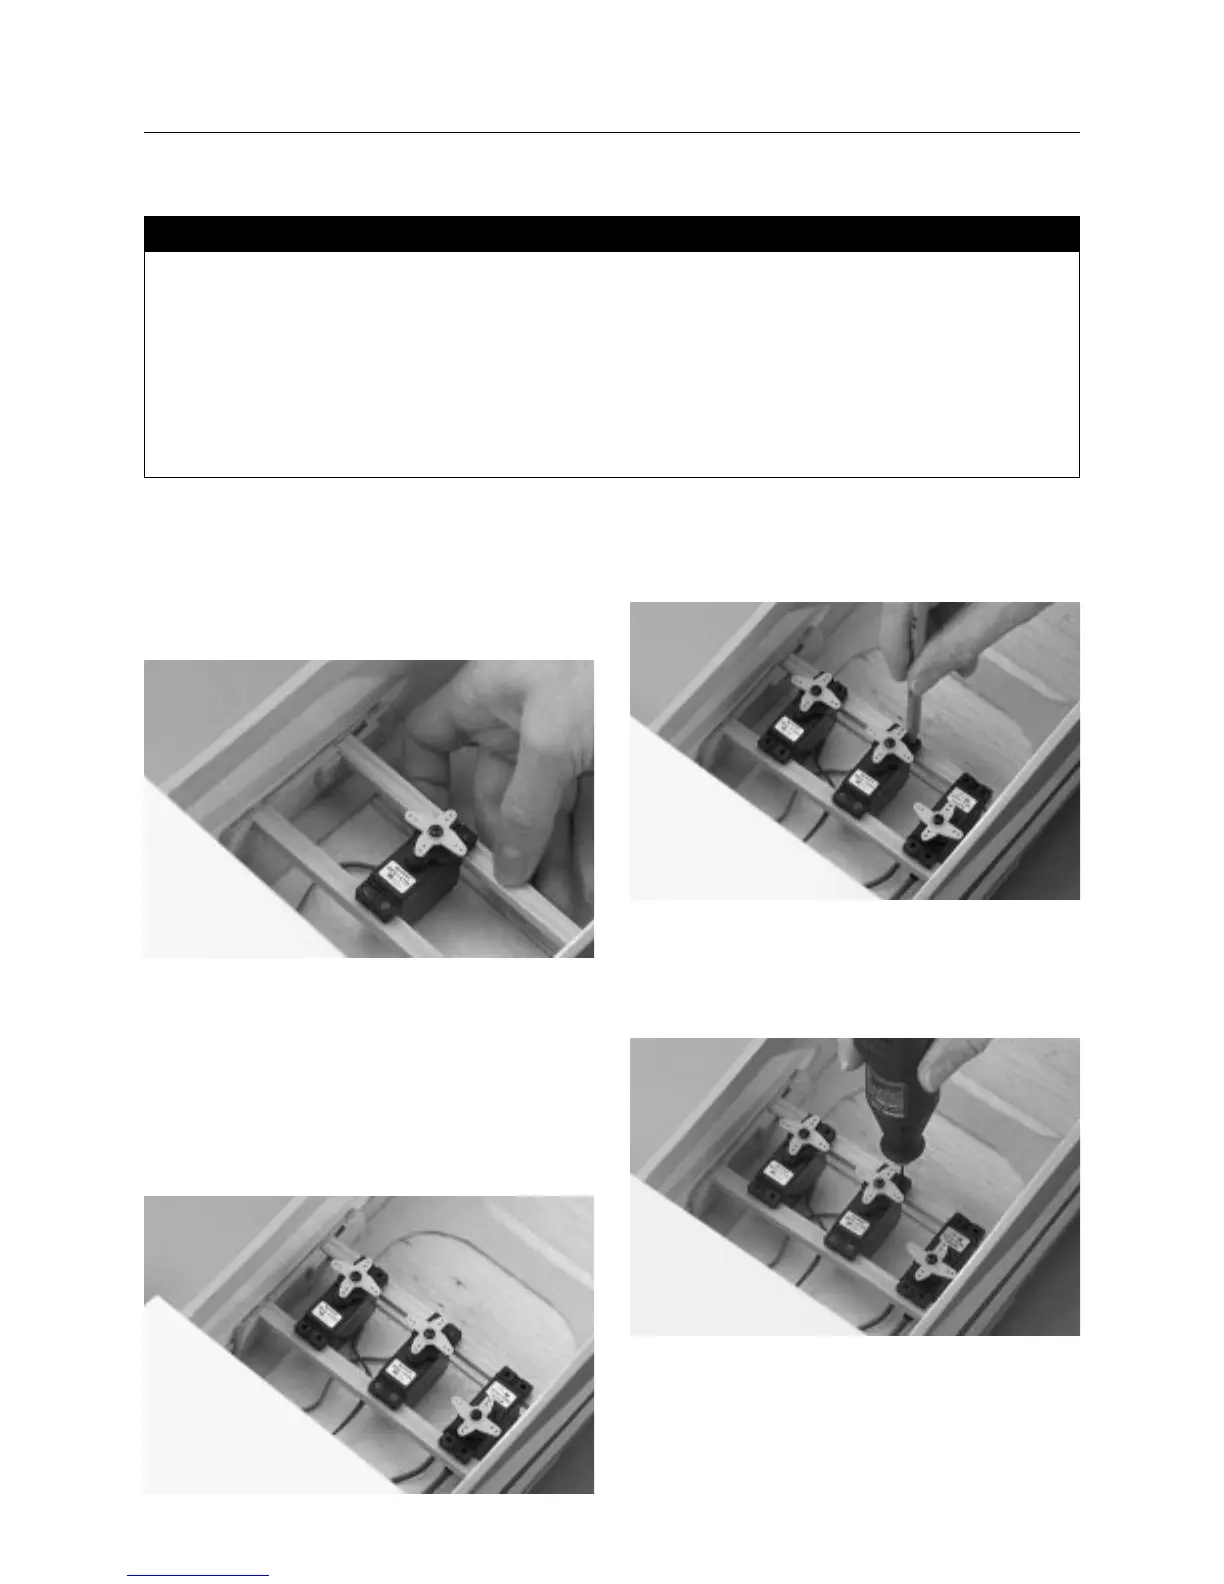
Step 2. Locate three servos and install the grommets and
eyelets in all three per the instructions included with the radio.
Position the servos so there is ample room between the servo
horns. The rudder servo will utilize a pull-pull type of control
linkage, so leave ample room on either side of the servo horn.
Note: The rudder servo will be the center servo of the three
mounted.
Step 3. Once you’re satisfied with the servos’ location, use a felt
tipped pen or a pencil to mark the mounting holes of all three
servos.
Step 4. Drill the 12 holes with a 1/16′′ drill bit. Screw the
servos in place using the 12 screws provided with the servos.
Section 14: Installing the Radio
• 4 channel radio system with 5 servos and hardware
(not included)
• Radio packing foam (not included)
• Antenna tube (optional, not included)
• Drill
• 1/16′′ drill bit
• Small Phillips screwdriver
• Hobby knife with #11 blade
• Pencil or felt tipped pen
• 6-minute epoxy
• Rubbing alcohol
• Paper towels
Parts Needed Tools and Adhesives Needed