16
Step 1. Insert the wing into the fuselage so that the wing dowels
project into the open area (holes) in the fuselage bottom. The
wing dowel supports are then slipped in place on the dowels by
putting them on through the fuel tank compartment.
Step 2. Center the wing so that the same space is on each side
of the fuselage between the forward wing section and the side of
the fuselage. Equal thickness spacers can be temporarily put in
these spaces to make sure the spacing is maintained.
Step 3. The wing dowel supports are lightly tack glued in place
by applying a small amount of epoxy or thick CA to a couple of
places along the top edge of the wing dowel supports. This will
have to be done by reaching through the fuel tank compartment.
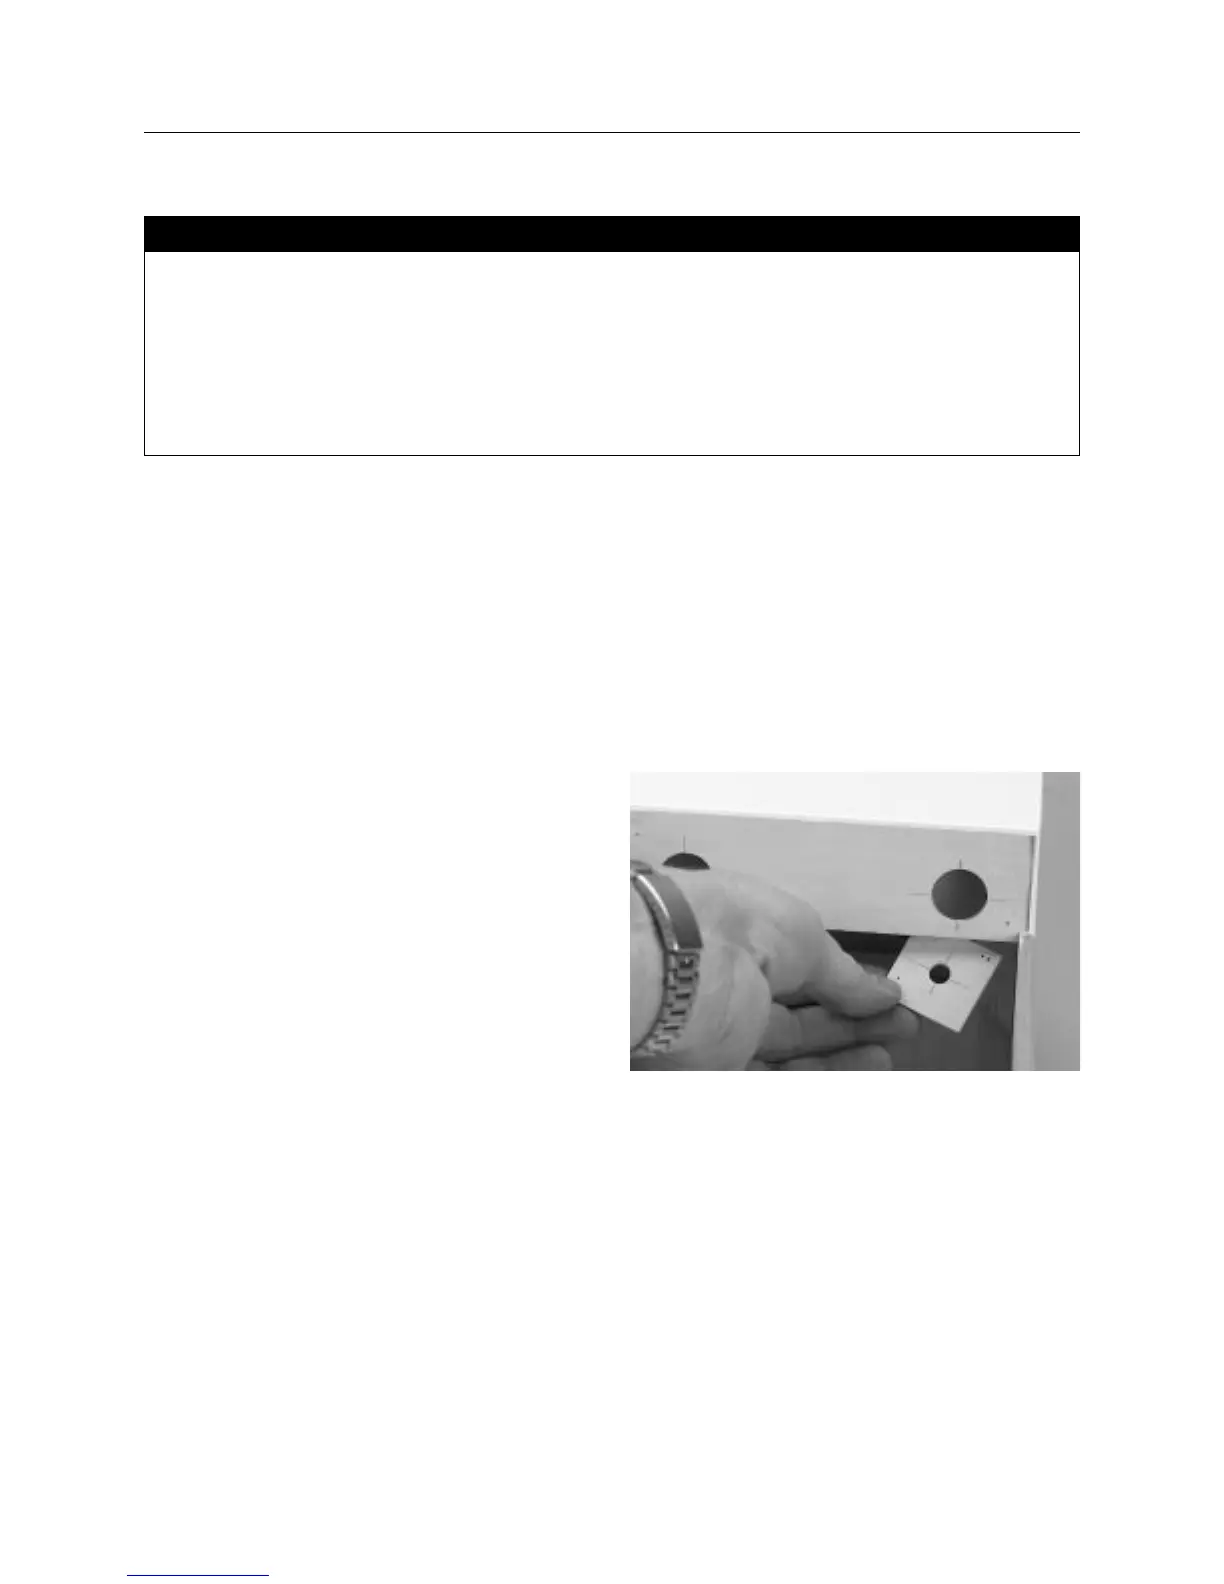
Step 4. After the glue has dried, the wing can be removed and
the wing dowel supports’ exact location can be marked by
drawing alignment marks from the bulkhead onto the dowel
supports from inside the wing compartment.
Step 5. Remove the wing dowel supports by breaking them
loose from the tack gluing (be careful not to mix them up). Mix
up 1/2 oz. of 12-minute epoxy and glue the wing dowel supports
in place. Allow the epoxy to cure completely before attempting
the next steps.
Step 6. After the epoxy has cured, you are ready to install the
wing hold-down bolts.
• Wing
• Fuselage
• Plywood wing dowel supports (2)
• Wing hold down hardware
• 30-minute epoxy
• 12-minute epoxy
• Epoxy brush
• Rubbing alcohol
• Paper towels
• Mixing sticks
• Felt tipped pen or pencil
Parts Needed Tools and Adhesives Needed
Section 5: Mounting the Wing to the Fuselage
• Pliers
• Ruler
• Drill
• 1/4′′ drill bit
• Round file