15
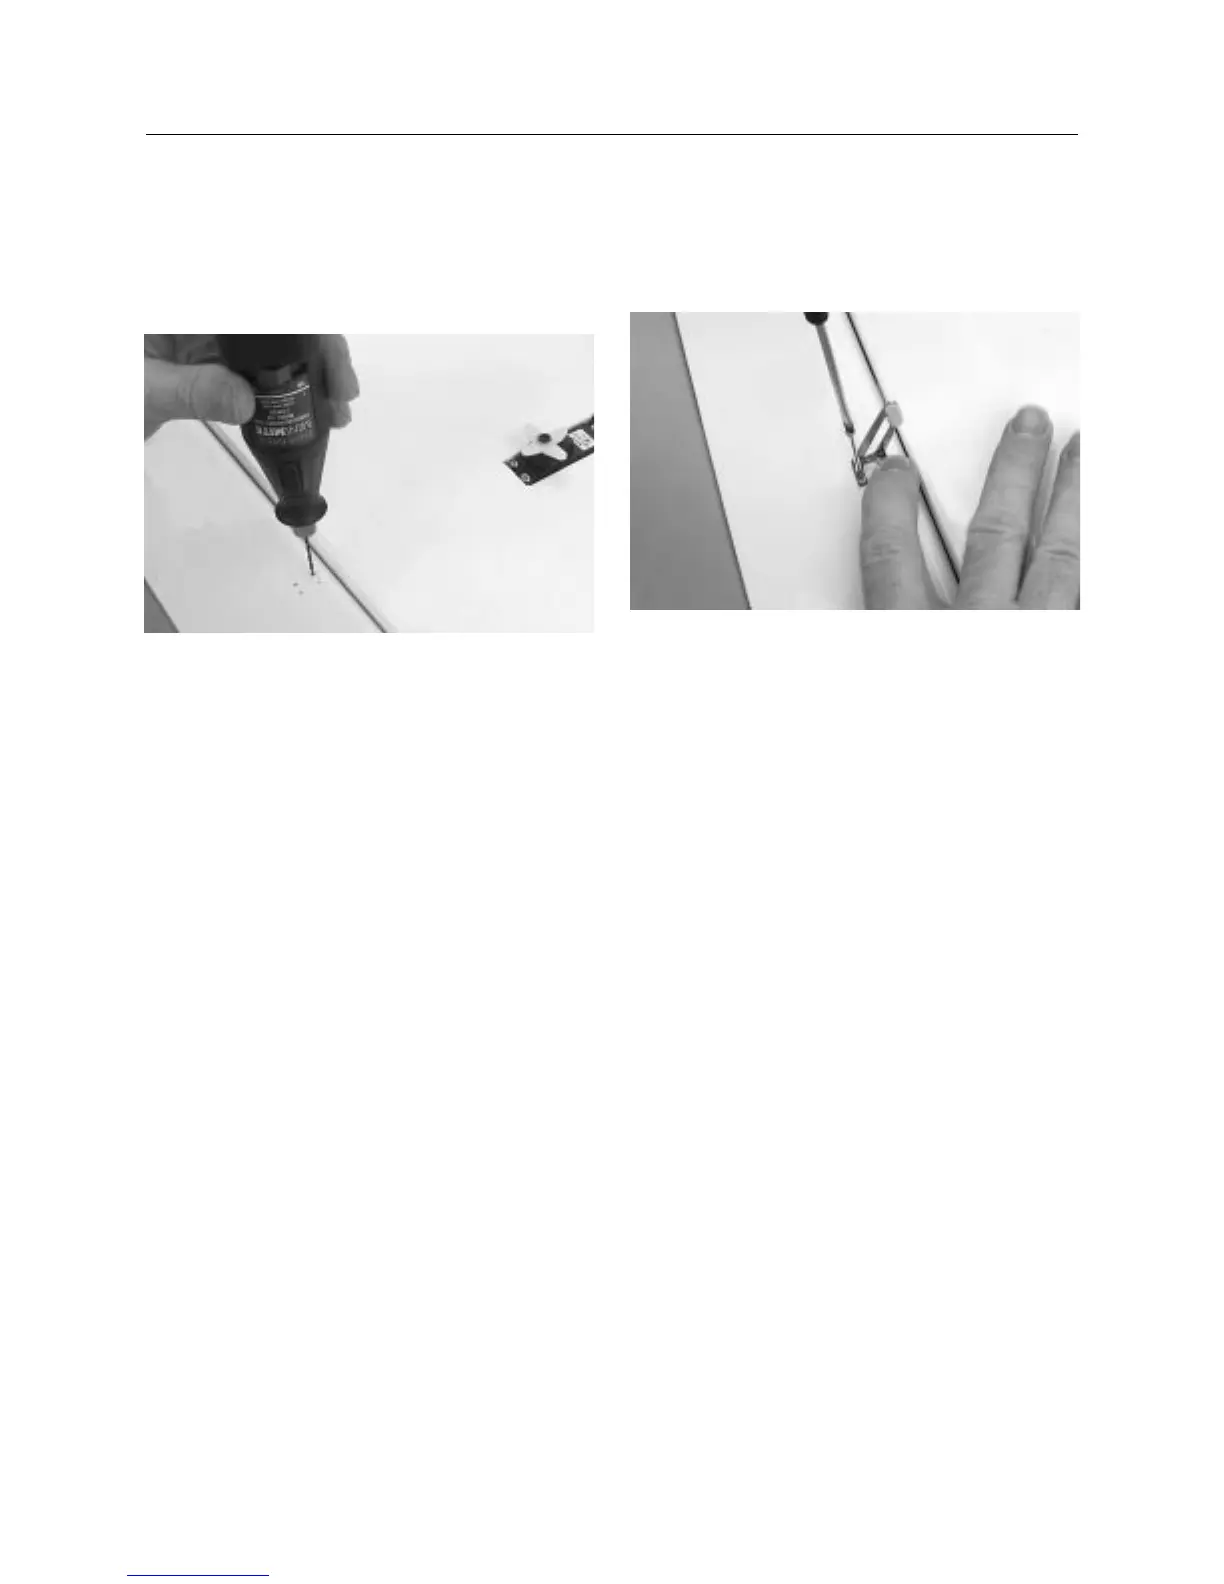
Step 5. Using a 3/32′′ drill bit, drill the screw holes for
mounting the control horn. Since the aileron balsa is soft, we
recommend applying thin CA into the aileron through the drilled
holes to saturate and stiffen the balsa in the mounting area.
Step 6. Attach the control horn to the aileron using four screws
and the plastic plate. Be careful not to accidentally puncture the
covering with the screwdriver.
Step 7. Repeat the process for the other aileron on the other
wing panel
Note: The control horn mounting screws may be excessively
long on some control surfaces, and you may wish to
cut off the excess length using a Moto-Tool, leaving a
minimum of 1/8′′ of mounting screw above the plastic
plate.
CONTINUED
Section 4: Installing the Aileron Linkage