39
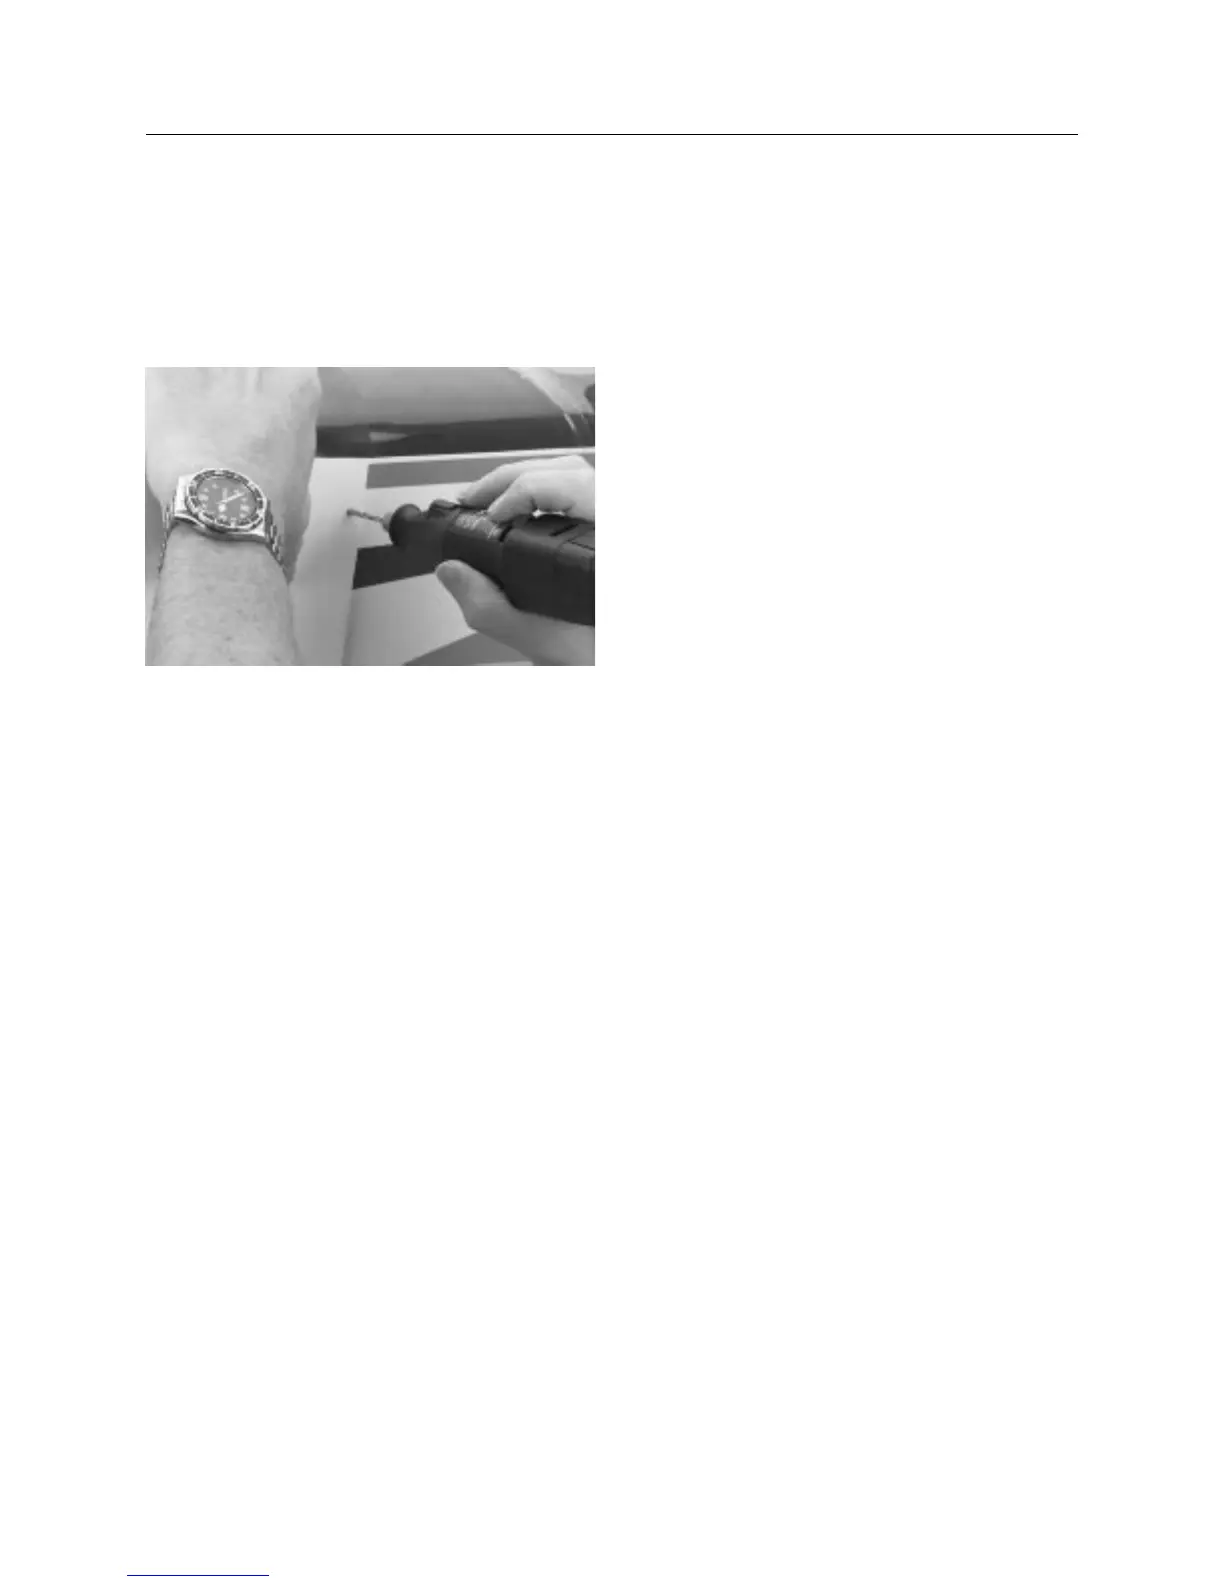
Step 7. Once the mounting holes have been marked, and you’re
satisfied with the location, drill two holes on each side of the
cowl using a 1/16′′ drill bit. Use masking tape to temporarily
hold the cowl in position. It is important the cowl be held down
tightly so there is a tight fit when the cowl is attached.
Step 8. Remove the cowling and enlarge the four holes in the
cowling just enough to fit the rubber grommets in place.
Note: On some engines where the carburetor is not easily
accessible, a removable fueling valve can be used.
Dubro’s DUB334 is an excellent choice and should be
available at your local hobby shop.
Step 9. With the cowling not on the fuselage, insert the 4-40
button head bolts through the holes you drilled. From inside the
fuselage, place a 4-40 blind nut on the bolt and pull on the
button head bolt to “set” the blind nut into the fuselage.
Note: You may wish to put a small drop of thick CA on the
flange of the blind nuts to help prevent them from
coming off the fuselage when installing the button
head bolt when attaching the cowling.
Step 10. Align the cowling on the fuselage and secure it with
the button head bolts. Do not over-tighten the bolts by smashing
into the rubber grommets as this will take away the vibration
isolation of the grommets.
Note: Four pieces of self-adhesive trim tape are included for
trimming the cowl.
CONTINUED
Section 16: Attaching the Cowling