31
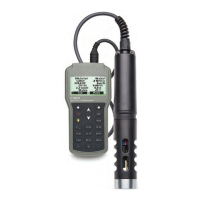
CALIBRATION
11. Shake any remaining solution off the probe. No droplets should remain on the DO sensor cap
sensing surface.
Note: Do not wipe the sensing surface as damage may occur.
12. Shake any remaining solution out of the beaker. The calibration beaker should not be dry.
13. Screw the empty calibration beaker onto the probe body. Do not tighten the calibration beaker
on the probe threads.
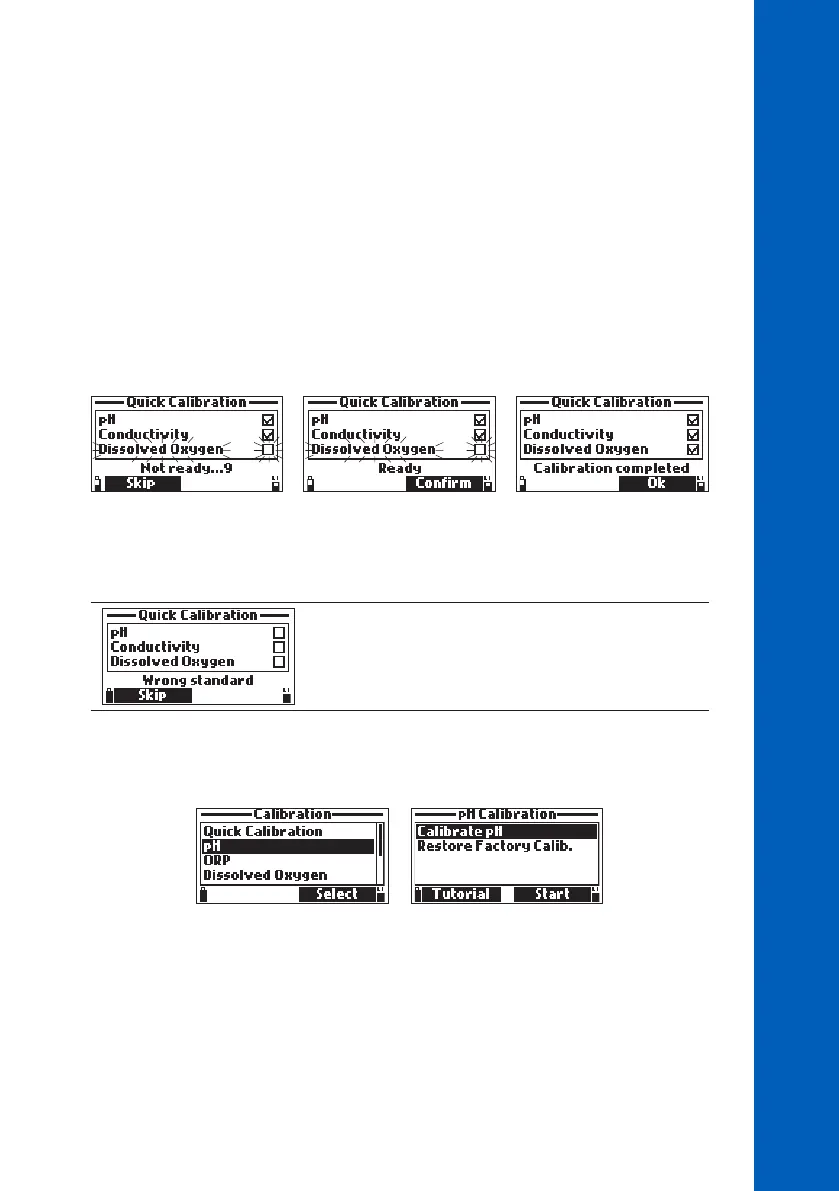
14. Wait at least 15 minutes for the air to become saturated with water vapor. Press Accept.
“Dissolved Oxygen” will start to blink along with the “Not ready” message.
15. The “Ready” message will appear when the DO reading has stabilized. Press Confirm to store
the calibration point. The “Calibration complete” message and a checkmark will appear in the
box next to “Dissolved Oxygen” to indicate a successful calibration.
16. Press OK to return to the calibration menu.
Note: To quit the quick calibration procedure, press ESC key at any time.
Error Message
“Wrong standard” is displayed when the input is not within the
acceptable range.
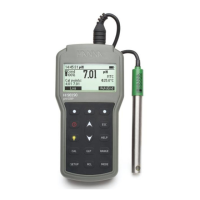
8.2. pH CALIBRATION
There are two options available:
Calibrate
pH:
The user can perform a new calibration using up to 3 buffers (pH 4.01, 6.86, 7.01,
9.18, 10.01 or one custom buffer). When a three-point calibration is performed, new
data overwrites the old one. With a single or two-point calibration the meter will also use
information from the previous calibration, if available.
Restore
Factory
Calib.:
The user can restore the factory calibration if a new pH sensor has been installed. Some
messages displayed during calibration are based on previous calibration data. A user
calibration should follow immediately.
 Loading...