EasyManuals Logo

HIKVISION DS-2CD2432F-I Installation Manual

HIKVISION DS-2CD2432F-I
131 pages
To Next Page IconTo Next Page
To Previous Page IconTo Previous Page
Page #68 background imageLoading...
Page #68 background image
Installation Manual of Network Camera
67
3. Connect the corresponding power cable, network cable, audio and alarm cables.
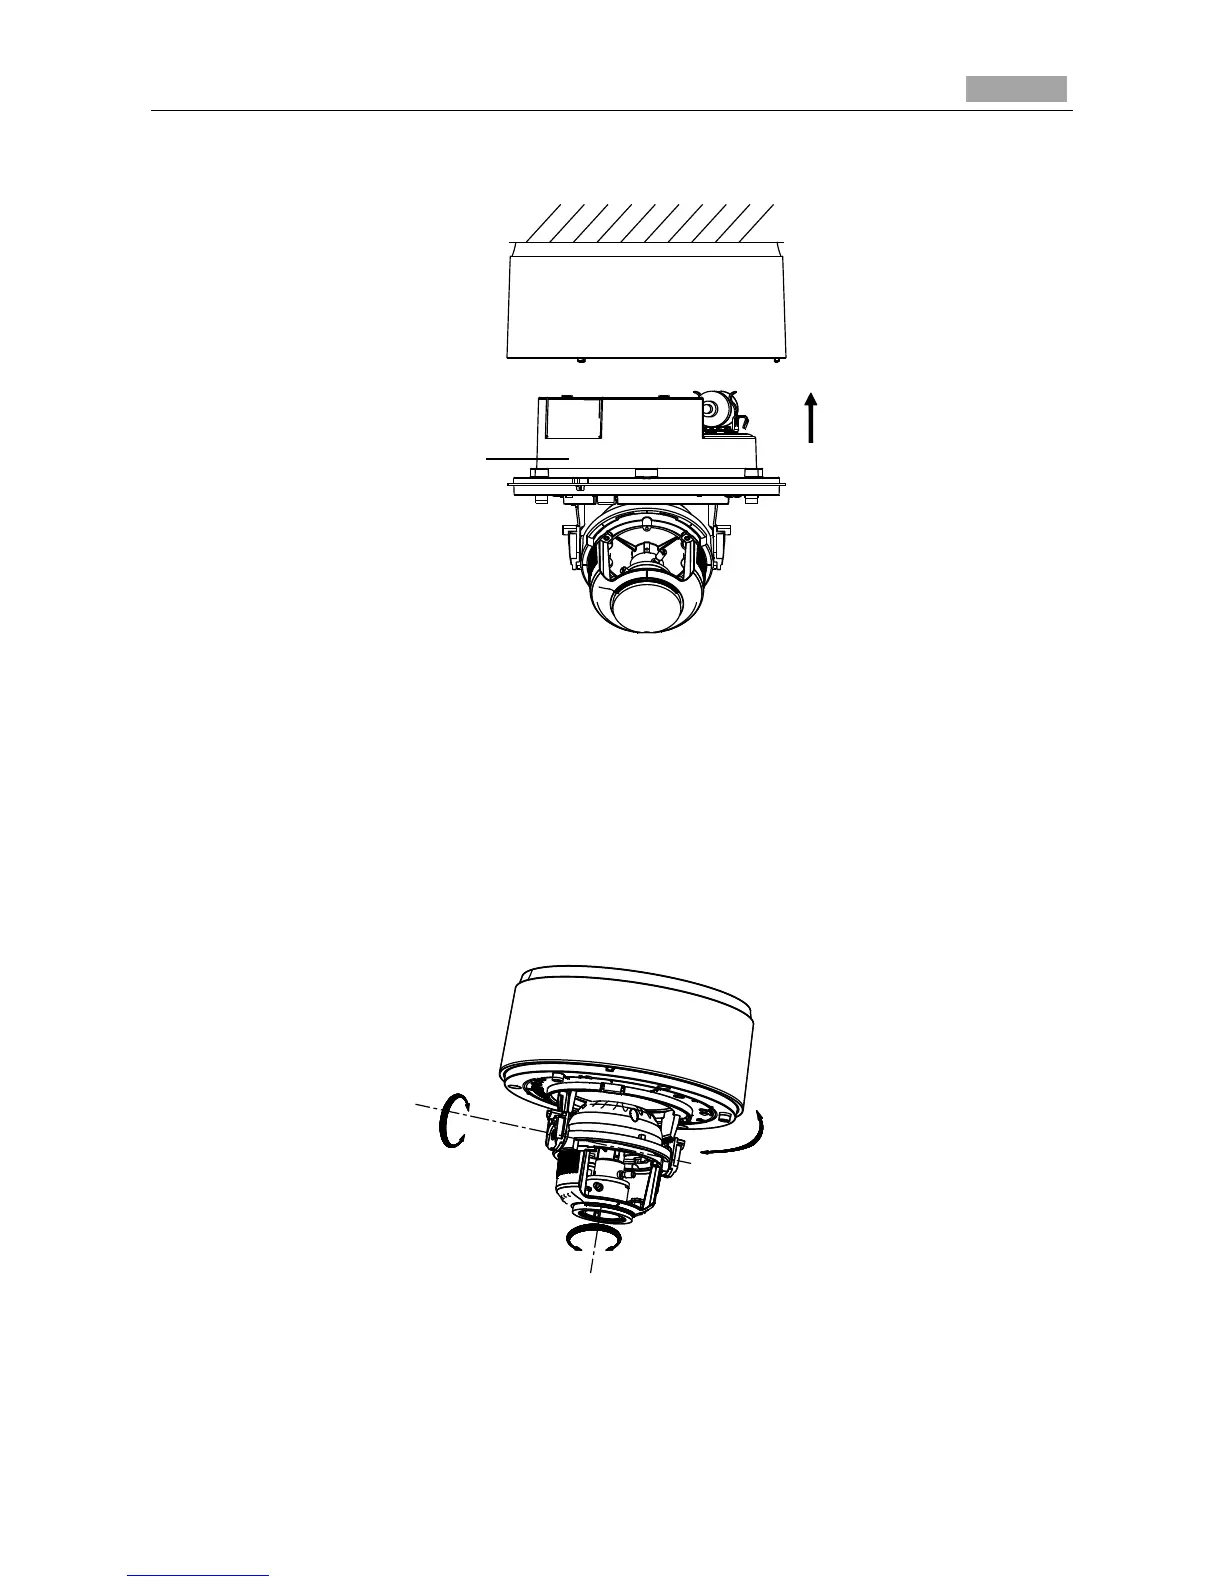
4. Install the dome drive to the mounting base.
Dome
Drive
Figure 3-94 Install the Dome Drive
5. Adjust the surveillance angle.
1). Loosen the lock screw besides the lens.
2). Hold the plastic plate and rotate the camera to adjust the panning angle [0~350°].
3). Push the lens forward and backward to adjust the tilting angle [0~80°].
4). Rotate the lens to adjust the azimuth angle of the camera [0~350°].
5). Tighten the lock screw.
Tilt 0~80°
Pan 0~350°
Rotation 0~350°
Figure 3-95 3-axis Adjustment
6. Adjust the Lens.
Lo-Call 1890 866 900
www.cctvireland.ie
shop@cctvireland.ie

Table of Contents

Other manuals for HIKVISION DS-2CD2432F-I

Questions and Answers:

Question and Answer IconNeed help?

Do you have a question about the HIKVISION DS-2CD2432F-I and is the answer not in the manual?

HIKVISION DS-2CD2432F-I Specifications

General IconGeneral
BrandHIKVISION
ModelDS-2CD2432F-I
CategorySecurity Camera
LanguageEnglish

Related product manuals