Installation Manual of Network Camera
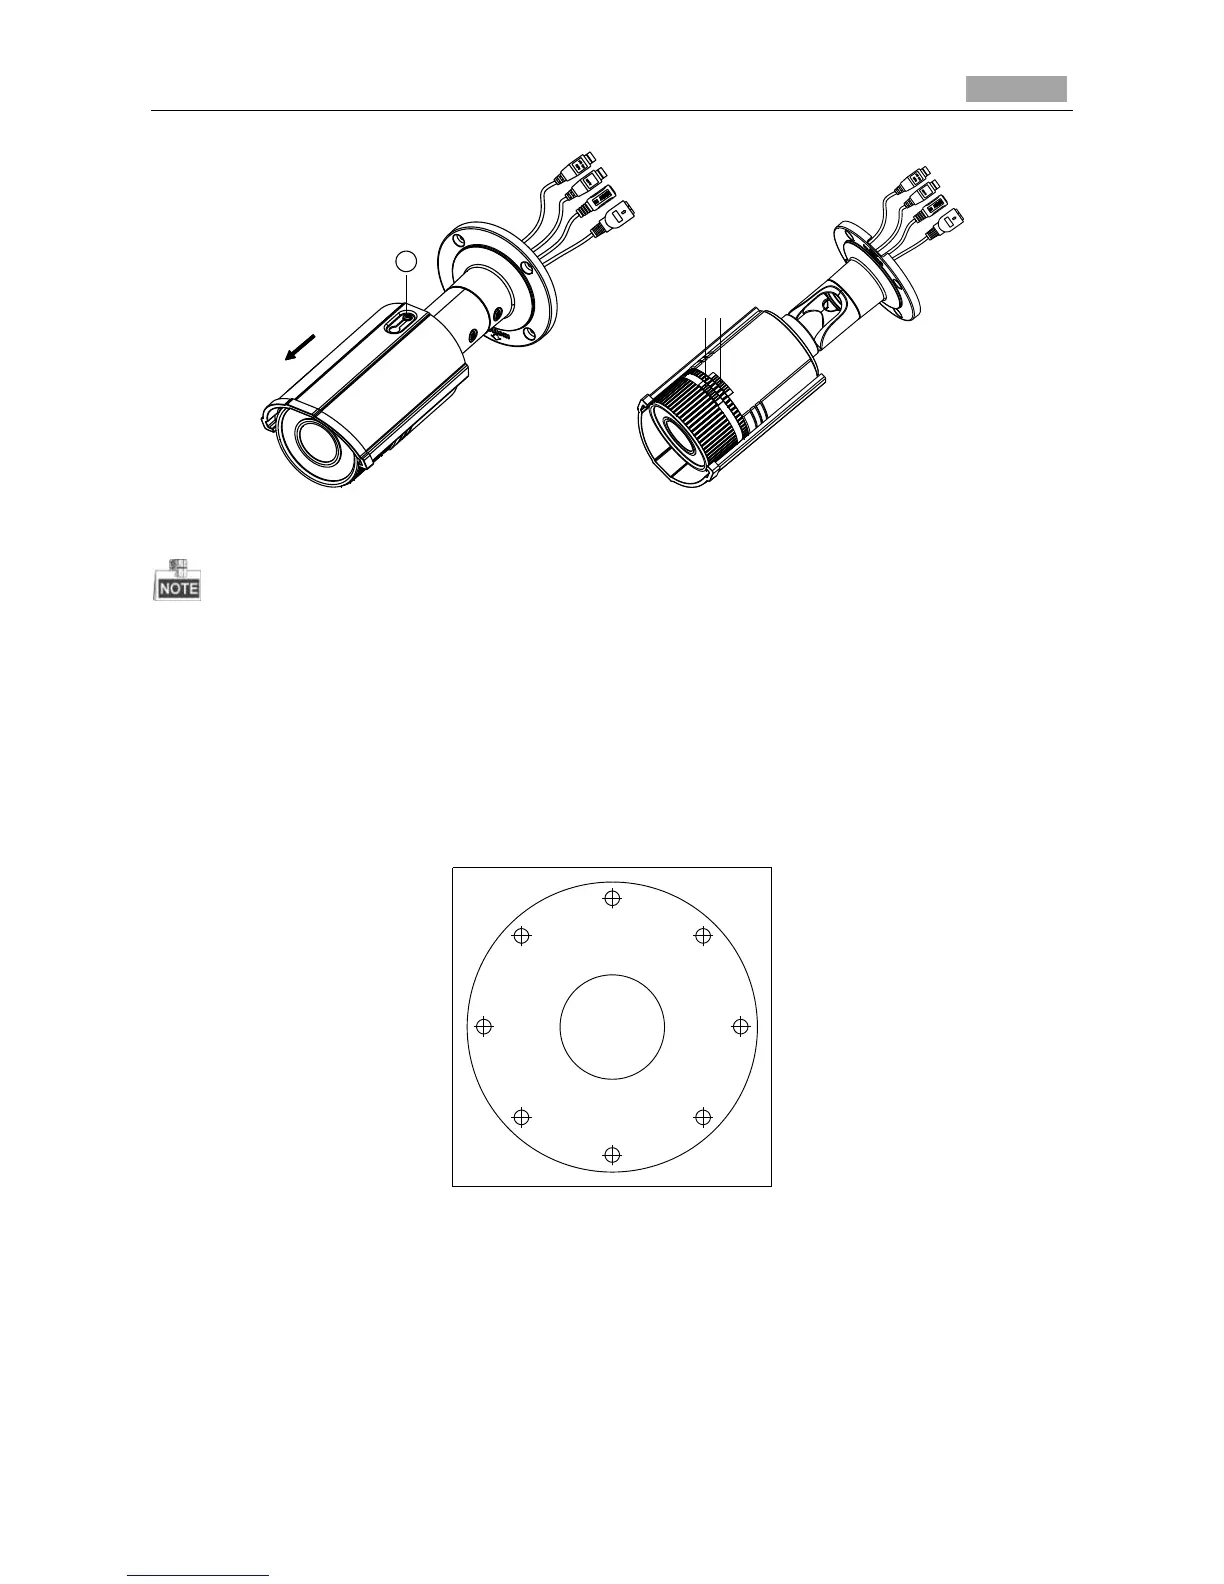
Figure 4-27 Assemble the Camera
For water-proof, please align the rotating label on the front cover with that on the camera when you
rotate the front cover clockwise. Refer to Figure 4-27 (right).
Wall Mounting
Steps:
1. Attach the drill template (supplied) to the wall where the camera is to be mounted.
2. Drill screw holes in the wall according to the No.1 hole of the drill template.
Ceiling Mounting
1
1
1
1
2
2
2
2
1:Screw Hole for
Bracket
2:Screw Hole for
Mounting Base
Figure 4-28 Drilling Holes in the Wall
3. If you need to route cables through the wall (or ceiling), cut a cable hole according to the drill
template. Skip this step, if you want to route the cables on the surface of the ceiling.
4. Route the cables of the camera.
5. Secure the camera to the wall (or ceiling) with expansion screws. Refer to the Figure 4-29.
 Loading...