Note
●
This funcon should be supported by the device.
●
You can log into the device to get the cercate le by web browser.
7.
Check Synchronize Time to synchronize the device me with the PC running the client aer
adding the device to the client.
8.
Oponal: Check Import to Group to create a group by the device name.
9.
Finish adding the device.
-
Click Add to add the device and back to the device list page.
-
Click Add and New to save the
sengs and connue to add other device.
10.
Oponal: Perform the following operaon(s).
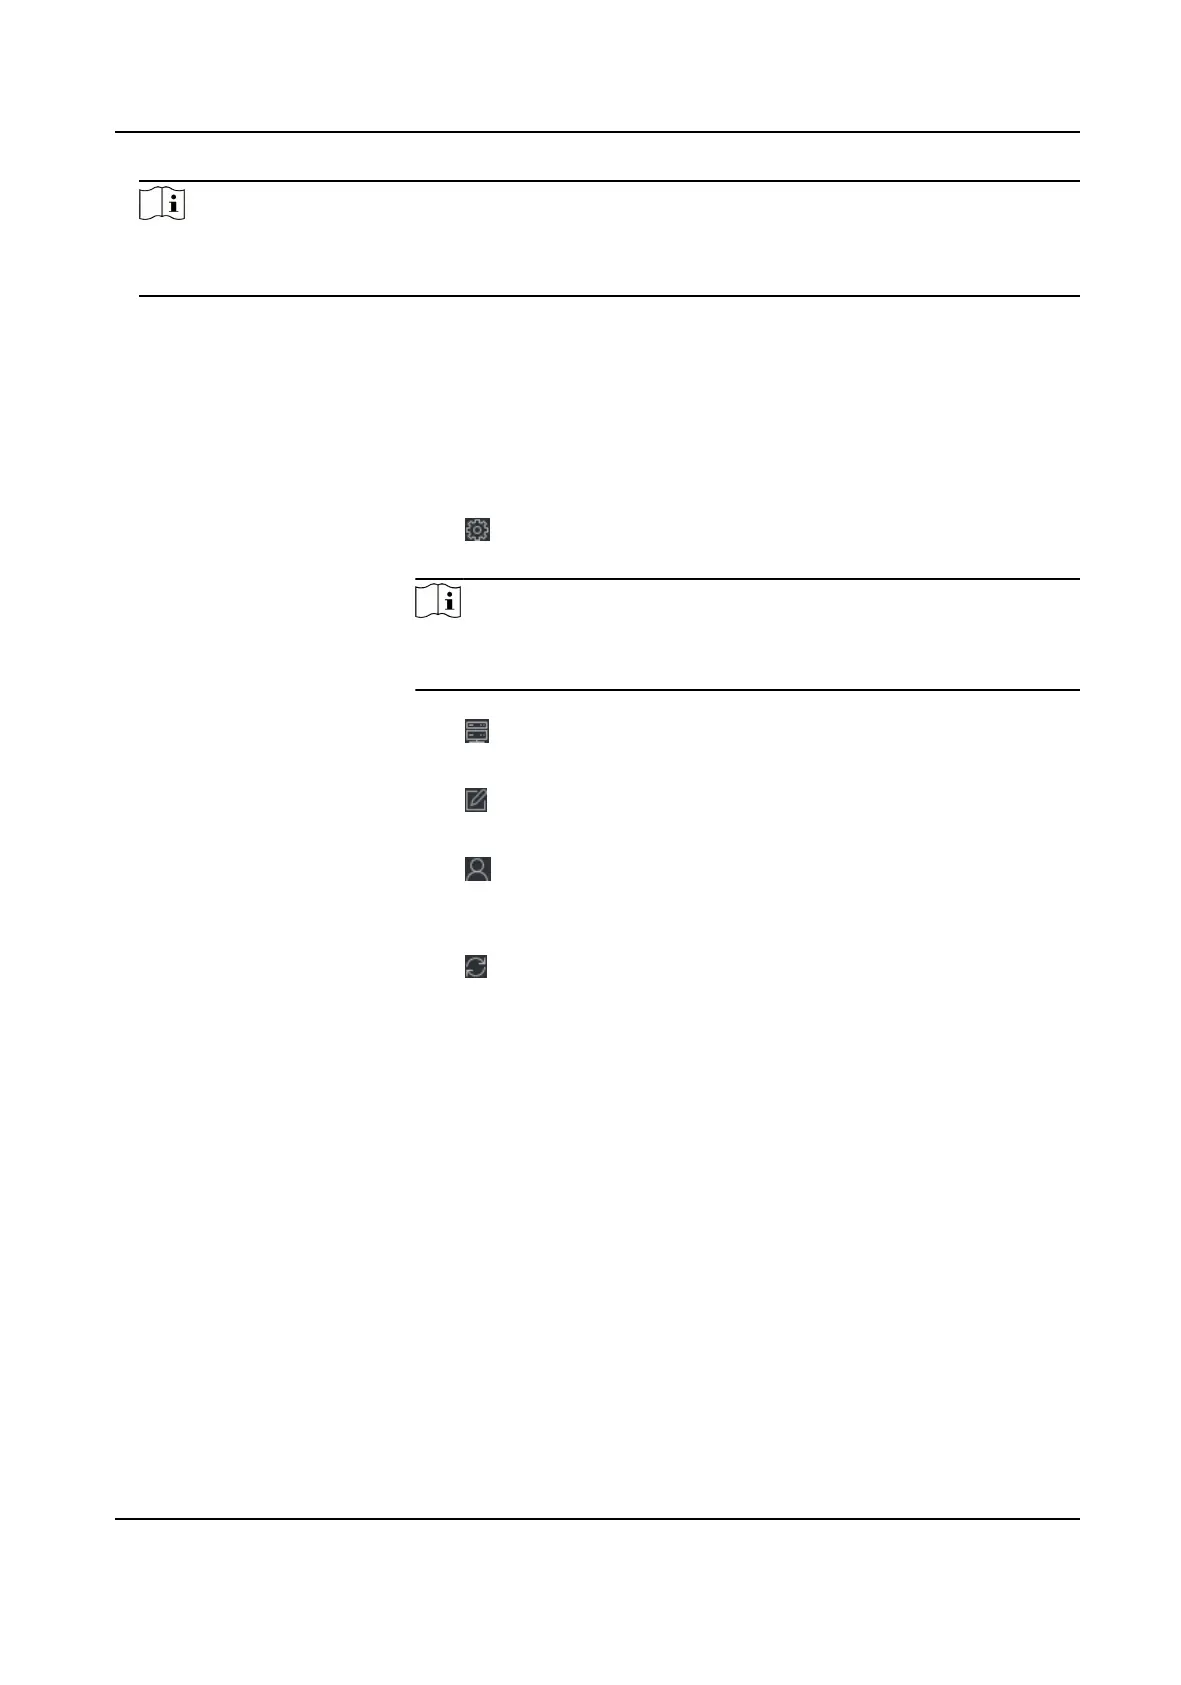
Remote
Conguraon
Click on Operaon column to set remote conguraon of the
corresponding device.
Note
For detail operaon steps for the remote conguraon, see the user
manual of the device.
Device Status Click on Operaon column to view device status, including
cameras, recording status, signal status, hardware status, etc.
Edit Device
Informaon
Click on Operaon column to edit the device informaon, such as
IP address, user name, and password.
Check Online User Click on Operaon column to check the online users who access
the device, such as user name, user type, user's IP address, and
login me.
Refresh Click on Operaon column to get the latest device informaon.
Delete Device Select one or mulple devices and click Delete to delete the
selected device(s) from the client.
Add Device by EHome Account
For access control devices supports EHome 5.0 protocol, you can add them to the client by EHome
protocol
aer entering device ID and key, if you have congured their server addresses, port No.,
and device IDs.
Before You Start
Make sure the devices have connected to the network properly.
Steps
1.
Enter Device Management module.
The added devices are displayed on the right panel.
2.
Click Add to open the Add window.
DS-K1T341C Series Face Recognion Terminal User Manual
131

 Loading...