EasyManuals Logo

HIKVISION NETWORK CAMERA User Manual

HIKVISION NETWORK CAMERA
165 pages
To Next Page IconTo Next Page
To Previous Page IconTo Previous Page
Page #12 background imageLoading...
Page #12 background image
User Manual of Network Camera
12
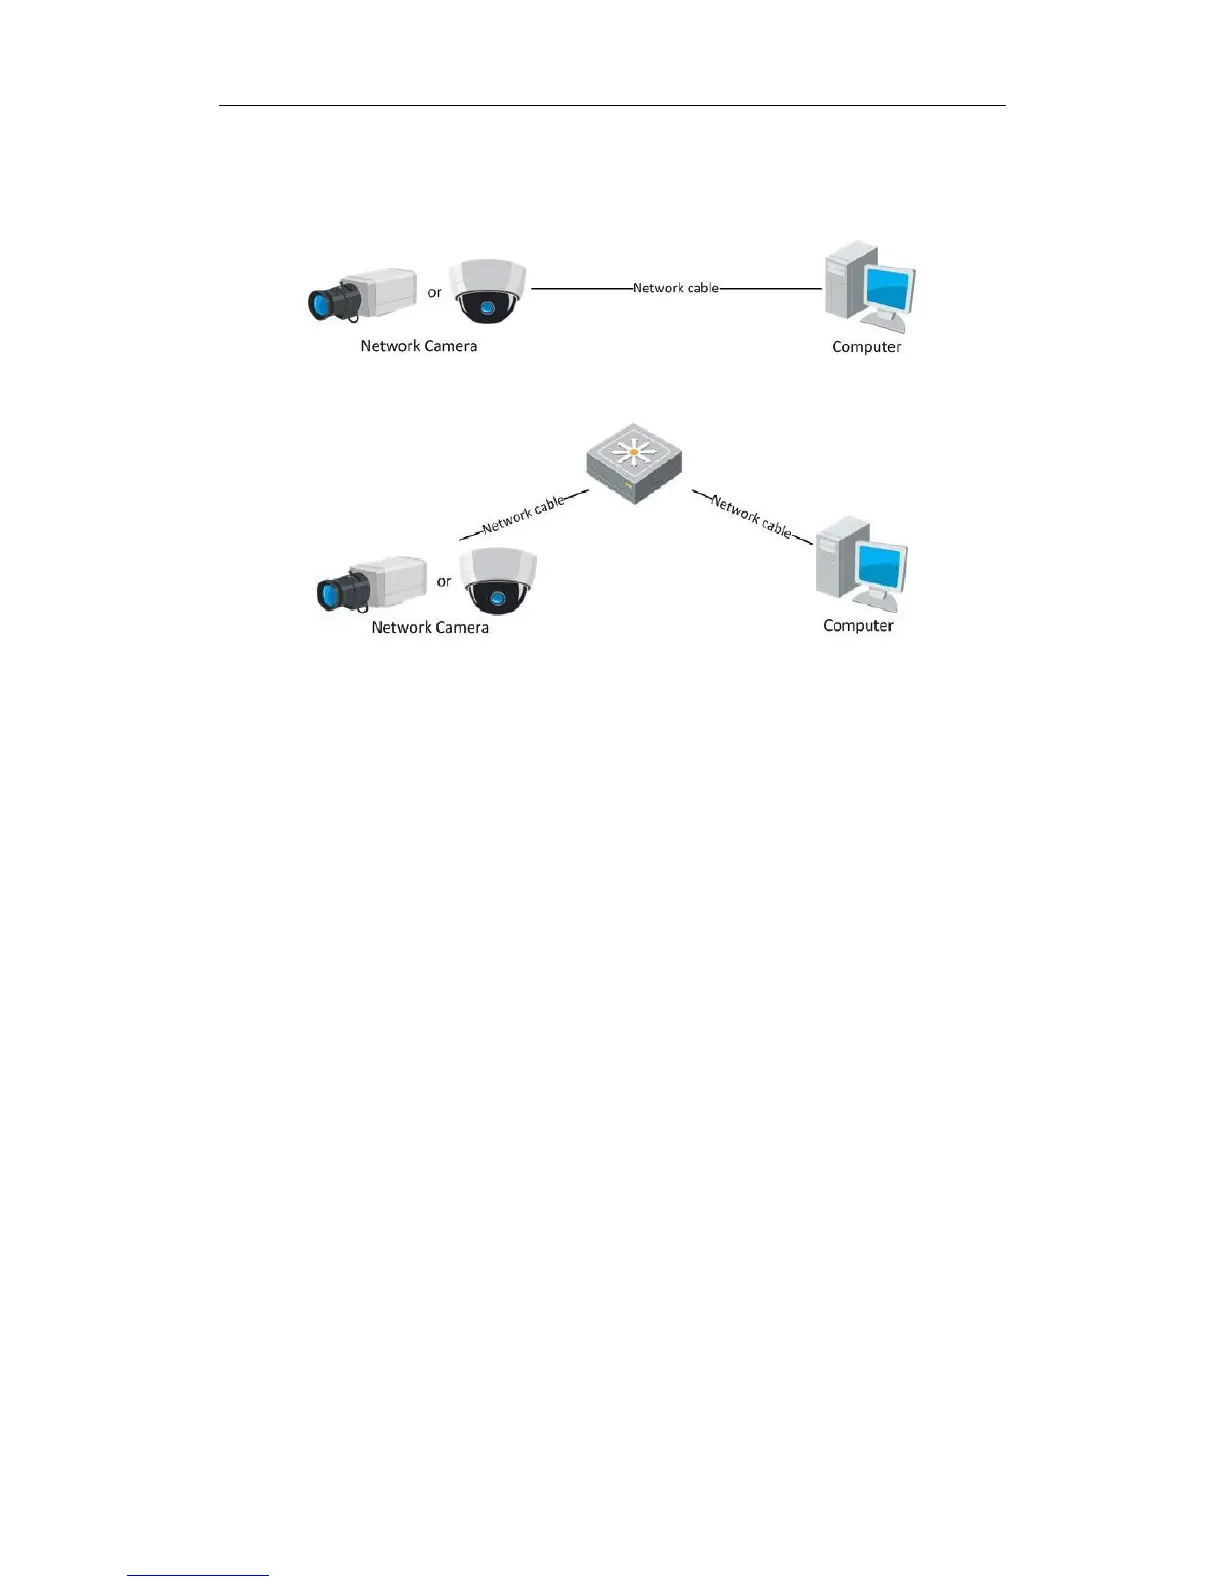
Refer to the Figure 2-2 to set network camera over the LAN via a switch or a
router.
Figure 2-1 Connecting Directly
Figure 2-2 Connecting via a Switch or a Router
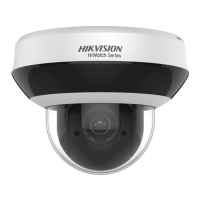
2.1.2 Activating the Camera
You are required to activate the camera first by setting a strong password for it before
you can use the camera.
Activation via Web Browser, Activation via SADP, and Activation via Client Software
are all supported.
Activation via Web Browser
Steps:
1. Power on the camera, and connect the camera to the network.
2. Input the IP address into the address bar of the web browser, and click Enter to
enter the activation interface.
Notes:
The default IP address of the camera is 192.168.1.64.
For the camera enables the DHCP by default, you need to activate the camera
via SADP software. Please refer to the following chapter for Activation via SADP.

Table of Contents

Questions and Answers:

Question and Answer IconNeed help?

Do you have a question about the HIKVISION NETWORK CAMERA and is the answer not in the manual?

HIKVISION NETWORK CAMERA Specifications

General IconGeneral
Operating Temperature-30 °C to 60 °C (-22 °F to 140 °F)
LensFixed or varifocal (depending on model)
CompressionH.265+, H.265, H.264+, H.264
AudioBuilt-in microphone and/or audio input/output (depending on model)
NetworkEthernet (RJ-45)
Power SupplyPoE or DC 12V (depending on model)
WeatherproofIP66 or IP67 (depending on model)
Image SensorCMOS (depending on model)
Smart FeaturesMotion detection, line crossing detection, intrusion detection
StorageMicroSD card slot (up to 256GB), NAS
Network Interface10/100 Mbps Ethernet

Related product manuals