EasyManuals Logo

HIKVISION NETWORK CAMERA User Manual

HIKVISION NETWORK CAMERA
165 pages
To Next Page IconTo Next Page
To Previous Page IconTo Previous Page
Page #128 background imageLoading...
Page #128 background image
User Manual of Network Camera
128
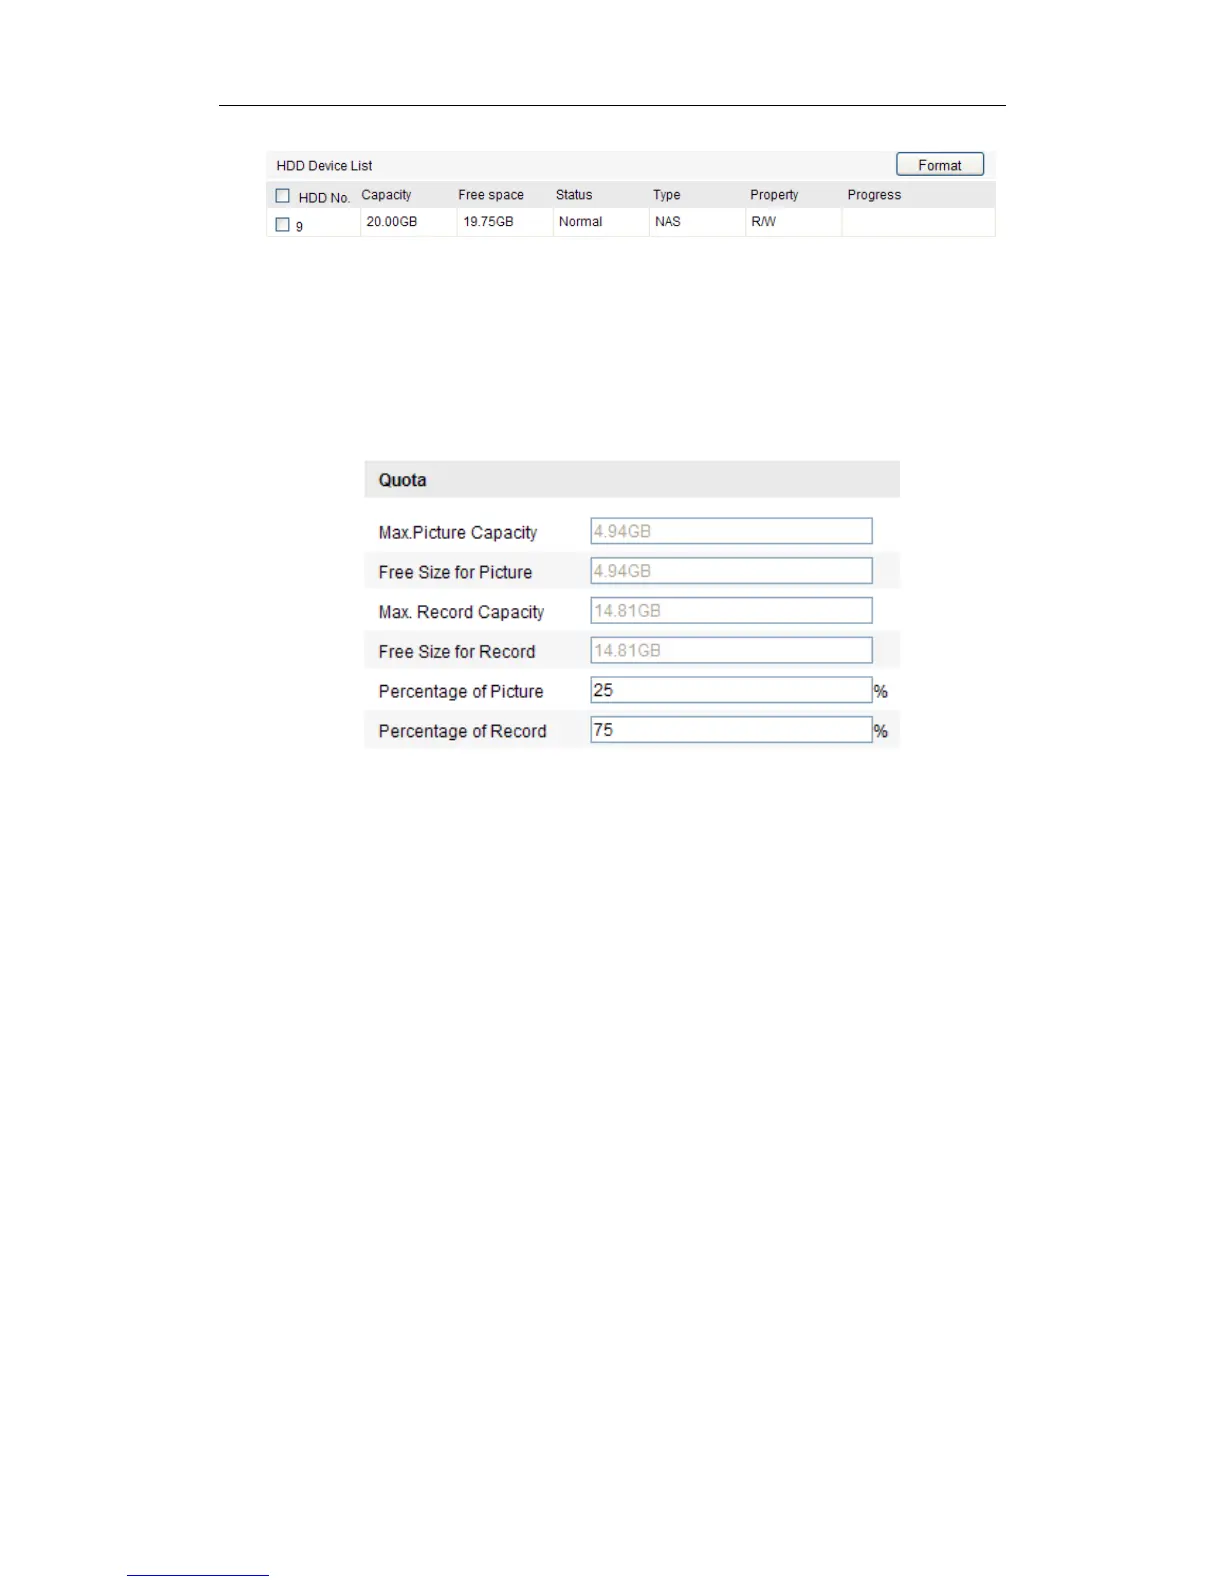
Figure 7-3 View Disk Status
3. Define the quota for record and pictures.
(1) Input the quota percentage for picture and for record.
(2) Click Save and refresh the browser page to activate the settings.
Figure 7-4 Quota Settings
Notes:
Up to 8 NAS disks can be connected to the camera.
To initialize and use the SD card after insert it to the camera, please refer to the
steps of NAS disk initialization.
7.2 Configuring Recording Schedule
Purpose:
There are two kinds of recording for the cameras: manual recording and scheduled
recording. For the manual recording, refer to Section 5.3 Recording and Capturing
Pictures Manually. In this section, you can follow the instructions to configure the
scheduled recording. By default, the record files of scheduled recording are stored in
the SD card (if supported) or in the network disk.
Steps:
1. Enter the Record Schedule Settings interface:

Table of Contents

Questions and Answers:

Question and Answer IconNeed help?

Do you have a question about the HIKVISION NETWORK CAMERA and is the answer not in the manual?

HIKVISION NETWORK CAMERA Specifications

General IconGeneral
Operating Temperature-30 °C to 60 °C (-22 °F to 140 °F)
LensFixed or varifocal (depending on model)
CompressionH.265+, H.265, H.264+, H.264
AudioBuilt-in microphone and/or audio input/output (depending on model)
NetworkEthernet (RJ-45)
Power SupplyPoE or DC 12V (depending on model)
WeatherproofIP66 or IP67 (depending on model)
Image SensorCMOS (depending on model)
Smart FeaturesMotion detection, line crossing detection, intrusion detection
StorageMicroSD card slot (up to 256GB), NAS
Network Interface10/100 Mbps Ethernet

Related product manuals