. A complete Parts List is available at www.HobartWelders.com
OM-260 273 Page 14
5-4. Installing Welding Gun
260 458-A
1 Drive Assembly
2 MIG Gun
3 Gun Securing Thumbscrew
4 Gun End
Loosen thumbscrew. Insert end
through opening until it bottoms
against drive assembly. Tighten
thumbscrew.
Welding gun must be inserted
completely to prevent leakage of
shielding gas.
5 Gun Trigger Plug
Insert plug into receptacle, and
tighten threaded collar.
6 Spool Gun/MIG Gun Switch
Place switch in MIG Gun position.
Close door.
. Be sure that gun end is tight against drive assembly.
4
Correct Gun
Fully Seated
4
Incorrect Gun
Not Seated
Exposed O-rings
will cause shielding
gas leakage.
Spool Gun
5
MIG Gun
6
1
3
2
4
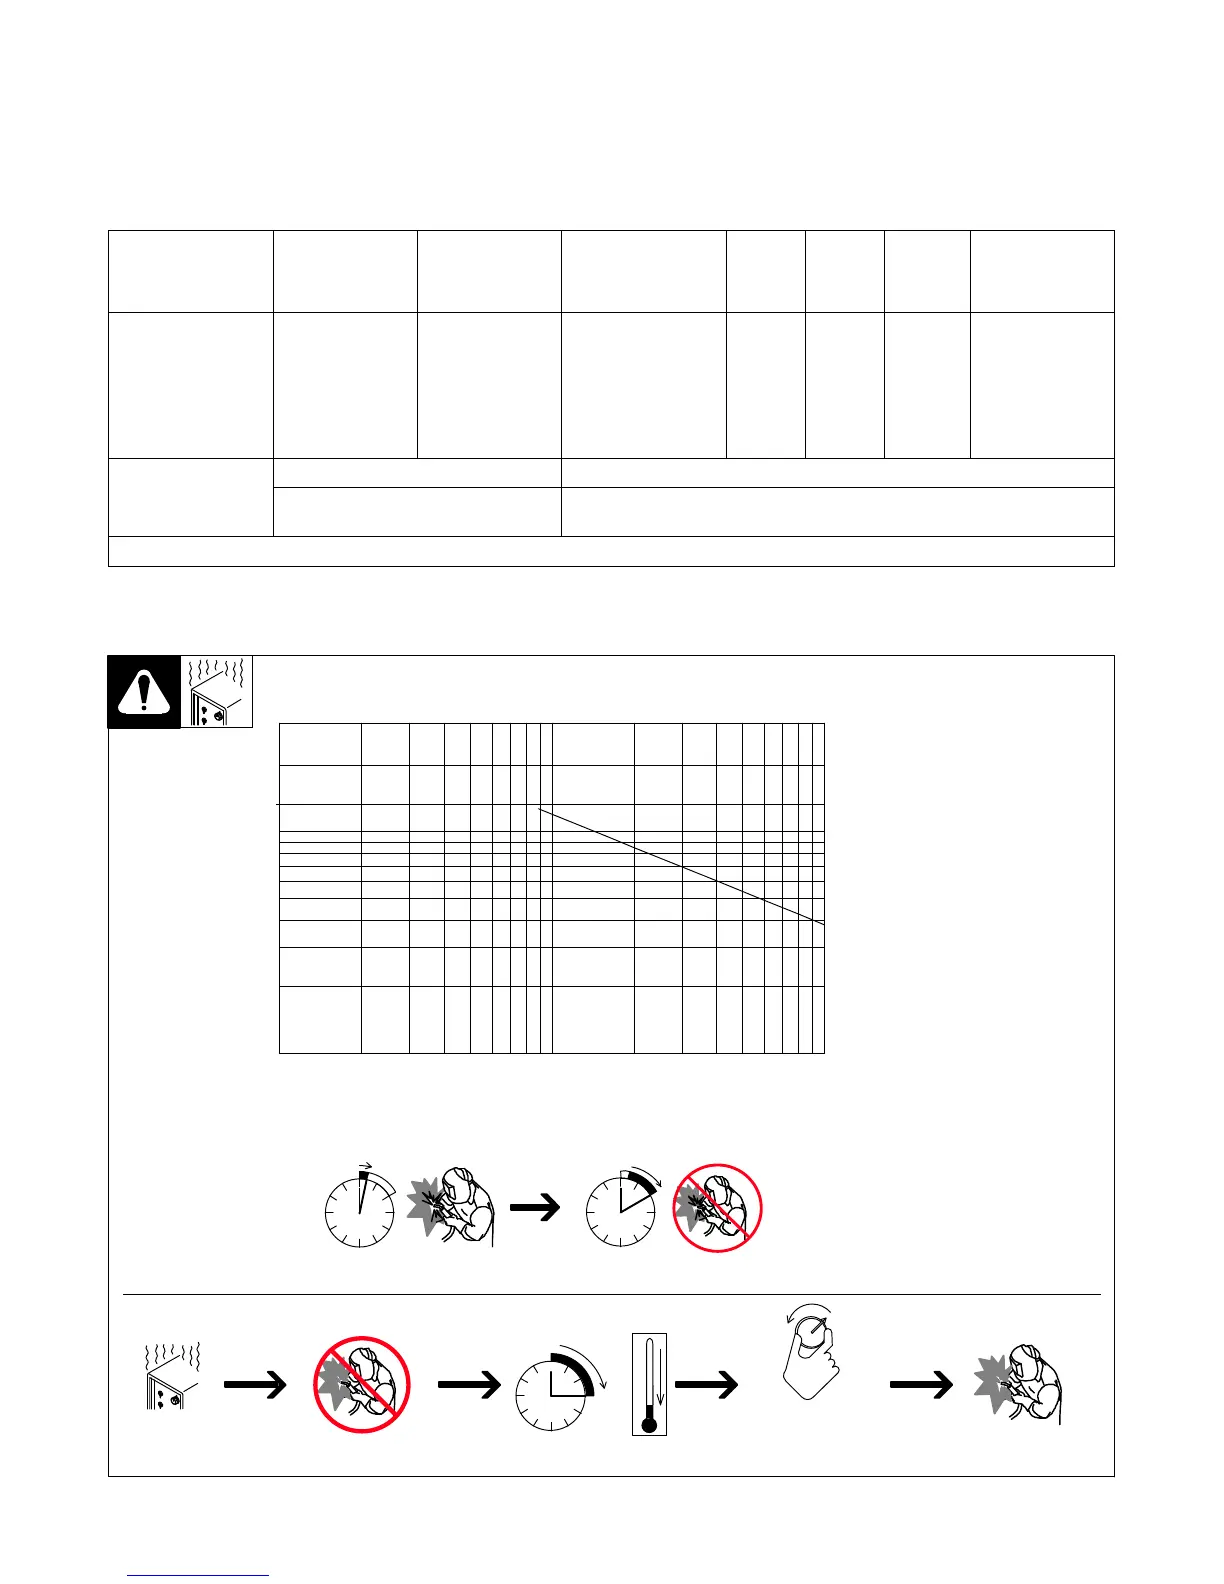
5-5. Process/Polarity Table
Process Polarity
Cable Connections
Cable To Gun Cable To Work
GMAW − Solid wire with shielding gas DCEP − Reverse Polarity Connect to positive (+) output
terminal
Connect to negative (−) output terminal
FCAW − Self-shielding wire − no
shielding gas
DCEN − Straight Polarity Connect to negative (−) output
terminal
Connect to positive (+) output terminal
5-6. Changing Polarity
! Turn off welding power
source.
1 Lead Connections For Direct
Current Electrode Negative
(DCEN)
2 Lead Connections For Direct
Current Electrode Positive
(DCEP)
Always read and follow wire
manufacturer’s recommended
polarity, and see Section 5-5.
Close door.
260 459-A
1
CHANGING
POLARITY
DCEN
Electrode negative
for flux cored wire
DCEP
Electrode positive
for solid wire
2