122
Scheduled Maintenance
3. Set the valve cartridge in place. Rock the car-
tridge slightly until it drops into position.
4. Use the palm of your hands and press equally
on each side to press the valve cartridges into
place.
5. Replace the face seal in each stung box. Use
grease to help hold it in place during assembly.
6. Apply a thin coat of anti seize to the head bolt
threads.
7. Carefully rotate the head into position, insert
the head bolts and tighten nger tight.
8. Tighten the head bolts evenly in a crisscross
sequence beginning with the center bolts.
Tighten the bolts snug.
9. Finish tightening the head bolts in a crisscross
sequence beginning with the center bolts using
the 2 lb hammer and the 7/8” Jetstream tool.
Hit the Jetstream tool 3 times with the hammer.
NOTICE:
IT IS A GOOD IDEA TO REMOVE THE UHP HOSE AND FLUSH
THE UHP MANIFOLD WITH WATER BEFORE SETTING
PRESSURE
Lapping Valves And Seats
The suction valve seat surfaces in the UNI-VALVE
cartridges should be lapped every 100 hours to
remove small pits or grit inclusions as preventative
maintenance. Slight damage in the seating surface
can also be repaired with the lapping procedure.
Lapping a valve to the seat creates a unique suc-
tion valve to UNI-VALVE cartridge seat seal. If the
valve is moved to another cartridge, it must be
lapped to that seat for a proper seal.
Disassemble and lap the valve and seat of one
UNI-VALVE cartridge at a time to keep the parts
with that cartridge. Always inspect the valve car-
tridge for damage, then separate the suction valve
from the cartridge and lay the parts out on a clean
surface. Inspect them thoroughly for damage. If
any component is cracked or badly pitted or worn,
it will have to be replaced. Refer to the legend in
this section for descriptions of wear, damage and
imperfections that will need to be addressed.
If the suction valve and seat are in acceptable
condition or a new cartridge and suction valve is
being installed, use the following procedure to lap
the valve and seat.
Lapping the seating surfaces:
1. Separate the suction valve from the valve
cartridge.
2. Carefully inspect the valve seat and the suc-
tion valve to make sure they are in acceptable
condition.
3. Apply approximately 1/8 teaspoon of 600
grit lapping compound to the valve seat and
spread evenly.
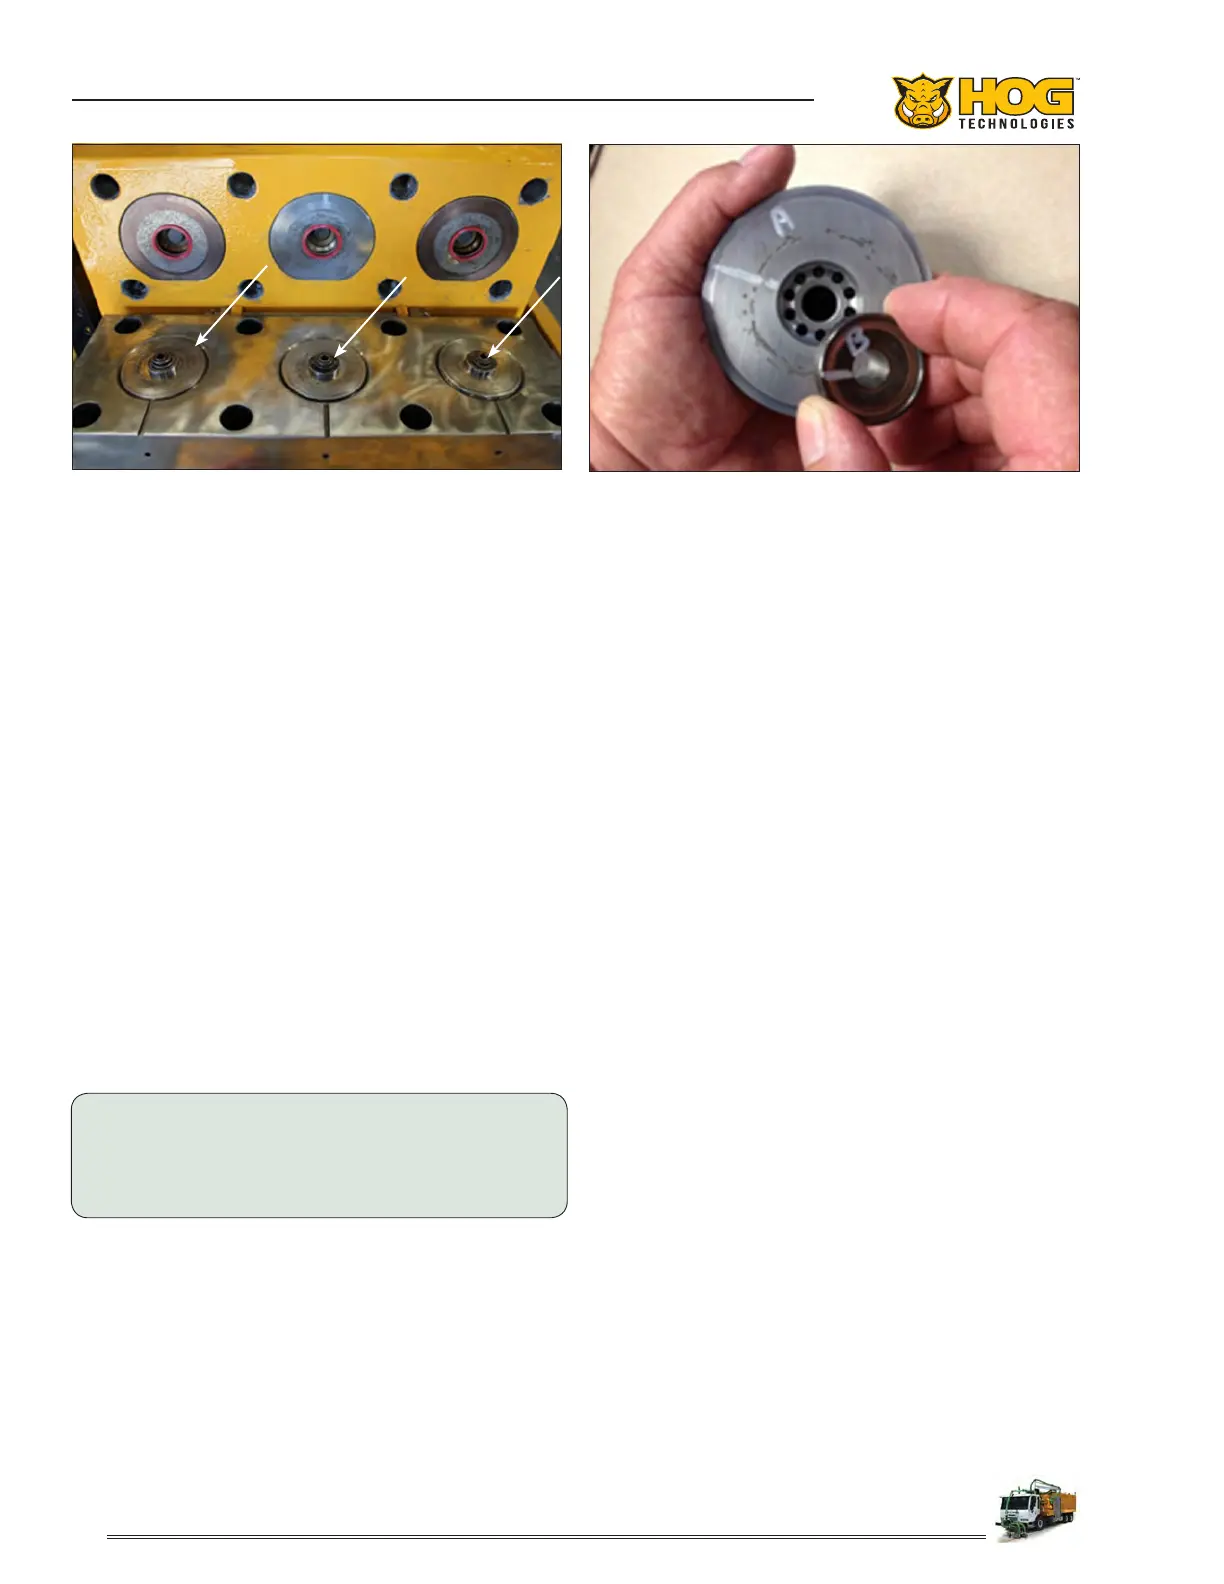
4. Hold the body of the UNI-VALVE cartridge (A)
in one hand and the suction valve (B) in the
other. Figure 1.
5. Push the two parts together.
Figure 1: A. Univalve Body & Seat - B. Suction Valve
UNI-VALVES Installed In Head
 Loading...