37
To set the door lock status, touch the Door icon to select a Door device from the drop-down menu (see notes below). Select
LOCKED, UNLOCKED or CODE UNLOCKED.
To set the garage door lock status, touch the Garage Door icon to select a Garage Door device from the drop-down menu
(see notes below). Select OPENED or CLOSED.
To set the Water Valve status, touch the Water Valve icon and select a Water Valve device from the drop-down menu (see
notes below). Select the Condition; OPENED or CLOSED.
To set the zones, touch the Zones button and select a zone from the drop-down menu. Select Restore, Alarm or Fault.
Note: Do not use zone Restore in the Condition field.
Action Options – After each selection touch SAVE!!!
In the “Action” box, touch the Add icon.
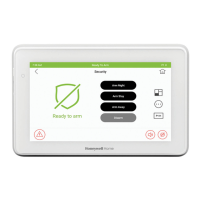
To set the security mode, touch the Security icon and select: DISARM, AWAY, STAY, NIGHT, DISARM WITH CODE. Enter
User Code, if required.
To set the light on/off, touch the Light icon and select a Lighting Device OR Lighting Device Group from the drop-down
menu; set the action to ON or OFF and if it is a dimming switch set the desired dim level. Touch the ON FOR TIME button (to
limit the scene to execute only from within a specified time window) and touch on the “hour/minutes” displayed to enter the
desired time on the data entry keyboard. Touch on AM/PM to change the setting.
To set the thermostat settings, touch the Thermostat icon and select a Thermostat or Thermostat Group from the drop-
down menu. Touch the Set Mode button to set the Action to “Off”, “Heat”, “Cool” Auto or EM Heat. Touch the Set Energy
button and select from “Save Energy” or “Normal” energy mode. Touch the Set Point button and enter a set point value for
“Heat Point” and “Cool Point”. Note: Test thermostats first to ensure proper function in the Scene.
To set the door lock status, touch the Door icon and select a Door Device from the drop-down menu (see notes below). Set
the action to LOCKS or UNLOCKS.
To set the garage door lock status, touch the Garage Door icon to select a GARAGE Door device or GARAGE DOOR
GROUP from the drop-down menu (see notes below). Select OPENED or CLOSED.
To set the Water Valve status, touch the Water Valve icon and select a Water Valve device or Water Valve Group from the
drop-down menu (see notes below). Select the Condition; OPENED or CLOSED.
To set camera recording, touch the Recording icon to select the associated camera to record. Note: requires the MicroSD
card.
Notes:
1. Motorized door lock bolts physically lock and unlock the door when activated, but if the door lock installed is a non-
motorized type, activation allows the door to be manually unlocked without a key. See Compatible Devices section for
further information.
2. Some thermostats do not update temperature status automatically (i.e., Wayne Dalton).
3. When using a Kwikset Smartcode Electronic Deadbolt door lock (in a Scene that is programmed to trigger when unlocked)
the Scene does not trigger if using a key; enter a user code.
Create a Room
Multiple devices can function as a group by associating them in a “Room”. Follow the procedure below to create a Room.
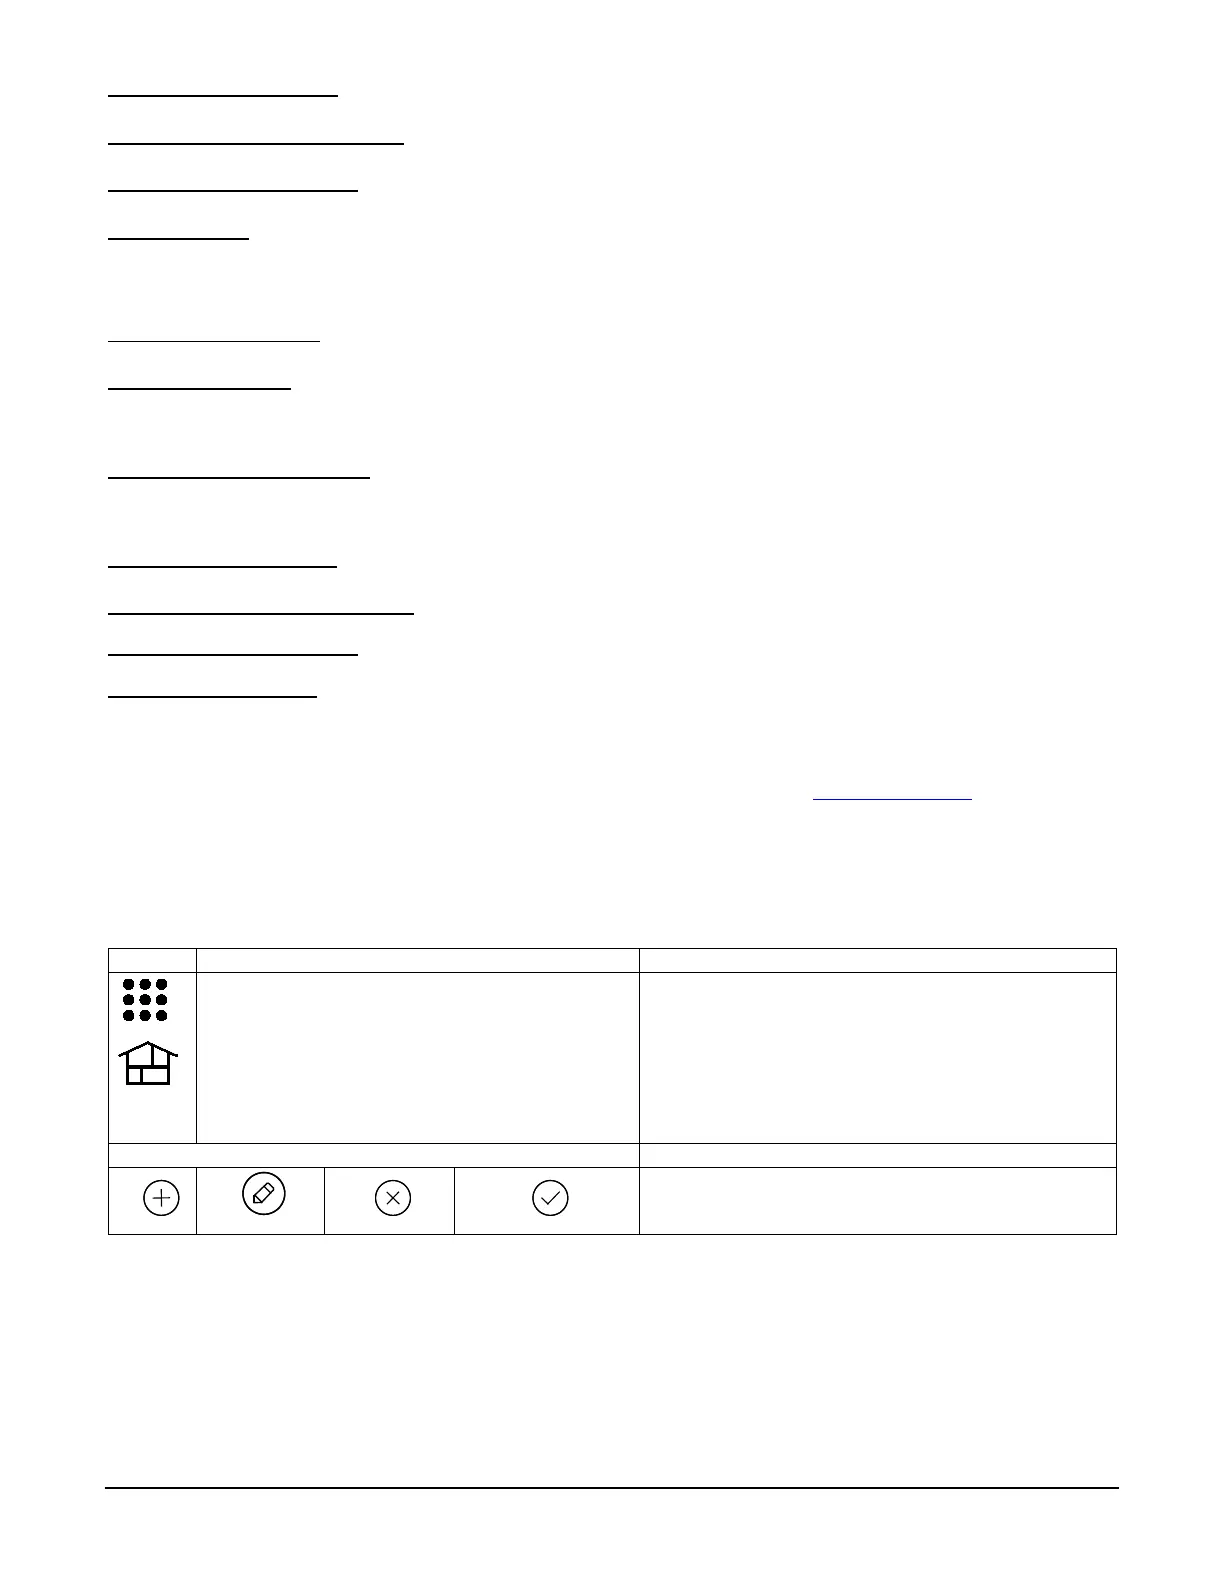
1. Touch the Devices icon and Room icons.
2. Touch the ADD icon and enter a room name on
the “Data Entry” keyboard.
3. Touch SAVE.
4. Highlight the device(s) from the list that you want
to add to this Room and touch the SAVE icon.
Room names (i.e., All, etc.) are displayed across the top to the
screen.
Enter the new device name by entering it on the data entry
keyboard.
• Use the Shift icon for capital letters.
• Use the BS (Backspace) icon to make corrections.
The @#$ icon is not available for use at this time.
Use the Edit and Delete icon to rename or delete a room.

 Loading...