RAEGuard 3 User Manual
15
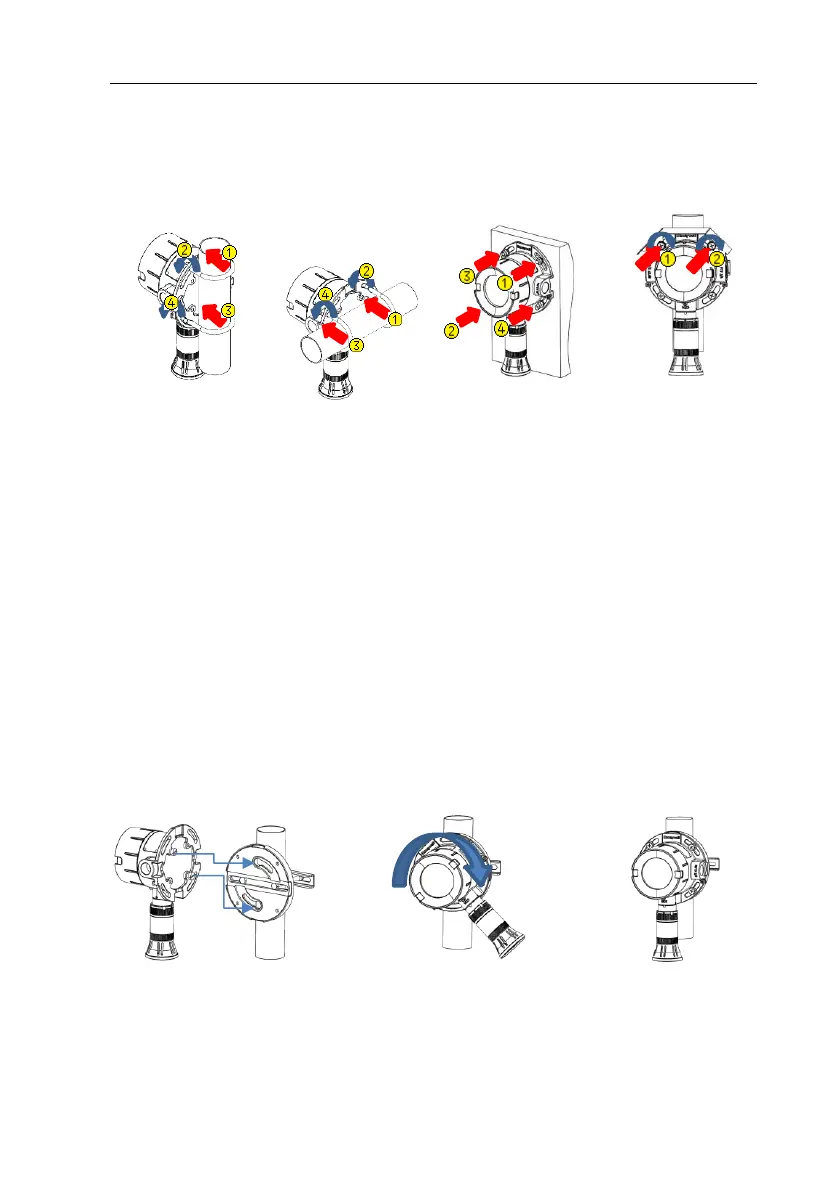
please refer to the below diagrams.
4. If you need to add sunshade/deluge protection cover, use the two
M8*25 screws that comes with the sunshade/deluge protection, to fix it
on the top of two holes. (See section 14 "Sunshade/Deluge Protection
Drawing”)
Use Mounting Plate Kit to mount:
1. Select the suitable installation position and bury vertical or horizontal
pipe/structure (Diameter/cross section: 20-80mm) prior to mounting
RAEGuard 3.
2. See the following procedure to fix the optional Mounting Plate Kit on the
pipe/structure;
3. At diagonal positions secure the two M8*6 screws to the four holes in
the back of enclosure of the RAEGuard 3 transmitter;
4. Refer to “Step 1”, align the transmitter to the 2 holes on the mounting
plate;
5. As per “Step 2”, rotate the transmitter clockwise to perpendicular to the
ground;
6. Tighten the four M8*25 screws through the four holes.
Step 1 Step 2 Step 3
Note: For further details and information, see Chapter 14.
When installing, the detector's sensor must be perpendicular to the ground!

 Loading...