23
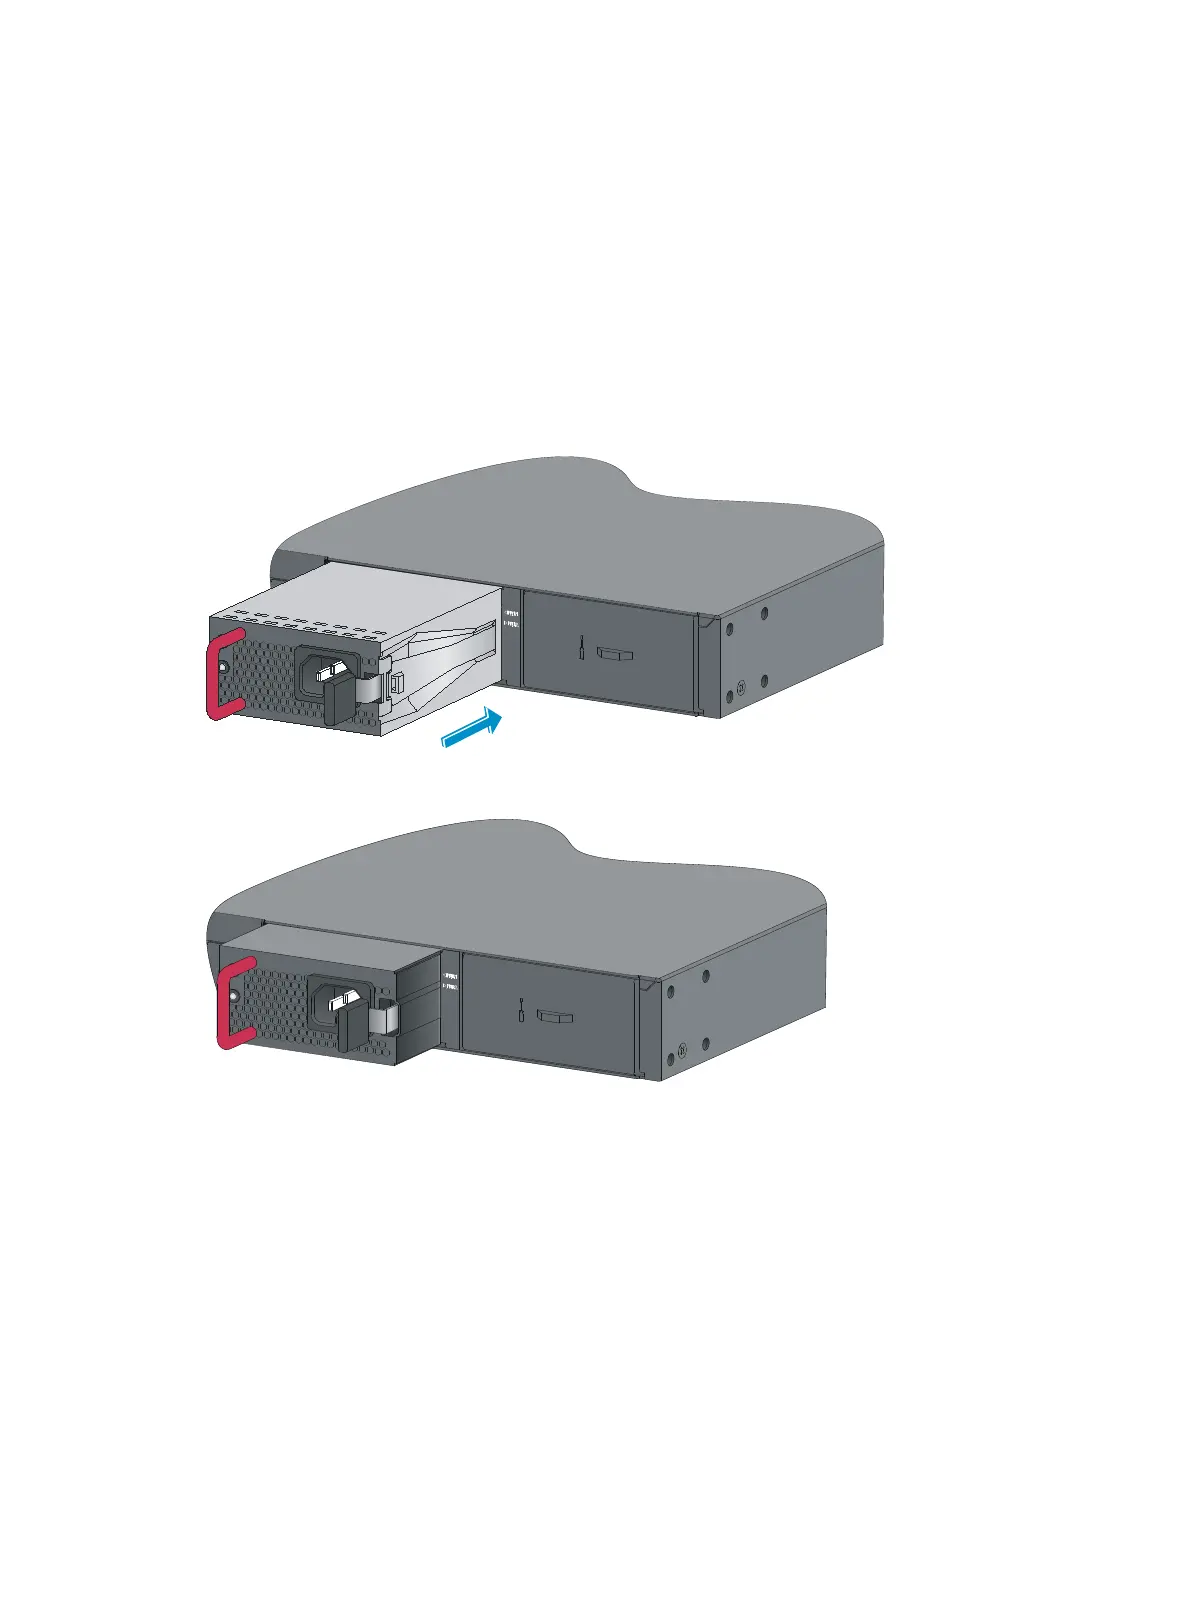
3. Correctly orient the power supply with the power supply slot (use the letters on the power supply
faceplate for orientation), grasp the handle of the power supply with one hand and support its
bottom with the other, and slide the power supply slowly along the guide rails into the slot until you
hear that the latch of the power supply clicks into the slot.
When you insert the power supply into the slot, you can do that through slight inertia so that the
terminals of the power supply can have a good touch with the backplane.
The PSR1110-56A power supply adds 64 mm (2.52 in) to the depth of the switch, as shown
in Figure 33.
4. Install the filler module over the empty power supply slot to prevent dust and ensure proper
ventilation if you install only one power supply.
Figure 32 Installing the power supply
Figure 33 PSR1110-56A in the chassis
Removing a PSR720-56A/PSR1110-56A power supply
To remove a power supply:
1. Wear an ESD-preventive wrist strap and make sure it makes good skin contact and is well
grounded.
2. Disconnect the power cord.
3. Press the latch towards the handle, and pull the power supply along the guide rails until it is
part-way out.
4. Grasp the handle of the power supply with one hand, support the bottom with the other hand, and
pull the power supply slowly along the guide rails out of the slot.

 Loading...