8
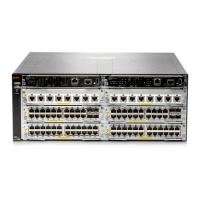
Figure 5 Chassis rail and slide rail kit for the 96G model/96G TAA model
(1) Chassis rail (2) Slide rail
Rack-mounting procedure
You can install a switch in a 19-inch rack using different mounting positions. Figure 6 shows the rack-
mounting procedure.
Figure 6 Rack-mounting procedure
NOTE:
If a rack shelf is available, you can put the switch on the rack shelf, slide the switch to an appropriate
location, and fix the switch to the rack with the mounting brackets.
Identifying the mounting position
Table 6 Mounting positions
Mounting bracket
osition
Installing the mounting brackets, chassis
rails, and
cable
Installing the switch
• Rear mounting
(near the power
supplies)
• Front mounting
(near the network
ports)
See "Installing the mounting brackets, chassis
rai
ls, and grounding cable (for the 48G
model/48G TAA model)."
See "Installing the mounting brackets, chassis
rai
ls, and grounding cable (for the 96G
model/96G TAA model)."
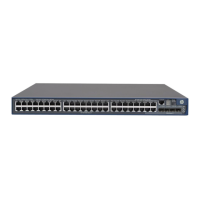
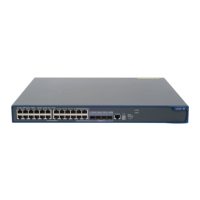
See "Rack-mounting the 48G
model/48G TAA model switch."
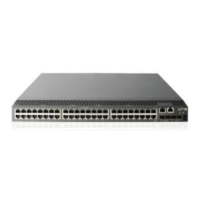
See "Rack-mounting the 96G
model/96G TAA model switch."
To mount the switch securely in a rack, use slide rails and chassis rails in addition to the mounting
brackets.
 Loading...