20
For more information about the fan prefer-direction slot command, see HP 5830 Switch Series
Fundamentals Command Reference.
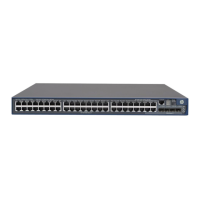
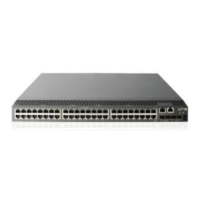
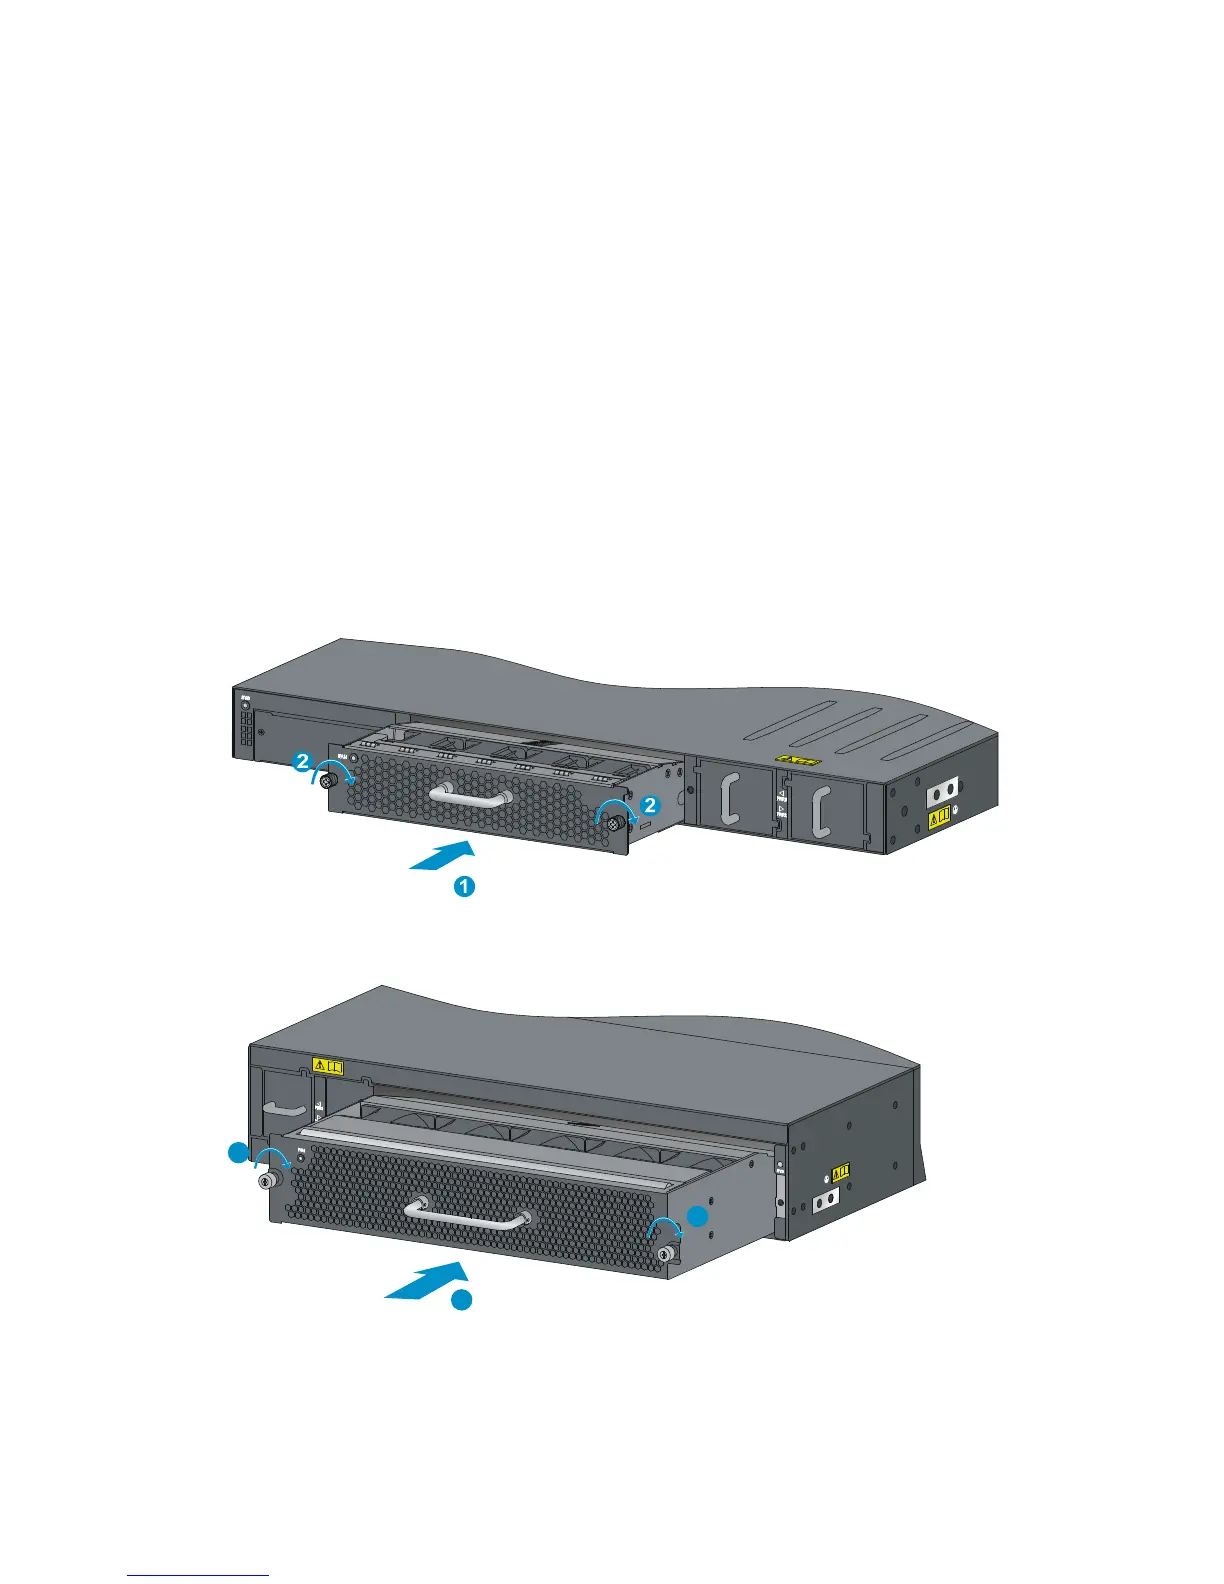
Installing a fan tray
1. Wear an ESD wrist strap and make sure it makes good skin contact and is reliably grounded.
2. Loosen the captive screws on the filler panel to remove the filler panel.
3. Unpack the fan tray and check that the fan tray model is correct.
4. Grasp the handle of the fan tray with one hand and support the fan tray bottom with the other,
and slide the fan tray along the guide rails into the slot until the fan tray seats in the slot and
has a firm contact with the backplane (see callout 1 in Figure 21 or Figure 22). T
o prevent
damage to the fan tray or the connectors on the backplane, insert the fan tray gently. If you
encounter resistance while inserting the fan tray, pull out the fan tray and insert it again.
5. Fasten the captive screw on the fan tray with a Philips screwdriver until the fan tray is securely
fastened into the chassis (see callout 2 in Figure 21 or Figure 22). If the captive s
crew cannot
be tightly secured, check the installation of the fan tray.
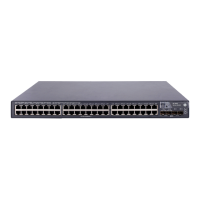
Figure 21 Installing a fan tray (for the 48G model/48G TAA model)
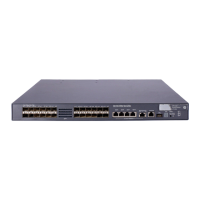
Figure 22 Installing a fan tray (for the 96G model/96G TAA model)
1
2
2
 Loading...