14
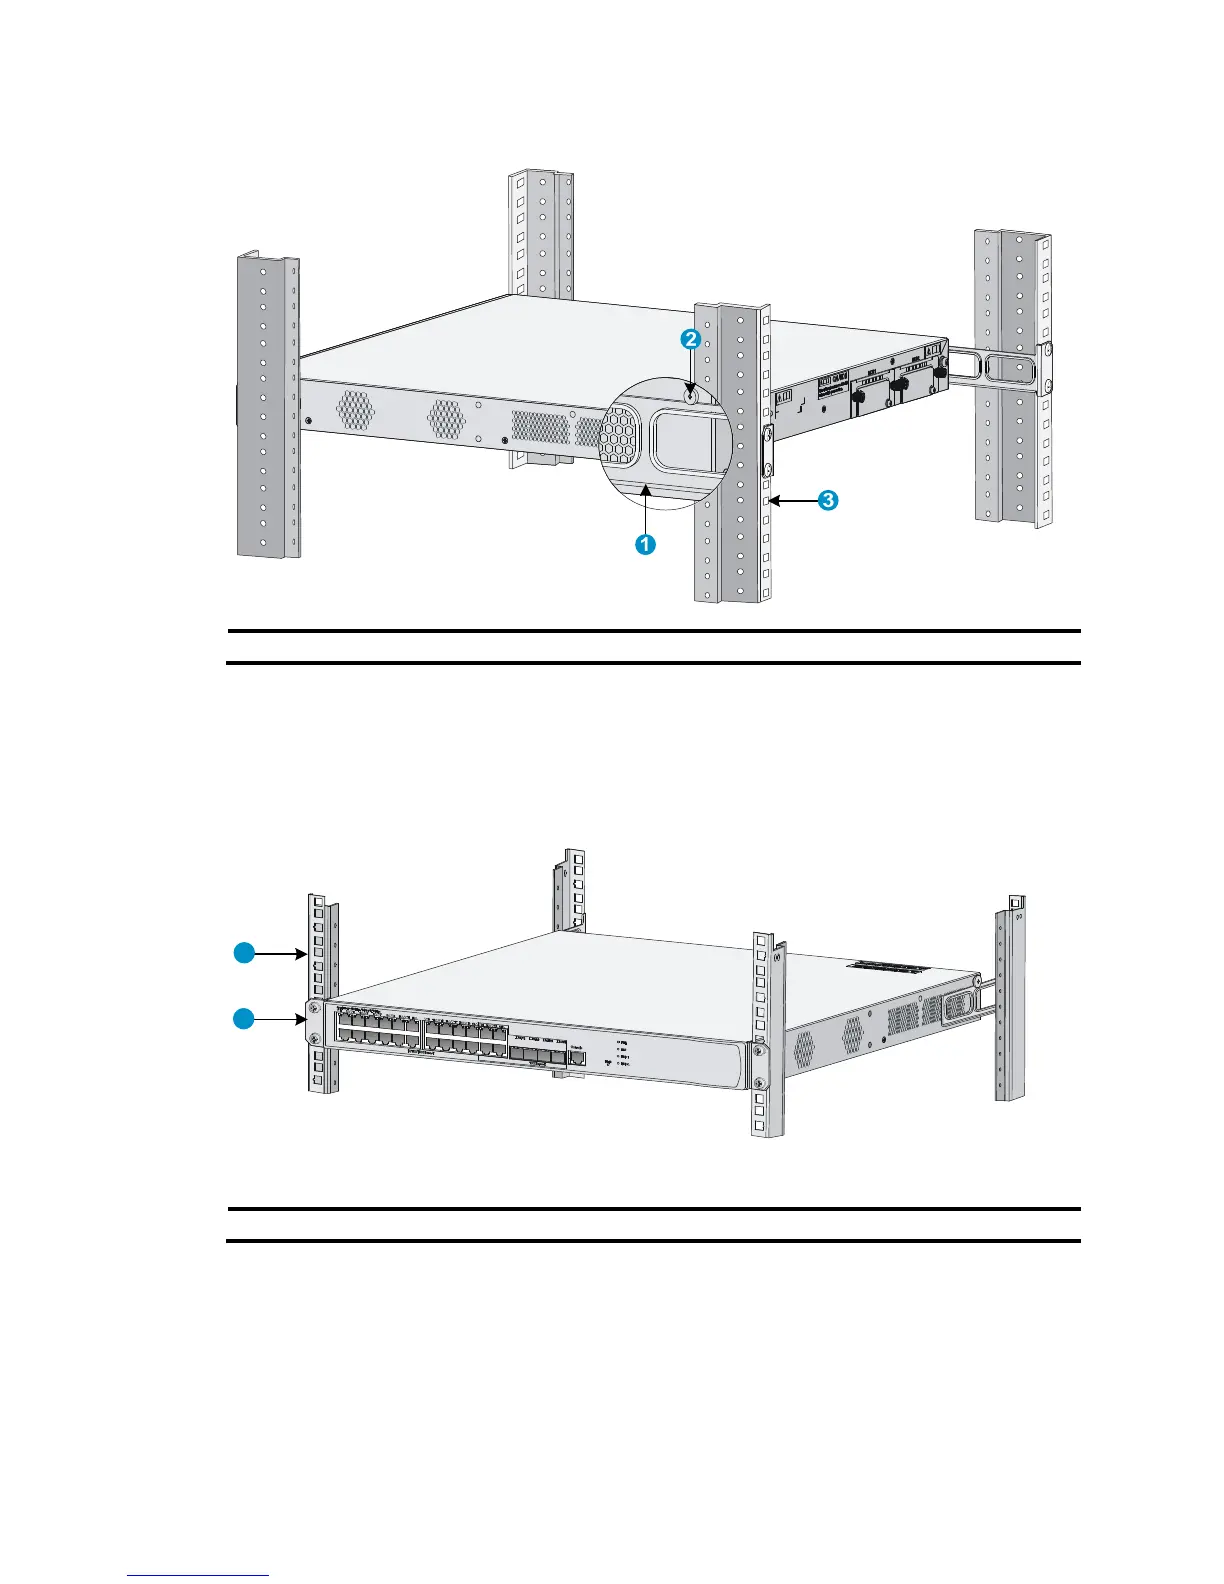
Figure 13 Installation complete
(1) Rear mounting bracket (2) Weight-bearing screw (3) Rear square-holed bracket
7. Attach the front mounting brackets to the front square-holed brackets of the rack with screws and
cage nuts. Make sure the switch is secured to the rack through the front and rear mounting brackets.
See Figure 14.
Figure 14 Installation co
mplete
(1) Front square-holed bracket (2) Front mountin
bracket
Installing the switch by using front mounting brackets and a
rack shelf
The rack shelf is an optional component that needs to be separately ordered if needed.
To install the switch in a rack using front mounting brackets and a rack shelf:
1
2

 Loading...