A-Class Server Installation
Cabinet-Mounted A-Class Server System Unpack and Install
Chapter 2
36
Cabinet Loading Requirements
A-Class servers require two EIA of cabinet space (each two EIA of space is equivalent to
the height of a server without the server’s “feet”). Ensure that the cabinet has this
amount of space available.
NOTE Replace the rubberized feet on the server with plugs provided in the cabinet mounting
adapter kit.
Fill empty cabinets from the top down, with A-Class servers on top. If you are mounting
one or more servers into an empty cabinet, start at the inside top of the cabinet and
count down four of the holes in the columns at each corner to determine the position of
the rails for the first server. When the first rails are installed, continue to use the four
hole requirement as your guide for installing additional A-Class servers.
Refer to the Rail Kit Installation Sheet (A5214-96001) for instructions necessary to
install rails in the HP computer cabinet.
Mounting the Server To mount the server in the cabinet, follow the procedure listed
below:
Step 1. From the front of the cabinet, slide the server onto the rails. Push the server into the
cabinet until approximately three inches of the server remains protruding from the
front.
Step 2. Install sheet metal nuts on the left and right front columns and align with front anchor
bracket slots.
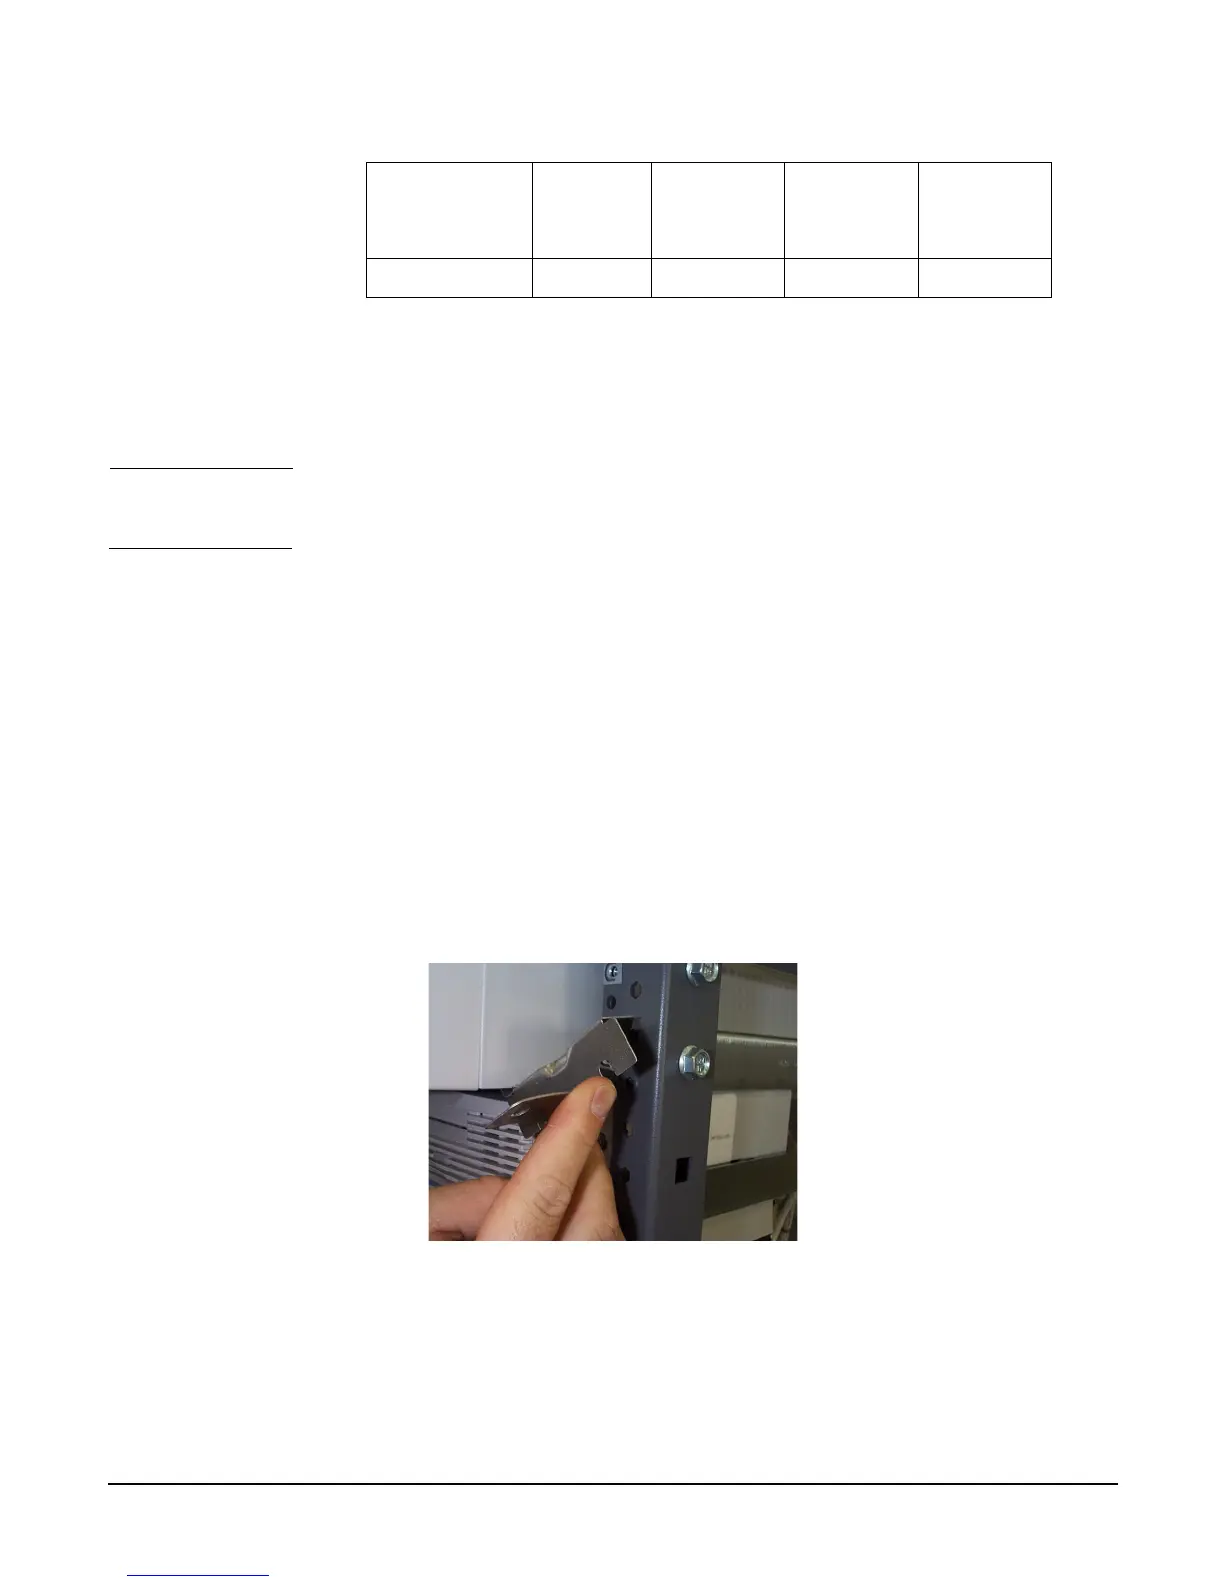
Step 3. Install the left and right front anchor brackets on each side of the server as follows:
• Insert each hooked tab into its slot on the bottom of the front corner of the server.
C2787A Field 2.0m x 19” 20 A5214A
Cabinet
Product
Number
Assembl
ed by:
Size
(Height x
Width)
Maximum
Servers
Adapter
Kit
Number
 Loading...