Removing a 2.5-inch hard drive
1. Prepare the computer for disassembly (Preparation for disassembly on page 66).
2. Remove the access panel (
Access panel on page 67).
3. Rotate the drive cage to its upright position.
4. Disconnect the power cable and data cable from the back of the hard drive.
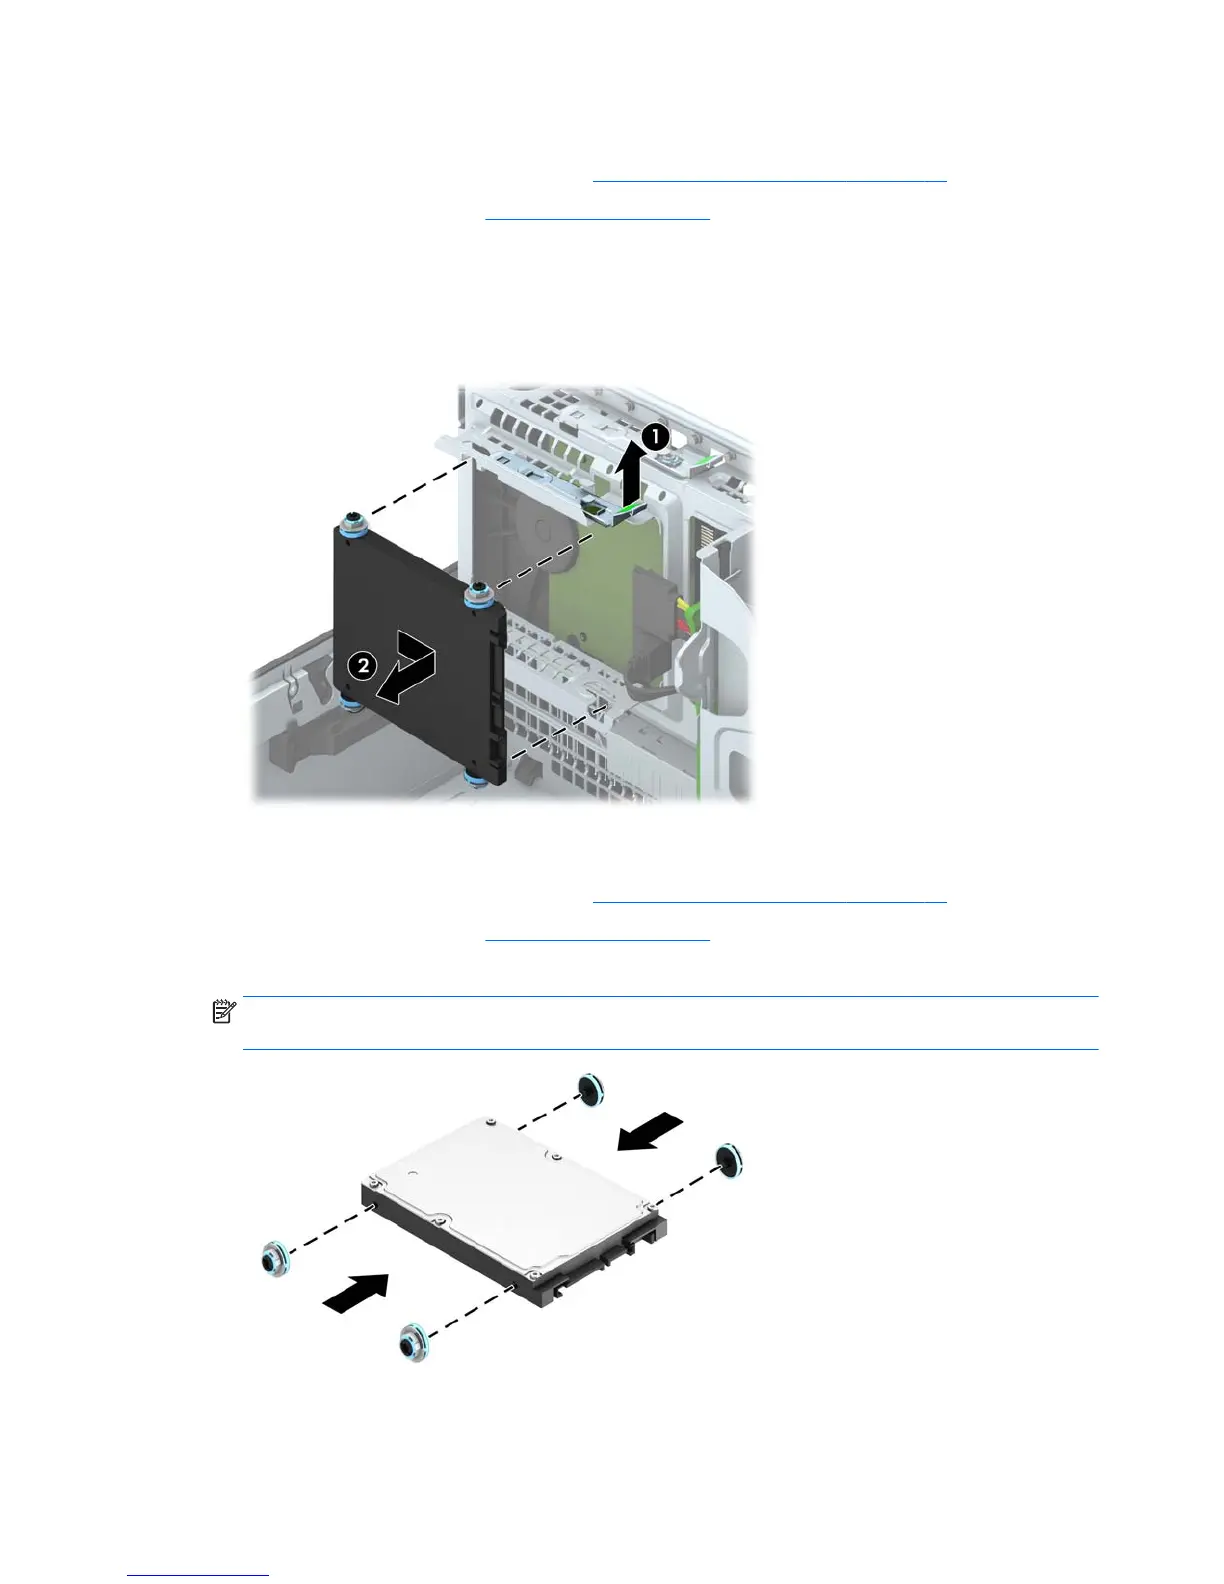
5. Pull outward on the release lever at the rear of the drive (1) then slide the drive back until it stops
and pull it down and out of the drive bay (2).
Installing a 2.5-inch hard drive
1. Prepare the computer for disassembly (Preparation for disassembly on page 66).
2. Remove the access panel (
Access panel on page 67).
3. Install four black and blue M3 isolation mounting guide screws (two on each side of the drive).
NOTE: When replacing a drive, transfer the four M3 isolation mounting guide screws from the
old drive to the new one.
4. Rotate the drive cage to its upright position.
90 Chapter 6 Removal and replacement procedures – small form factor (SFF) chassis
 Loading...