7. If installed, remove the air baffle .
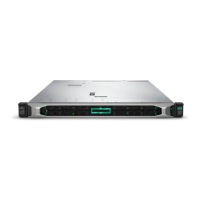
8. Press and hold the latch (callout 1), and then pull out the blank from the bay (callout 2).
Retain the blank for future use.
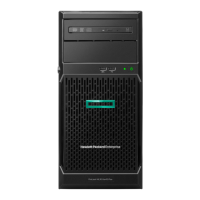
9. Secure the metal shims on the LTO tape drive.
If the option kit does not include screws, use the media device screws on the front panel .
The shims and the screws are included in the LTO tape drive option kit.
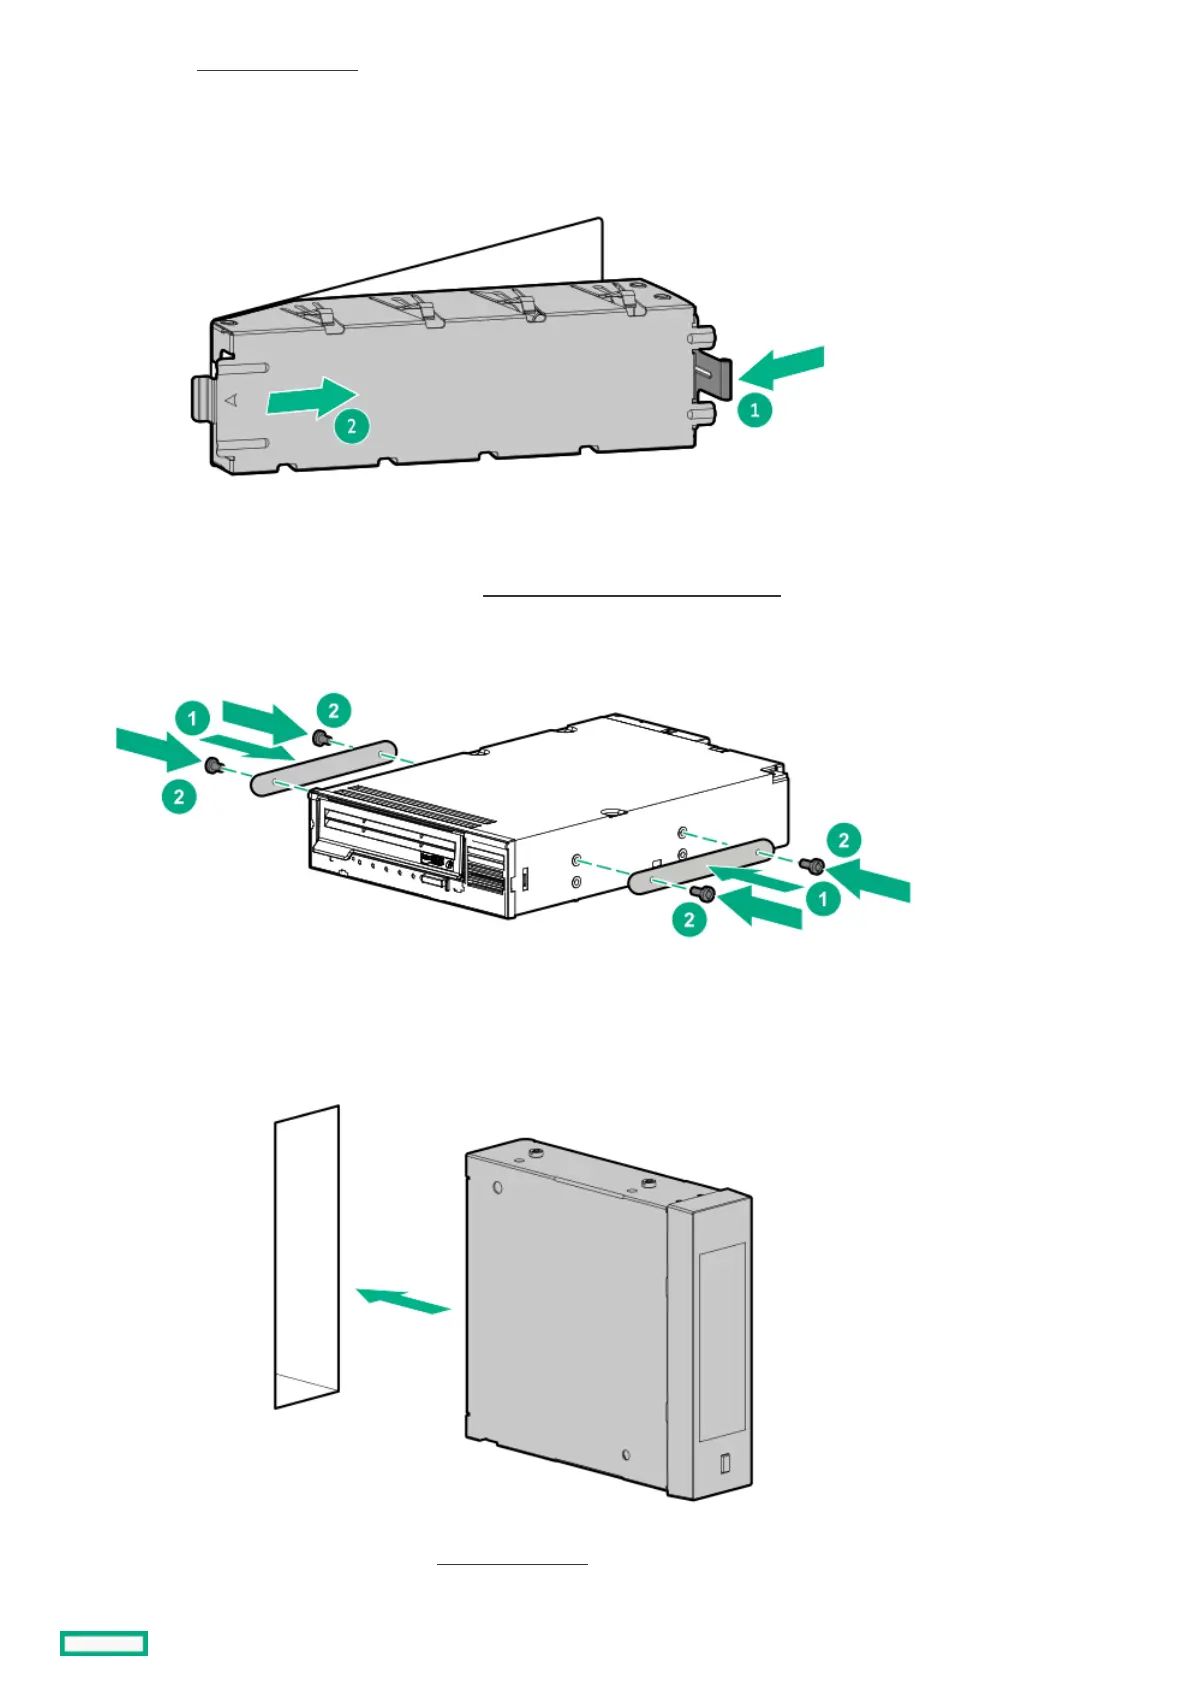
10. Slide the LTO tape drive into the media bay.
Leave enough space on the rear to connect the drive cables.
11. If the LTO tape drive is installed under the specified conditions, connect the LTO/RDX power extension cable (blue) to the LTO
tape drive SAS-power Y-cable (orange).
 Loading...