Installing a non-hot-plug LFF SATA driveInstalling a non-hot-plug LFF SATA drive
The non-hot-plug LFF drives supported in this server do not require a drive caddy or a drive carrier to install. You have to use the drive
screws preinstalled on the left side of the drive cage.
CAUTION:CAUTION:
A discharge of static electricity from a finger or other conductor might damage system boards or other static-sensitive
devices. To prevent damage, observe antistatic precautions.
PrerequisitesPrerequisites
Before you perform this procedure, make sure that you have a T-15 Torx screwdriver available.
ProcedureProcedure
1. Power down the server.
2. Remove all power:
a. Disconnect each power cord from the power source.
b. Disconnect each power cord from the server.
3. Disconnect all peripheral cables from the server.
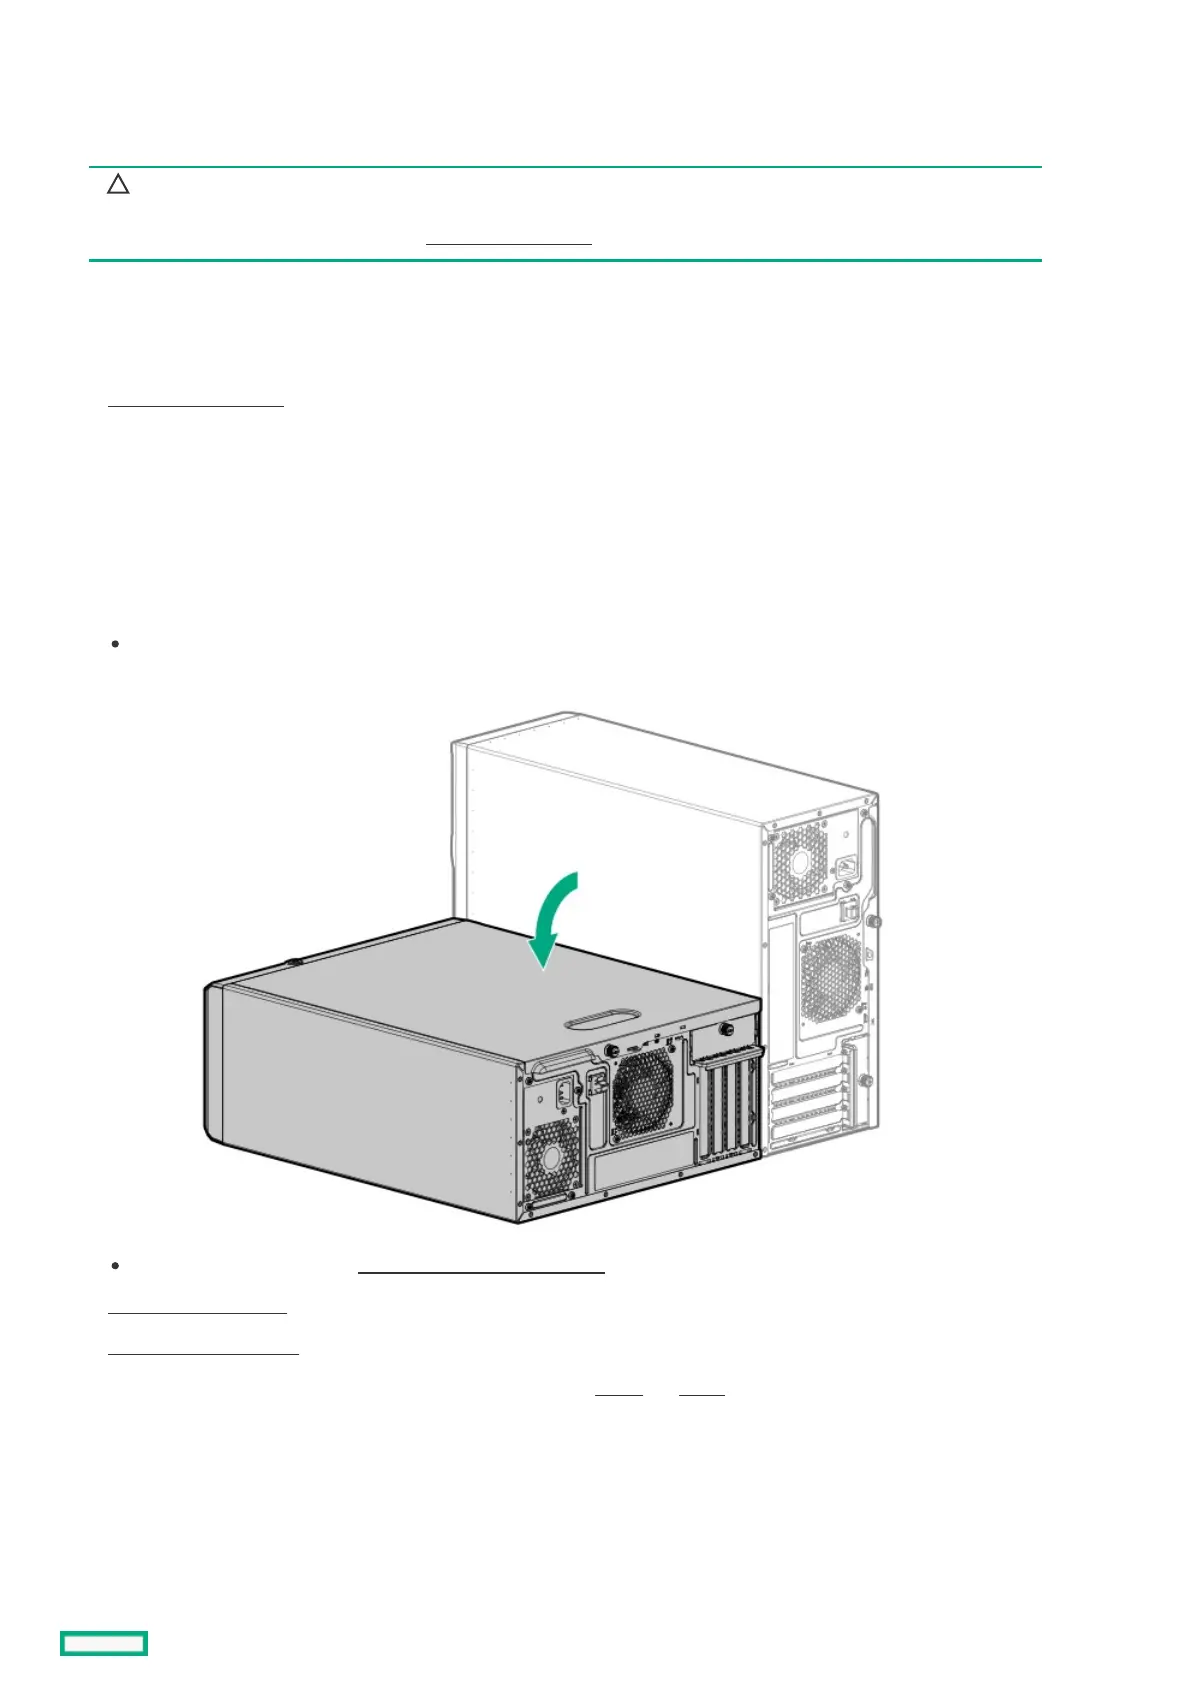
4. Do one of the following:
If the server is in tower mode, place the server on a flat, level surface with the access panel facing up.
If the server is in rack mode, remove the server from the rack .
5. Remove the front bezel .
6. Remove the access panel .
7. If a non-hot-plug drive is already installed, disconnect the drive power and SATA cables.
8. Remove the non-hot-plug drive cage.
 Loading...