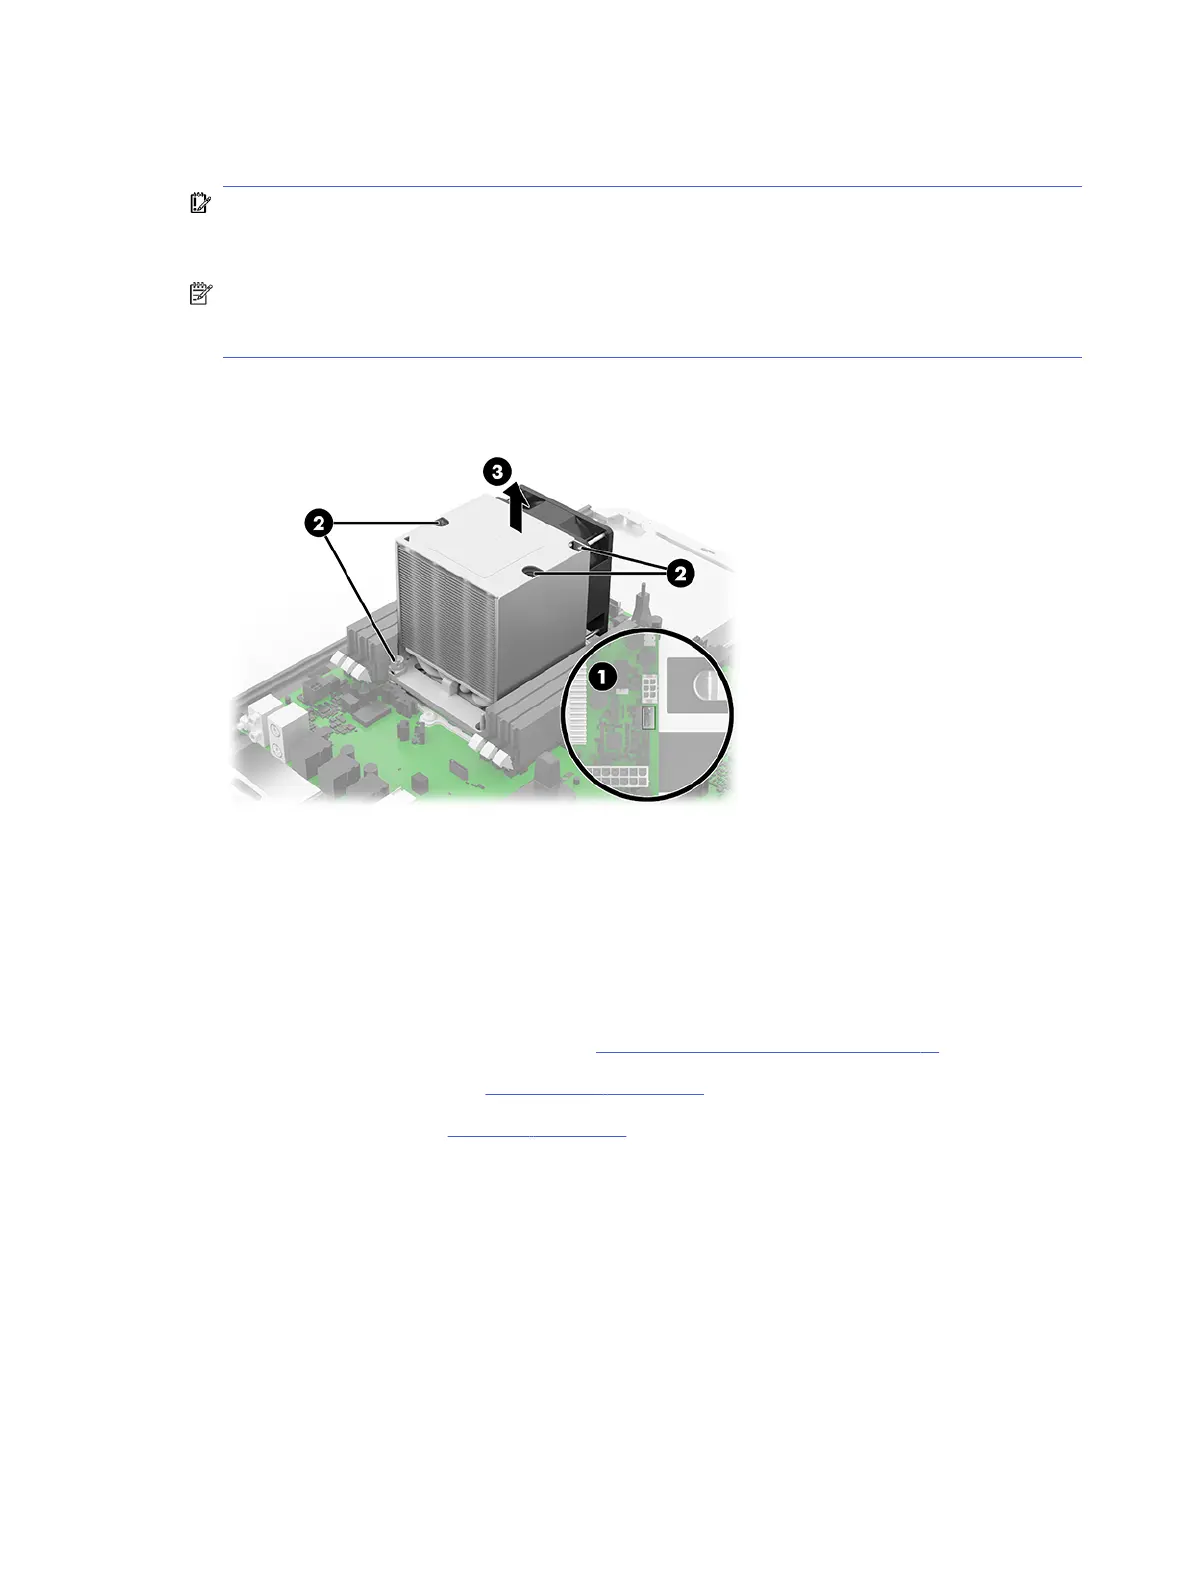
2. In the sequence indicated on the label on the heat sink, loosen the four slotted Torx30 captive
screws (2) that secure the heat sink to the computer.
IMPORTANT: Remove heat sink retaining screws in diagonally opposite pairs (as in an X) to even
the downward forces on the processor. The pins on the socket are fragile, and damage to them
might require replacing the system board.
NOTE: The processor is attached to the bottom of the heat sink. When the heat sink is removed, it
is recommended that the heat sink be left resting upside down, with the processor resting on top of
the heat sink. Failure to follow this caution can result in damage to the processor.
3. Remove the heat sink from the computer (3).
To replace the heat sink, reverse the removal procedures.
Processor
To remove the processor, use these procedures.
Before removing the processor, follow these steps:
1. Prepare the computer for disassembly (see Preparation for disassembly on page 18).
2. Remove the access panel (see Access panel on page 20).
3. Remove the heat sink (see Heat sink on page 31).
Remove the processor:
1. Turn the heat sink upside down with the heat sink fan toward you.
2. Release the four clips (1) that secure the processor holder to the heat sink.
3. Remove the processor holder (2) from the heat sink by lifting it straight up.
4. Carefully release the processor holder clips (3).
32
Chapter 4 Removal and replacement procedures
 Loading...