2. Remove the bottom cover (see Bottom cover on page 40).
3. Remove the solid-state drive (see Solid-state drive on page 42).
4. Remove the battery (see Battery on page 46).
5. Remove the fans (see Fans on page 49).
6. Remove the heat sink (see Heat sink on page 49).
7. Remove the system board (see System board on page 62).
8. Remove the fingerprint reader cable (see Fingerprint reader cable on page 67).
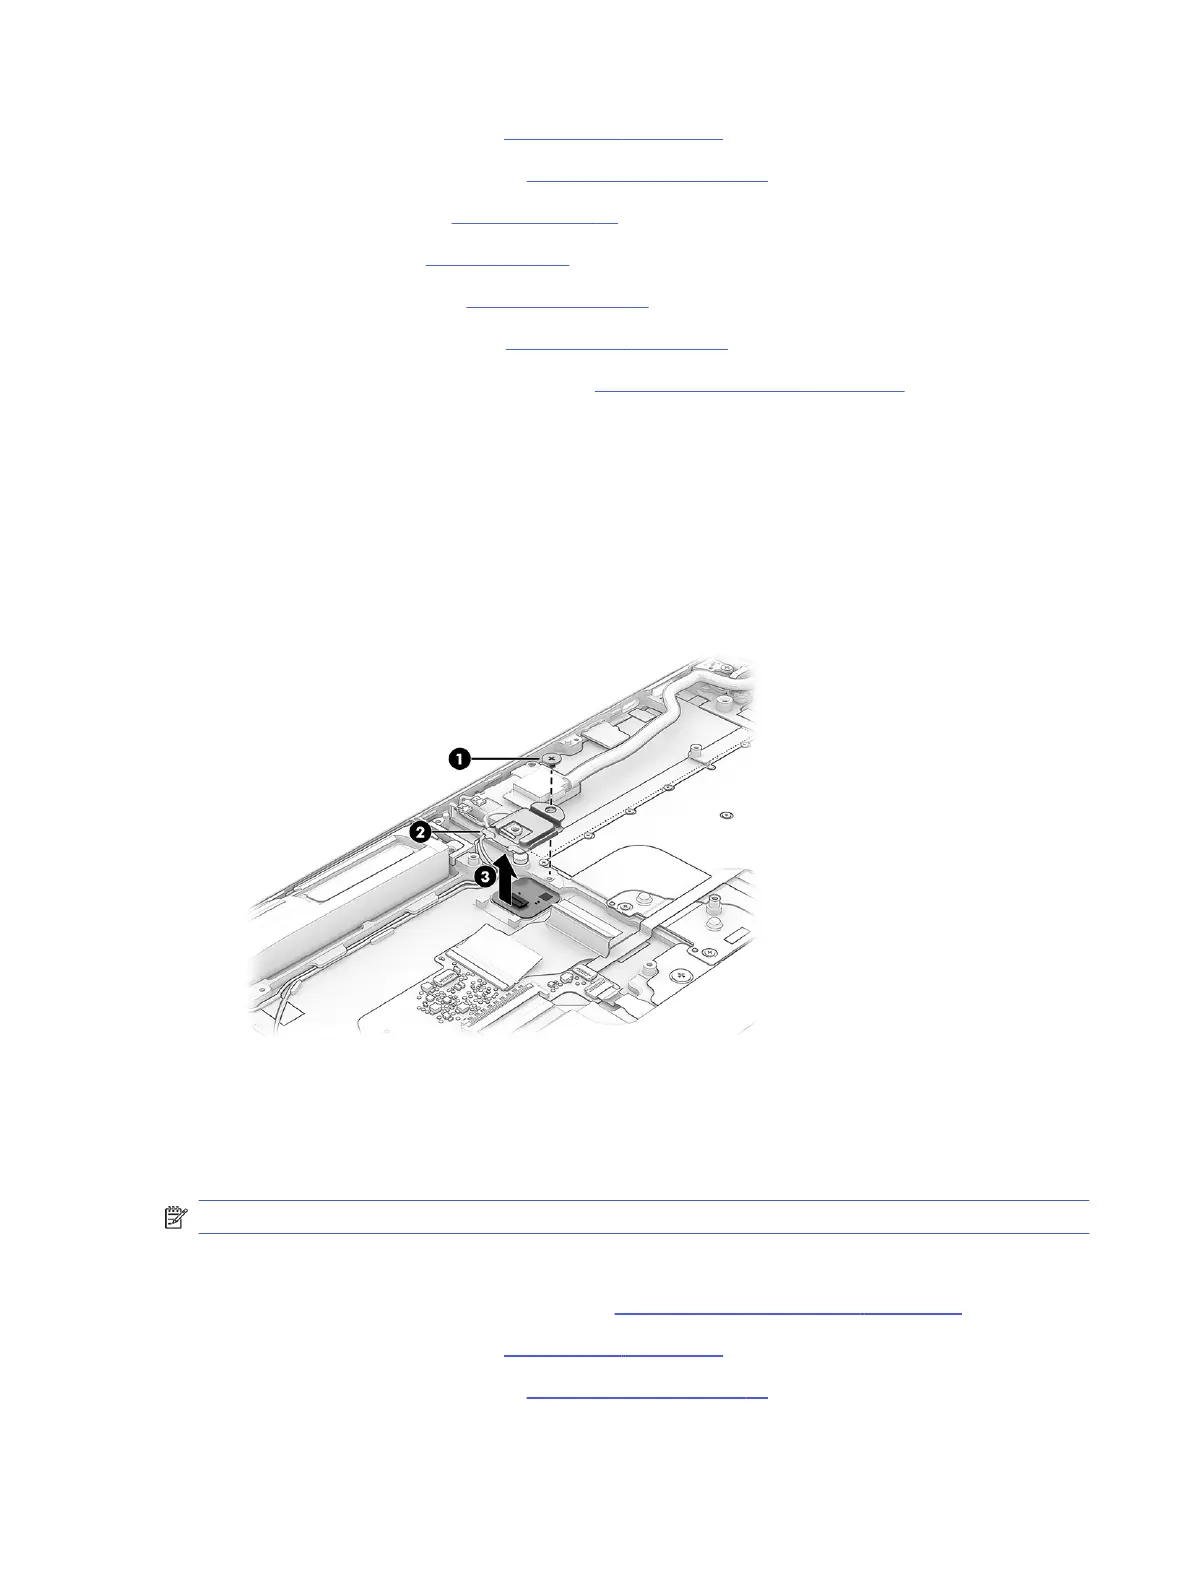
Remove the fingerprint reader:
1. Remove the Phillips M2.0 × 2.5 screw (1) that secures the fingerprint reader and bracket to the
computer.
2. Remove the fingerprint reader bracket (2).
The fingerprint reader bracket is included in the Bracket Kit, spare part number N10940-001.
3. Remove the fingerprint reader (3).
To install the fingerprint reader, reverse the removal procedure.
Transfer board cable
To remove the transfer board cable, use this procedure and illustration.
NOTE: The transfer board cable is included in the Cable Kit, spare part number N10935-001.
Before removing the transfer board cable, follow these steps:
1. Prepare the computer for disassembly (see Preparation for disassembly on page 40).
2. Remove the bottom cover (see Bottom cover on page 40).
3. Remove the solid-state drive (see Solid-state drive on page 42).
Transfer board cable
69
 Loading...