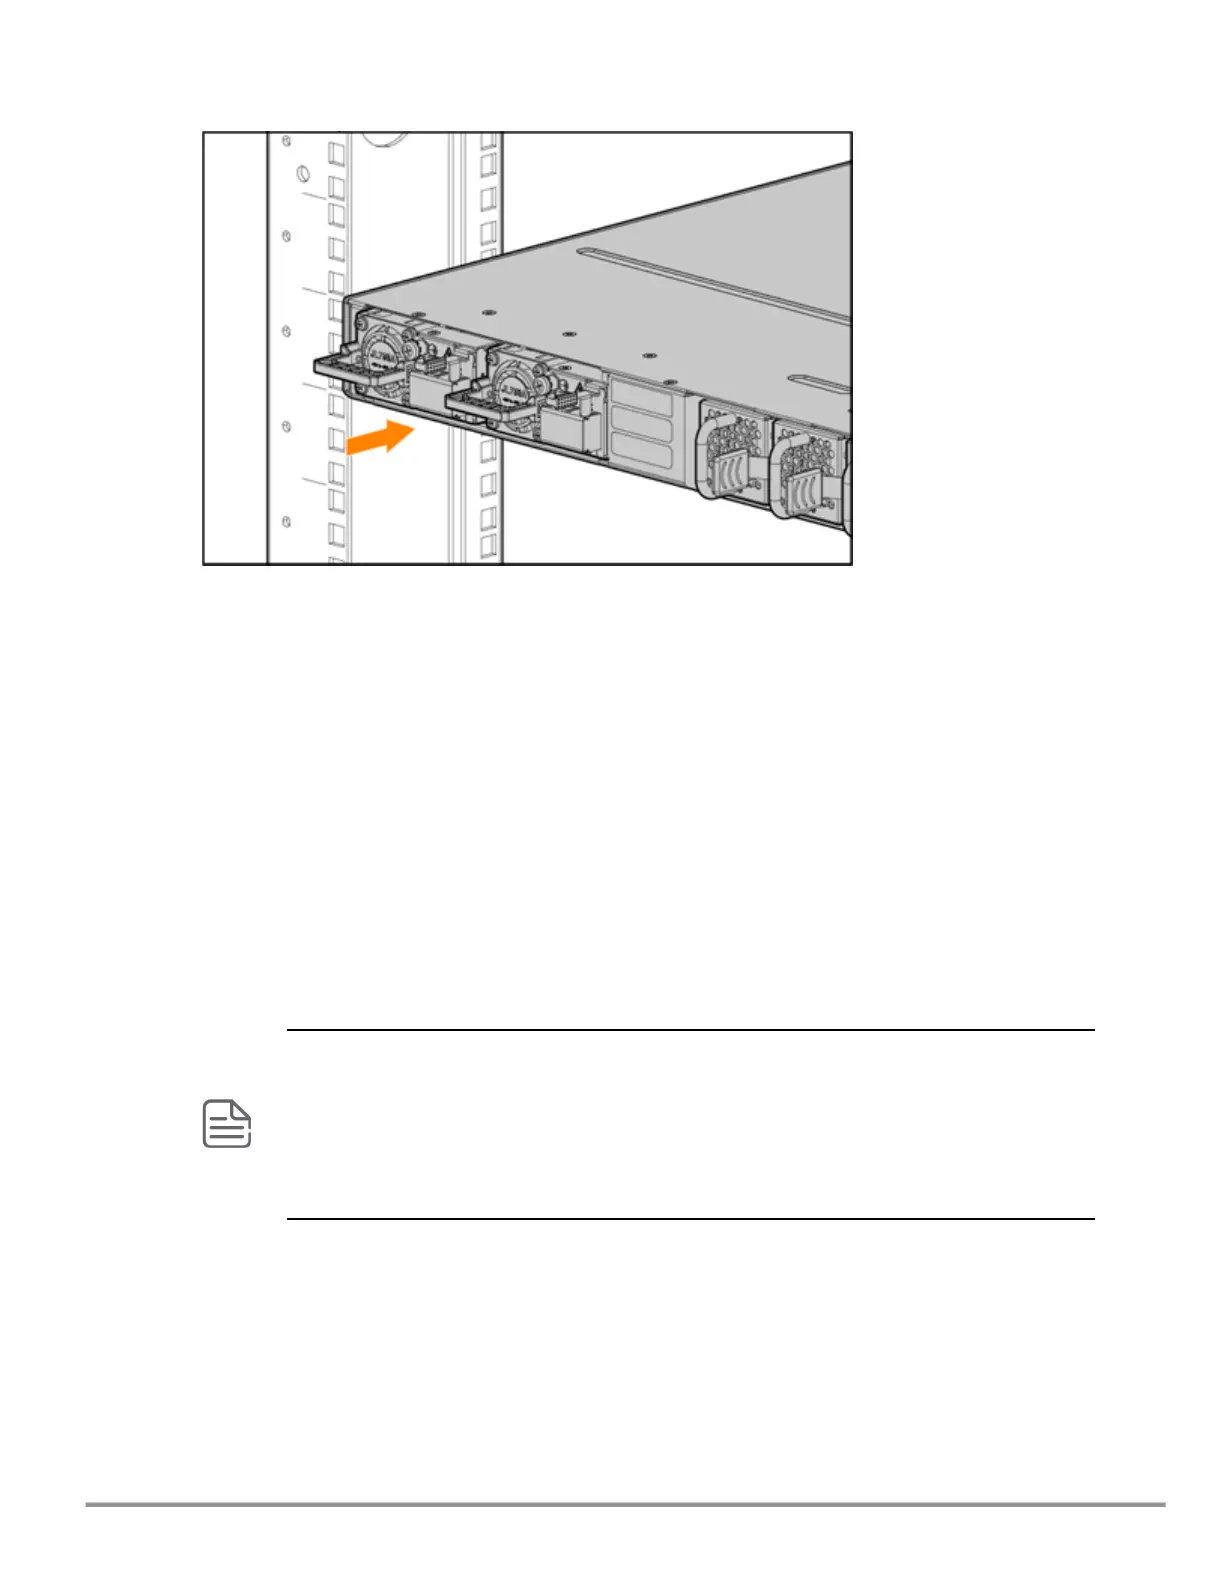
3. Place the unit inside the rack, making sure the PSUis properly and fully inserted into the switch
with the latch locked into place.
AC power supply
1. Use the supplied ACcable for the power supply and the 6200M switch being installed.
2. Insert the 3-way modular connector of the ACcable into the inlet on the power supply. Ensure
that the connectors are firmly mated.
3. Connect the other end of the AC cable to a nearby ACpower source.
Verify the switch boots correctly
Before installing the switch in its network location, plug it into a power source and verify that it boots
correctly.
Procedure
1. Connect the power cord supplied with the switch to the power connector on the back of the
switch. Then plug the power cord into a properly grounded electrical outlet.
The switches do not have a power switch. They are powered on when the power cord is
connected to the switch and to a power source. For safety, locate the power outlet near the
switch installation.
If your installation requires a different power cord than the one supplied with the switch, be sure
to use a power cord displaying the mark of the safety agency that defines the regulations for
power cords in your country/region. The mark is your assurance that the power cord can be
used safely with the switch.
2. Check the LEDs on the switch to make sure the switch is on and operating.
When the switch is powered on, it performs its diagnostic self-test and initialization. This boot process,
depending on switch model and configuration, takes approximately 1-2 minutes to complete.
Disconnect power from the switch
Disconnect the power cord from all of the switch power supplies and from the power sources.
HPE Aruba Networking CX 6200F/M Switch Series Installation and Getting Started Guide |
36
 Loading...