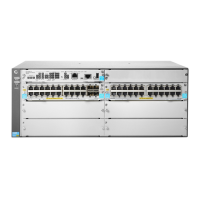
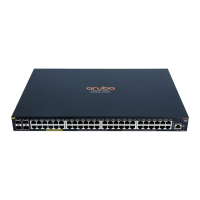
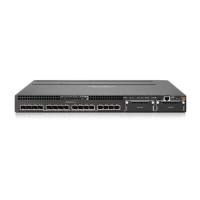
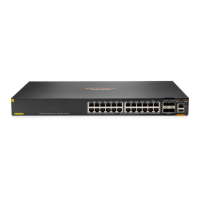
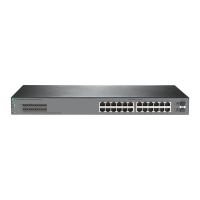
4. Connect power to the switch and wait for the health LED to turn green after the switch passes the
self-test, then remove power from the switch.
5. Mount the switch.
Mounting restrictions apply. See the "Warning" under "Installation precautions and guidelines".
6. Connect the switch to a power source.
7. (Optional) Install transceivers.
8. Connect the network cables.
9. Configure the switch for network operation.
Installation precautions and guidelines
To avoid personal injury or product damage when installing your switch, read the following installation
precautions and guidelines.
n
With the exception of HPEAruba Networking CX 6200F 12G Class4 PoE 2G/2SFP+ 139W switch (R8Q72A) and
HPEAruba Networking CX 6200F 12G Class4 PoE 2G/2SFP+ 139W TAA Switch (R8V13A), do not mount the switch
on a wall or under a table or under another horizontal surface.
n
Mount devices installed in a rack or cabinet as low as possible. Put the heaviest devices at the bottom and
progressively lighter devices positioned higher.
n
To prevent the rack or cabinet from becoming unstable and/or falling over, ensure that it is adequately
secured.
HPE Aruba Networking CX 6200F/M Switch Series Installation and Getting Started Guide |
32
 Loading...


