Pg 31 S23A 2001
SECTION 3, MAINTENANCE and TROUBLESHOOTING
BLADE CHANGING PROCEDURE
NOTE: Wear gloves for protection from the sharp blade.
1. Open the Idler Wheel and Drive Wheel doors and swing the head to
45
o
as this will make it easier to grip the blade closer to both wheels.
2. Loosen the Blade Tensioner by turning counter clockwise.
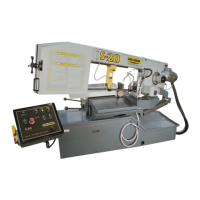
3. Loosen the carbide tension handles
by turning counter clockwise 1/4 turn.
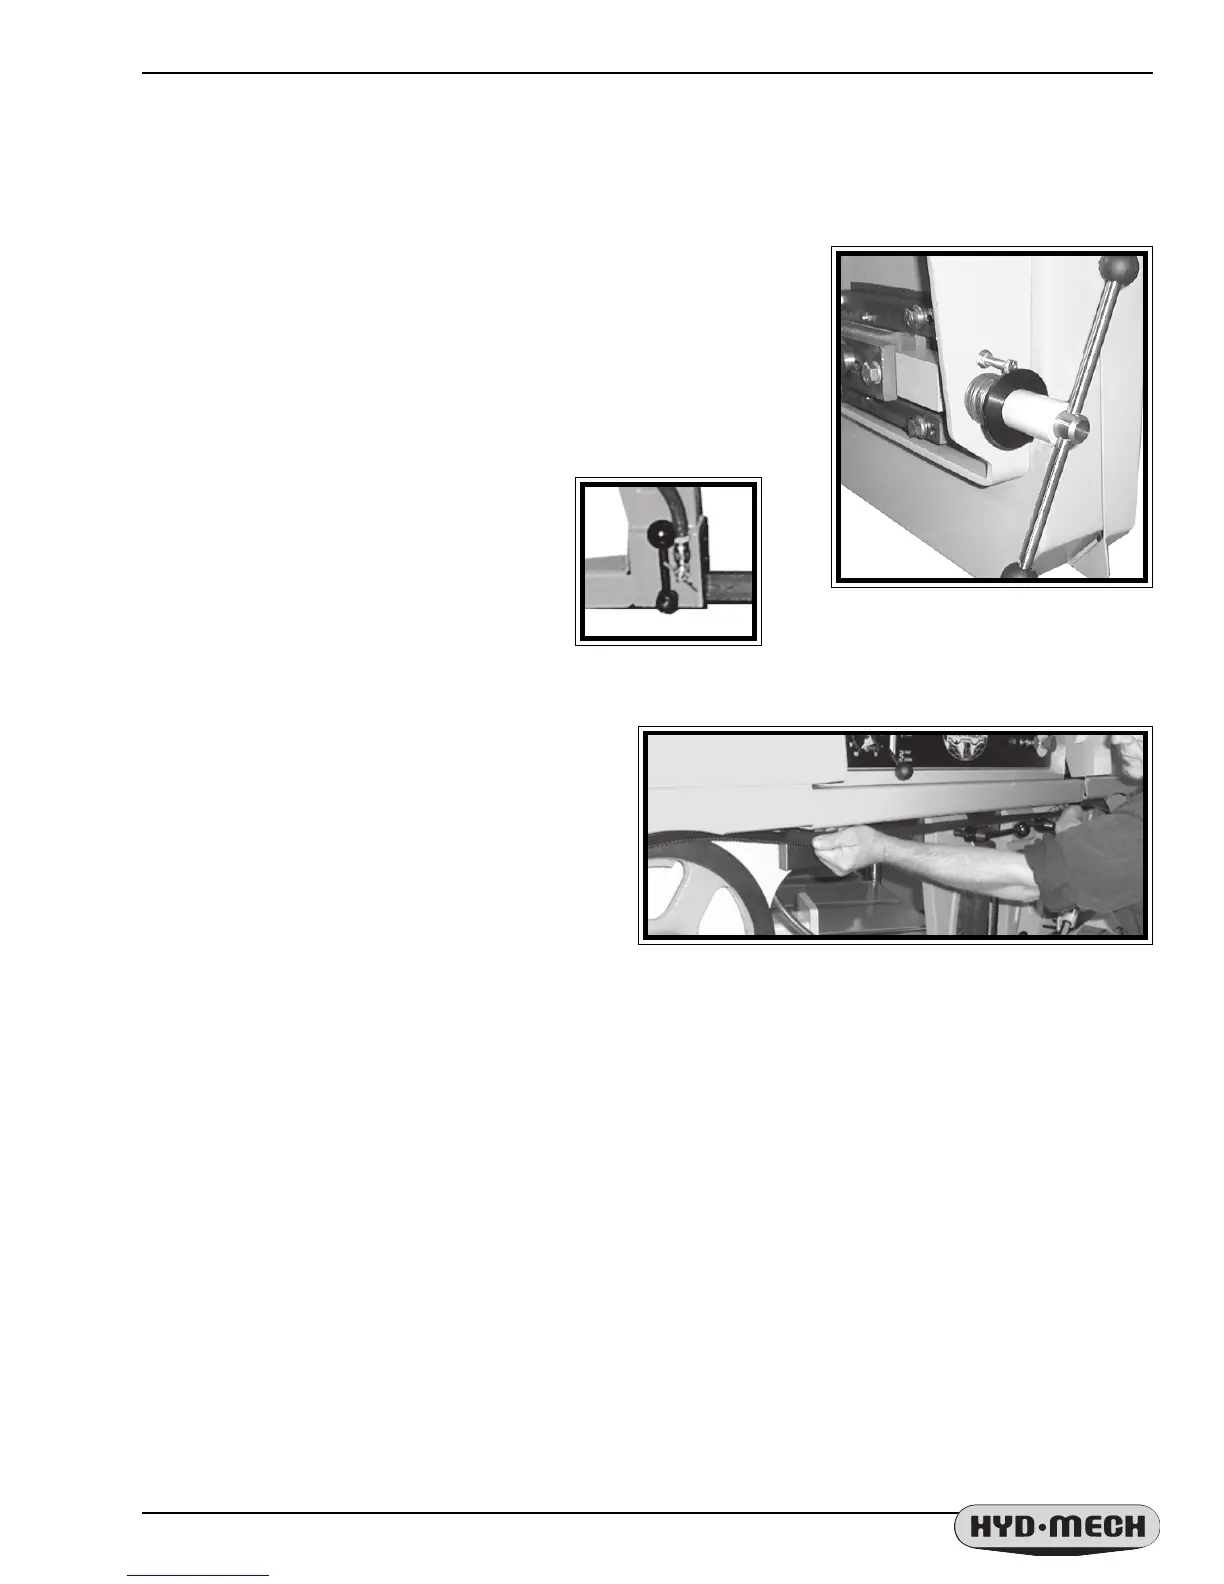
4. At the top of the head, the saw blade runs in
a protective channel. Grip the blade at each end of
this channel and twist the blade teeth down past
the channel and slide the blade forward. Let the
blade rest on the out feed table, then slide the
blade down and out of the carbide guides.
5. Before installing the new blade, check that it measures 1.345" wide including the teeth. Some blade
manufacturers supply blades that measure 1.25" including the teeth. In this case you may not be able to adjust
the head down limit switch to complete the cut.
6. Your new blade will be in a coil. While wearing gloves, hold the blade away from yourself, twist the blade to
uncoil it. Do not let the blade teeth bounce on the concrete floor as some damage may be caused.
7. Place the new blade in the carbide guides and then slide the blade over the wheels. The teeth should be
pointing towards the drive side as they pass through the carbide guides.
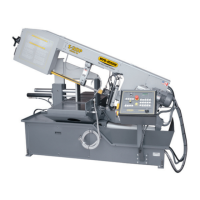
8. With the blade in place, turn the tensioner handle clockwise until the large black washer contacts the stop
bolt as shown on the previous page. This will set the blade tension correctly.
9. With the blade tension set, turn the two carbide locking handles clockwise to the locked position. Jog the
blade a few rotations to check that the blade is not moving in or out on the blade wheels.
---- Continued ----
Blade Tensioner
Blade Removal from Top Blade Channel
 Loading...