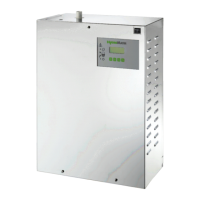
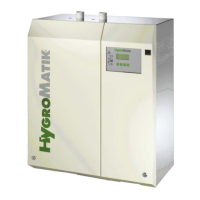
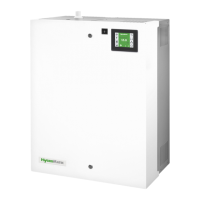
Page 48
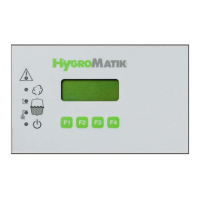
P2 Maintenance Interval
The Comfort / Comfort Plus Control records the quantity of steam actu-
ally produced. The total steam quantity maintenance interval is saved
in Parameter P2 Steam Amount Service Interval. If the humidifier has
produced this quantity of steam, the green LED on the operating unit
blinks continuously (service message). The frequency of maintenance
depends primarily on the water quality (conductivity, carbonate depos-
its) and on the interim steam amount produced. The maintenance
interval can be adjusted to the water quality using Parameter P2.
P5 Address
As an option, the Comfort DS / Comfort Plus DS controls may be
equipped with a RS485 or RS232 computer interface for use with the
Modbus RTU protocol. P5 allows for setting the Modbus-Address.
P11 Reset service contactor Reset main contactor interval
After the preprogrammed number of operations of the main contactor
(K1) the HygroMatik control provides the message "Maintenance K1".
It is recommended to swap the main contactor and to put the message
back. The programming sequence is done in a manner similar to the
parameter "P3 Reset Service Interval".On reaching the number of
operating cycles programmed, the message „Maintenance K1“ is dis-
played. It is recommended that the main contactor is then replaced and
the message erased.
P15 Parity
P15 allows for setting the parity bit for the RS485 or RS232 serial inter-
face:
8-N-1: no parity
8-E-1: even parity
T0 Timer Mode (only available with Comfort Plus-DS Con-
trol)
If the Timer Mode T0 is programmed to a daily or weekly period of
operation and the external safety chain is closed the steam generator
is released during the programmed periods. In these periods the steam
generator produces steam (if the steam bath temperature is below the
set temperature).
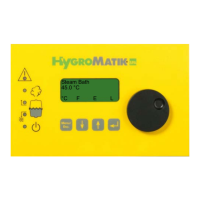
Setting the system time and date:
For commissioning and after changing the battery the current system
time and date has to be set.
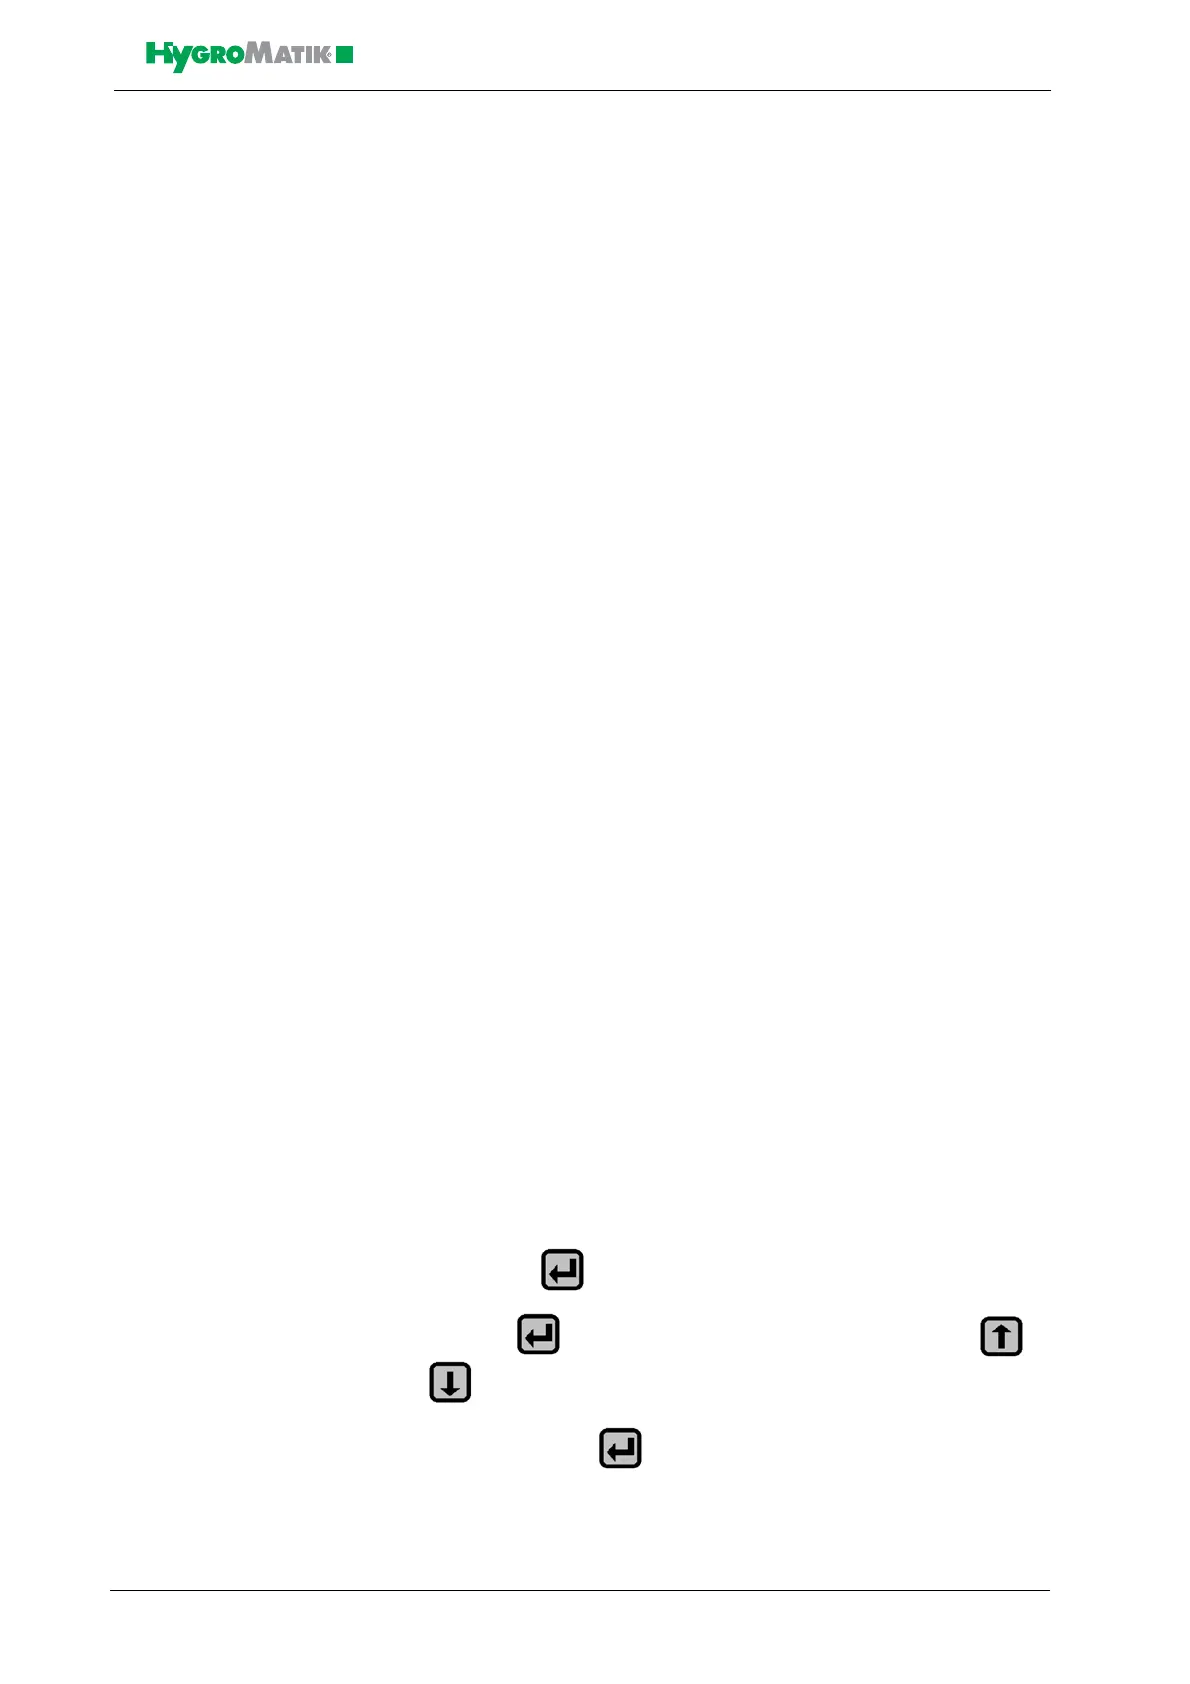
By pressing in the time clock menu the system time is displayed.
Pressing again allows to change the system time with or
.
Confirm entry with .
Afterwards the current system date can be displayed by pressing