© 2023 HyQuest Solutions 46
Operation
4
Operation
This chapter contains the following subsections:
§
General Hints
§
LED Status Indicators
§
LCD & Keypad
§
Scan Mode / Scan Rate
§
Analog Input Scaling
§
iRIS 150FX Metering Mode
4.1 General Hints
If the iRIS will not to be used for some time, remove the internal lithium battery.
Always check the time and date when commissioning the unit. The clock will be invalid if the internal battery has been
removed at any time.
Initializing the unit after installation and calibration has been completed is strongly recommended to avoid unwanted
and/or invalid samples being logged. See Option 3 in the Terminal Menu (Section Terminal Menus )
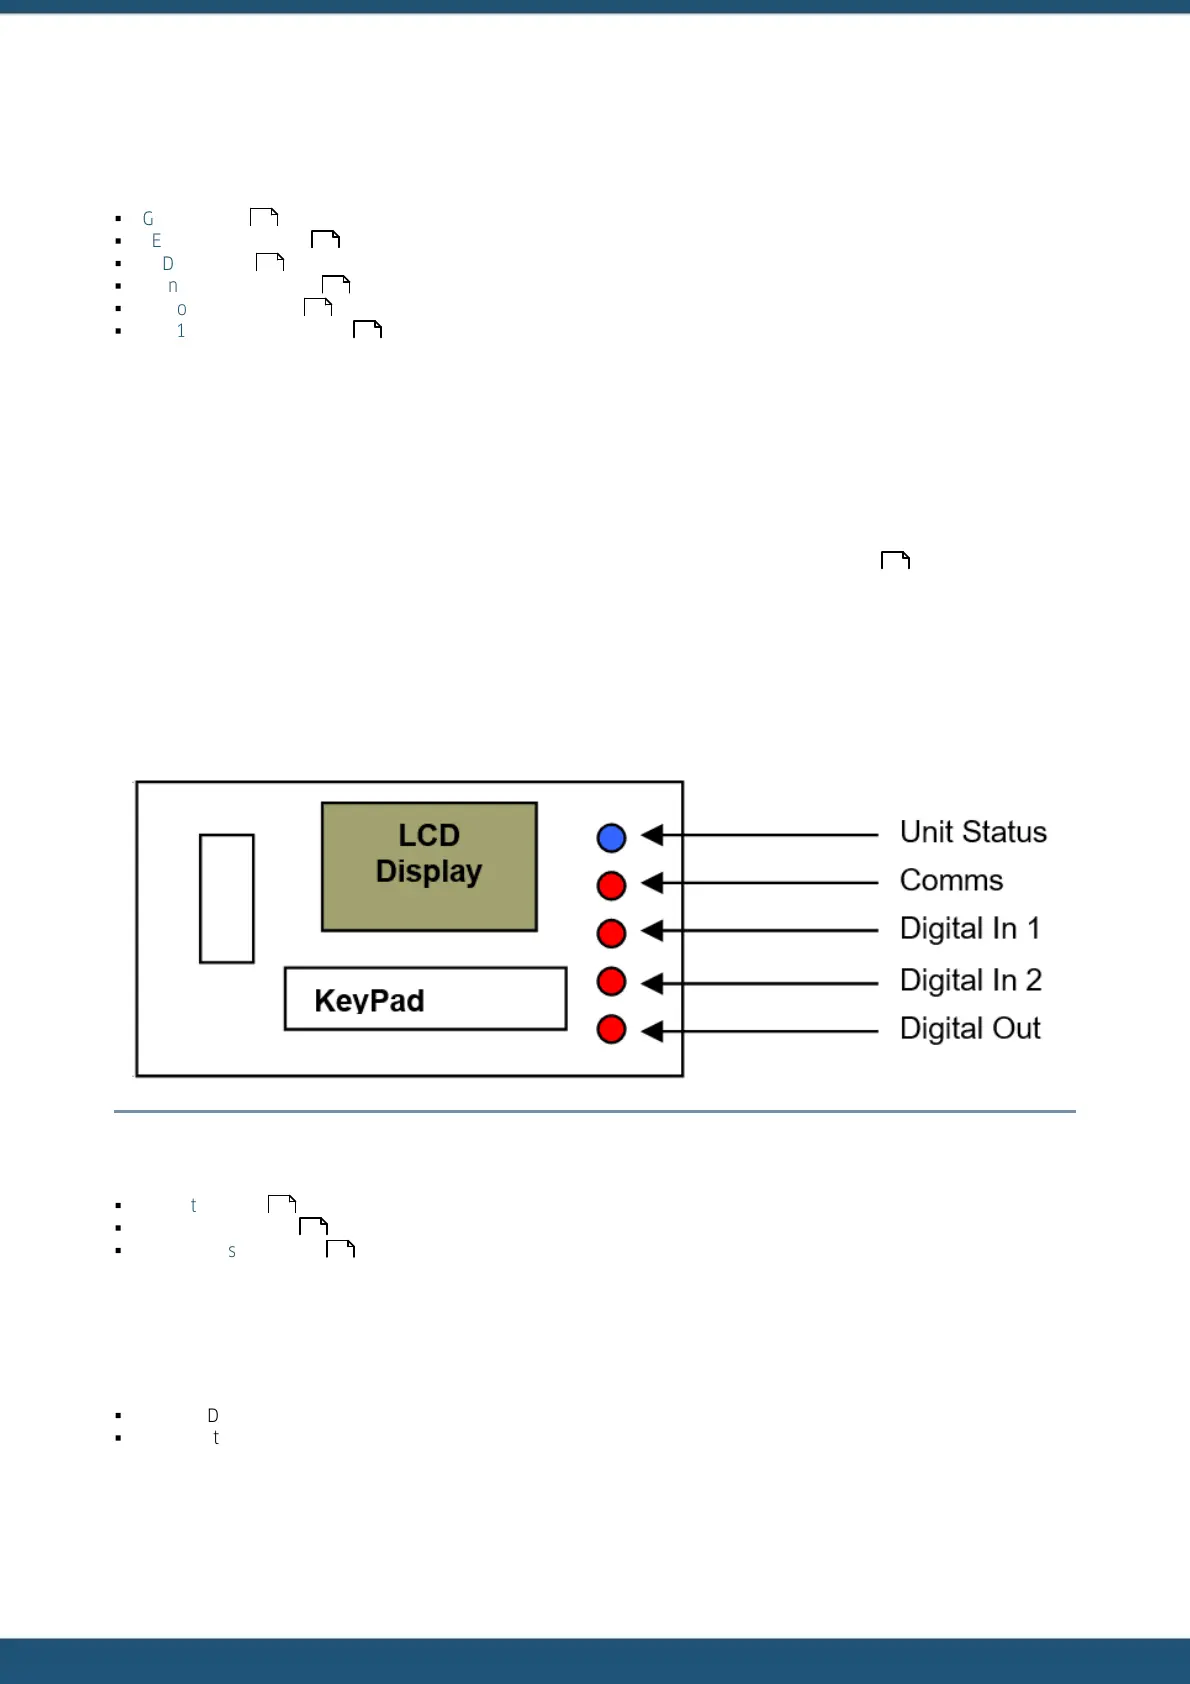
4.2 LED Status Indicators
The iRIS has one blue status LED and 4 red status LED’s. These are visible through the front panel label and are located to
the right of the LCD:
Figure 5 – Status LED Positions
This chapter contains the following subsections:
§
Blue Status LED
§
Red I/O Status LEDs
§
Red Comms Status LED
4.2.1 Blue Status LED
The blue status LED is always enabled, regardless of whether the unit is running on external power or its internal battery.
It is used to indicate keypad presses and sampling scans:
§
If the LCD is active, the blue LED will flash every time the keypad is pressed.
§
If the unit is in Timed scanning mode, the blue LED will flash every time a scan is performed.
46
46
47
53
53
55
37
46
47
47
 Loading...