__ 18. The green light stops blinking and remains on solid when you installed
disk unit properly.
__ 19. Return to the console and wait until the Concurrent Maintenance Results
display appears.
Press the Enter key.
__ 20. Do you have more disk units to install?
No Yes
↓ Repeat steps 5 on page 44 through 19.
__ 21. When the Hardware Service Manager display appears, press F12.
__ 22. On the System Service Tool display, select Work with Disk Units.
Press the Enter key.
__ 23. On the Work with Disk Units display, select Display disk configuration.
Press the Enter key.
__ 24. On the Display disk configuration display, select Display non-configured
units.
Press the Enter key.
__ 25. The display should list the disk unit that you installed. The serial number
should match the serial number you wrote in step 12 on page 44.
Note: If the display does not list the disk unit, ensure that you properly
installed the disk unit. Repeat steps 1 on page 43 through 19.
__ 26. Press F12, twice.
__ 27. On the Work with disk units display, select Work with disk configuration.
Press the Enter key.
__ 28. Are you adding a disk unit to an existing device parity set? If you need
more information about device parity, go to the Backup and Recovery,
SC41-5304-04 .
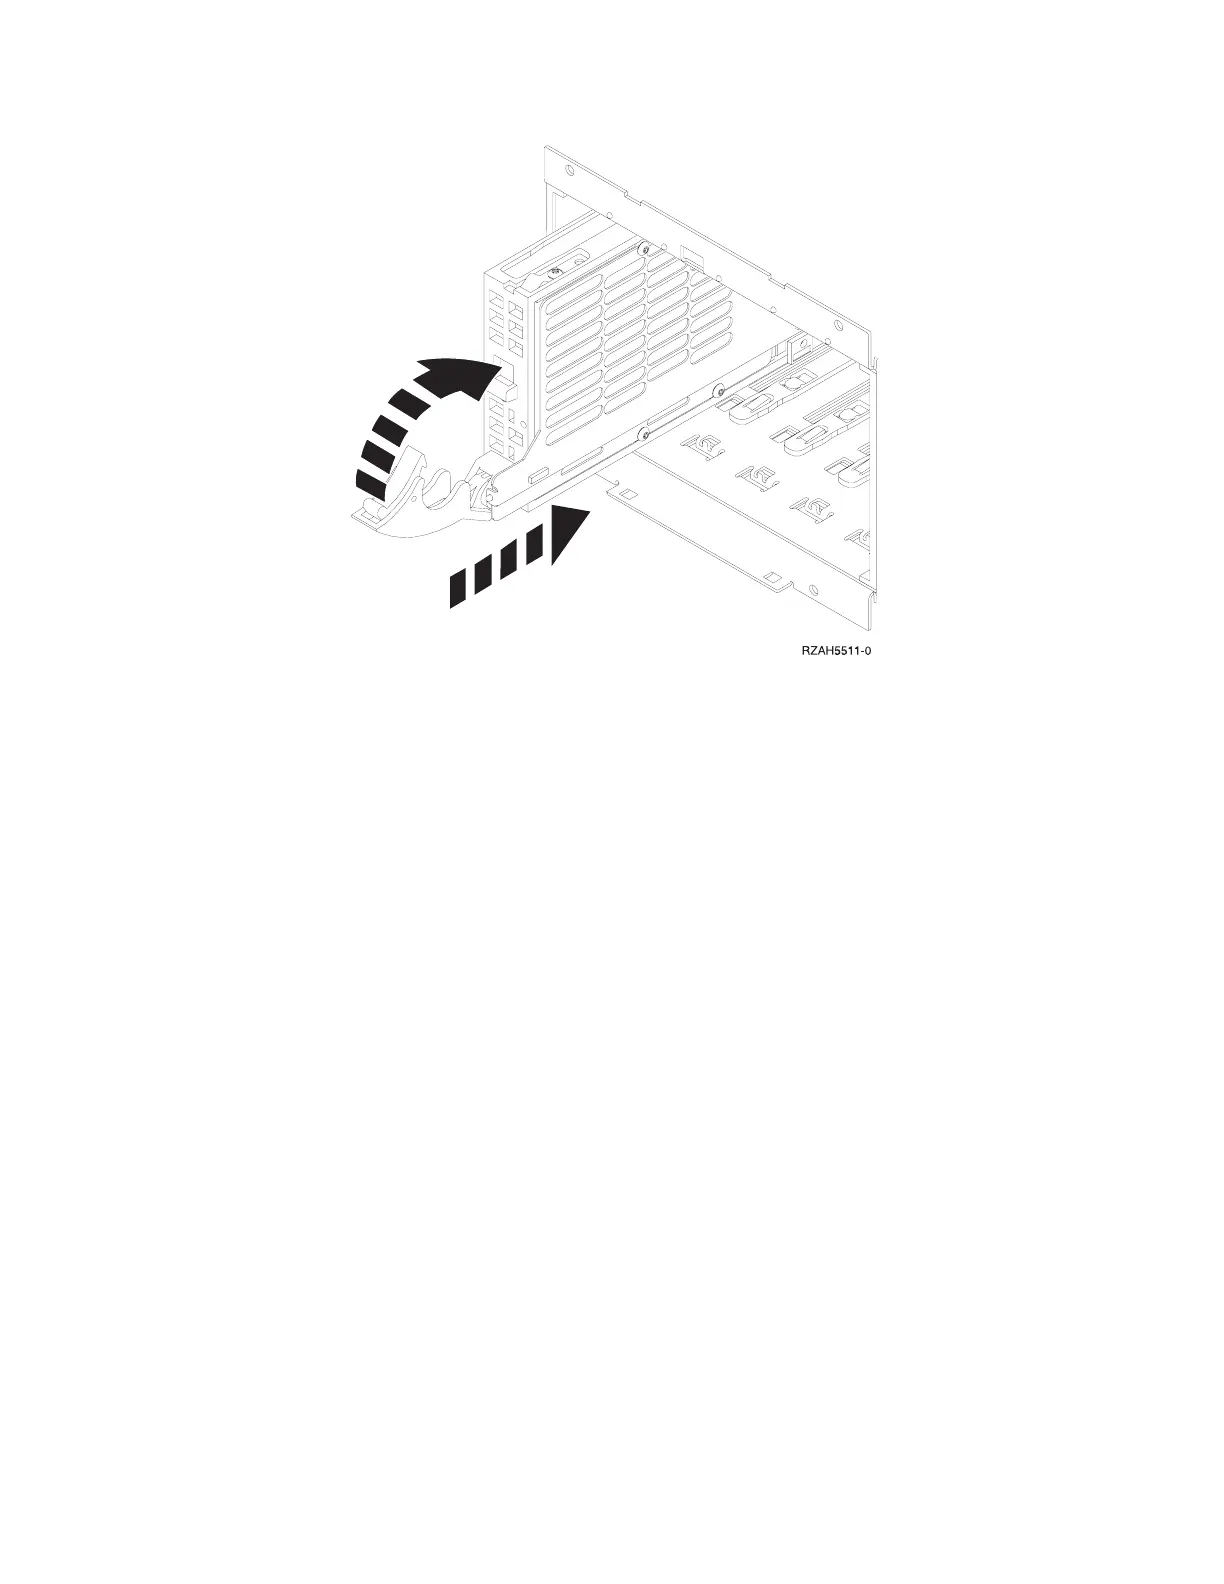
Figure 36. Installing a disk unit
Appendix C. Installing disk units in the 5065 or 5066 Expansion Unit 45
 Loading...


