8. Verify that both of the connector retaining clips are in the fully open position.
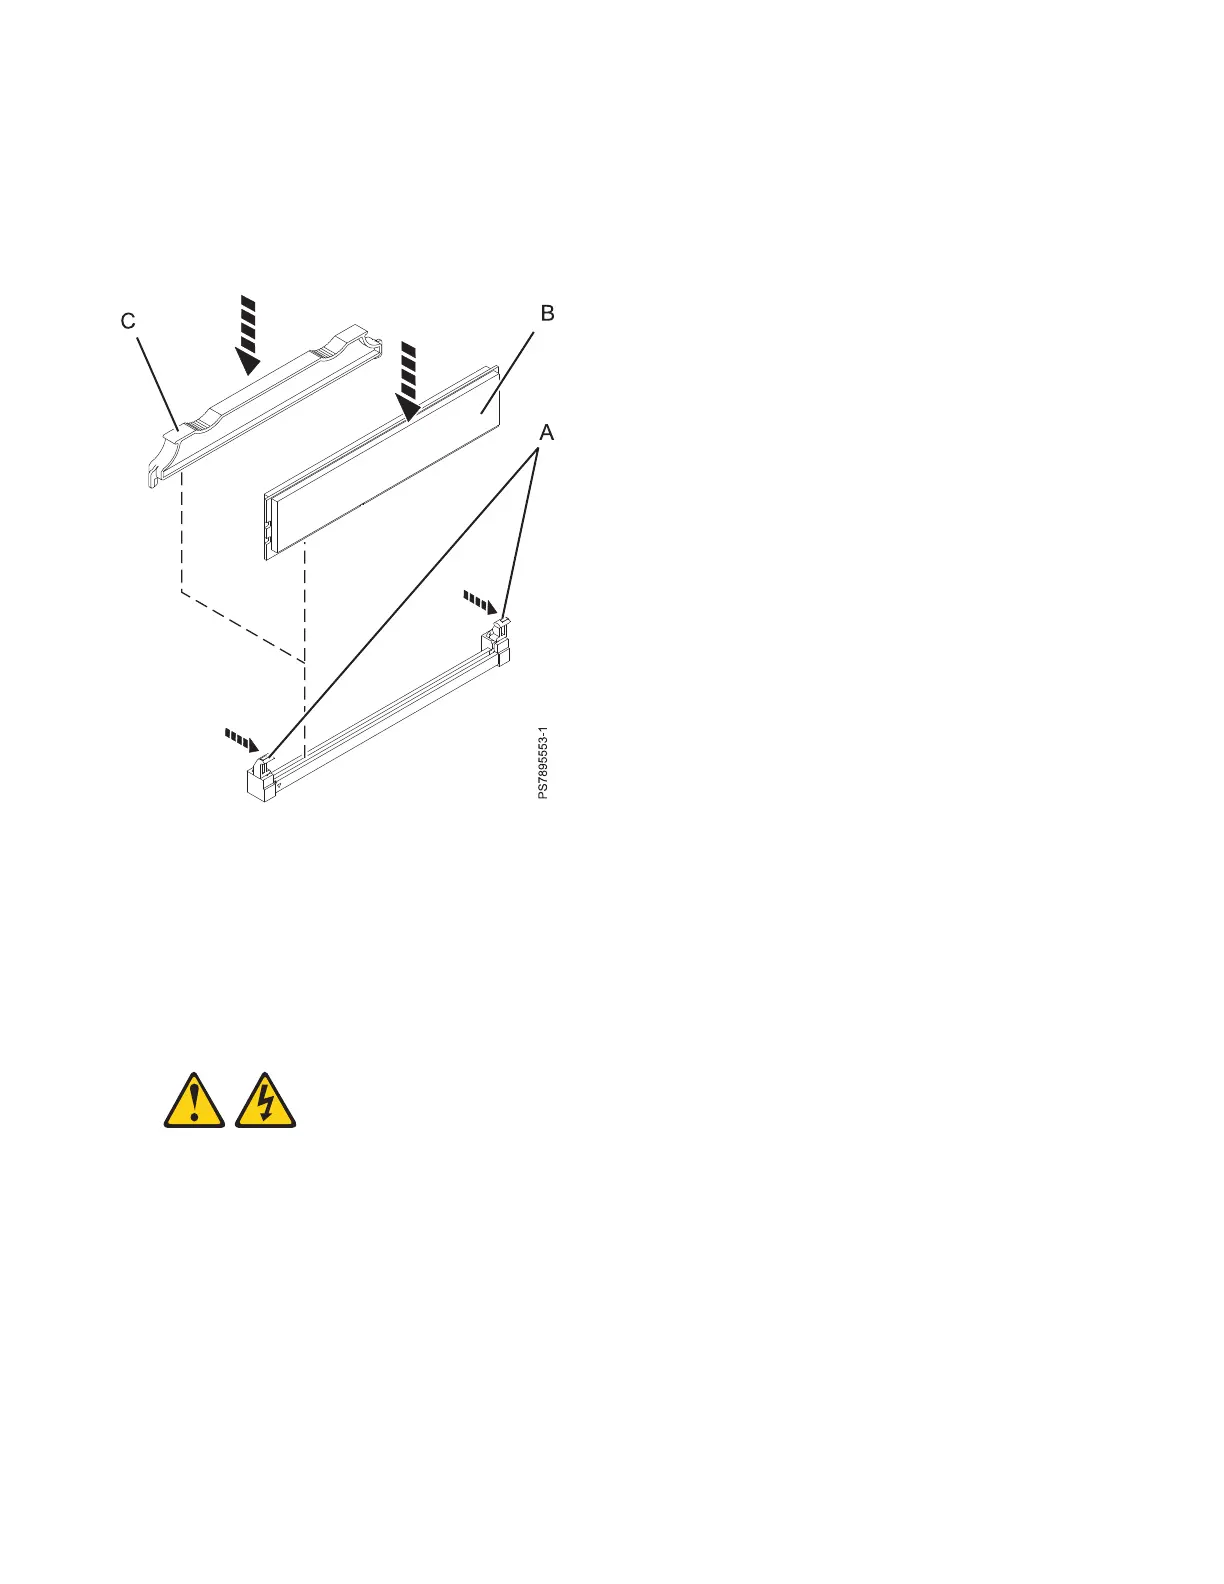
9. Turn the DIMM so that the DIMM keys align correctly with the connector on the system board.
Attention: To avoid breaking the DIMM retaining clips or damaging the DIMM connectors, handle
the clips gently.
10. Insert the DIMM (B) by pressing the DIMM along the guides into the connector.
Verify that each retaining clip (A) snaps into the closed position.
Important: If there is a gap between the DIMM and the retaining clips, the DIMM is not correctly
installed. Open the retaining clips to remove and reinsert the DIMM. Install a DIMM filler (C) in any
location where a DIMM is not present to avoid machine damage.
11. Install and close the compute node cover. See “Installing and closing the compute node cover” on
page 41.
Statement 21
CAUTION:
Hazardous energy is present when the compute node is connected to the power source. Always
replace the compute node cover before installing the compute node.
Figure 37. Installing a DIMM
72 Power Systems: IBM Flex System p260 and p460 Compute Nodes Installation and Service Guide