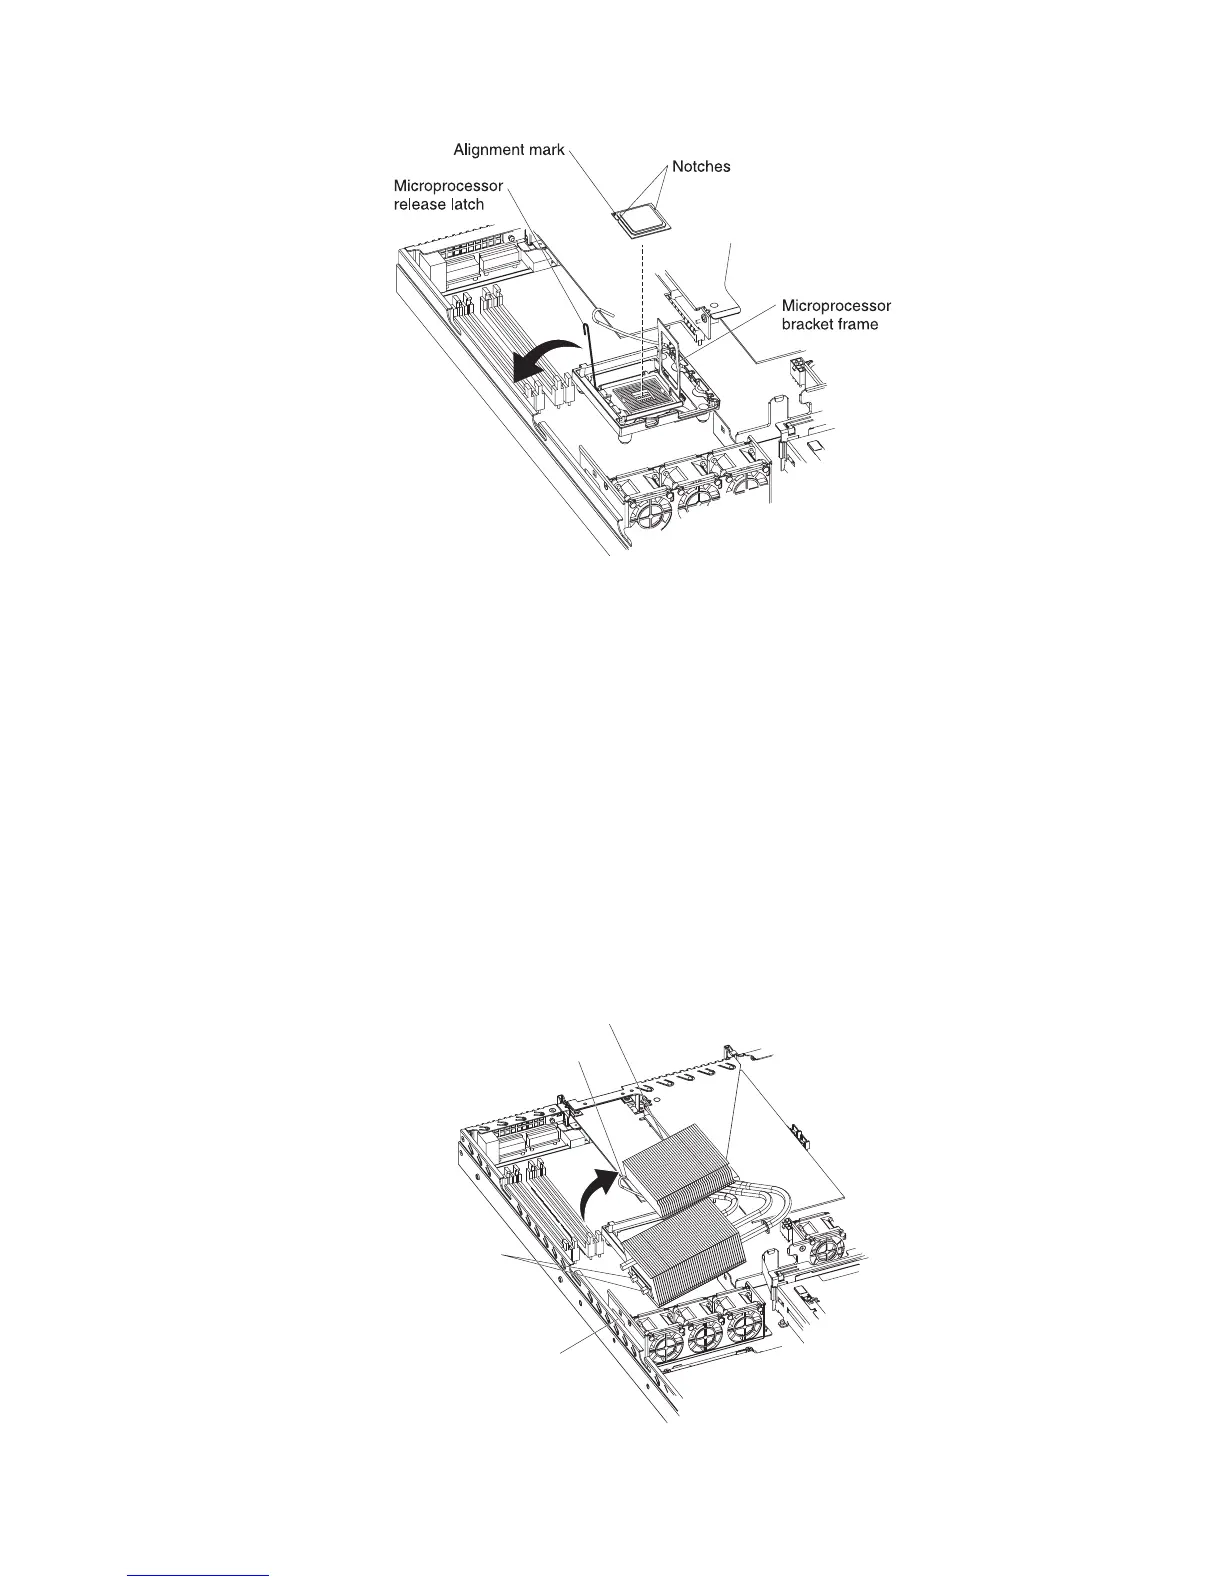
Attention: The microprocessor contacts are fragile; handle the
microprocessor very carefully. You can use the vacuum tool to install the
microprocessor.
2. Align the microprocessor with the socket (note the alignment mark and the
position of the notches); then, carefully place the microprocessor on the
socket, close the microprocessor bracket frame, and close the microprocessor
release latch.
Note: The microprocessor fits only one way on the socket.
3. If you are installing a new heat-exchanger assembly, peel off the protective
backing from the thermal material that is on the underside of the new heat
exchanger. If you are reinstalling a heat-exchanger assembly that was
previously removed, see “Thermal grease” on page 102 for instructions for
replacing the contaminated or missing thermal grease; then, continue with step
4 of this procedure.
4. Make sure that the heat-exchanger assembly release latch is fully opened.
Release latch
Alignment pins
Alignment hole
Heat-exchanger assembly
Chapter 4. Removing and replacing server components 101
 Loading...


