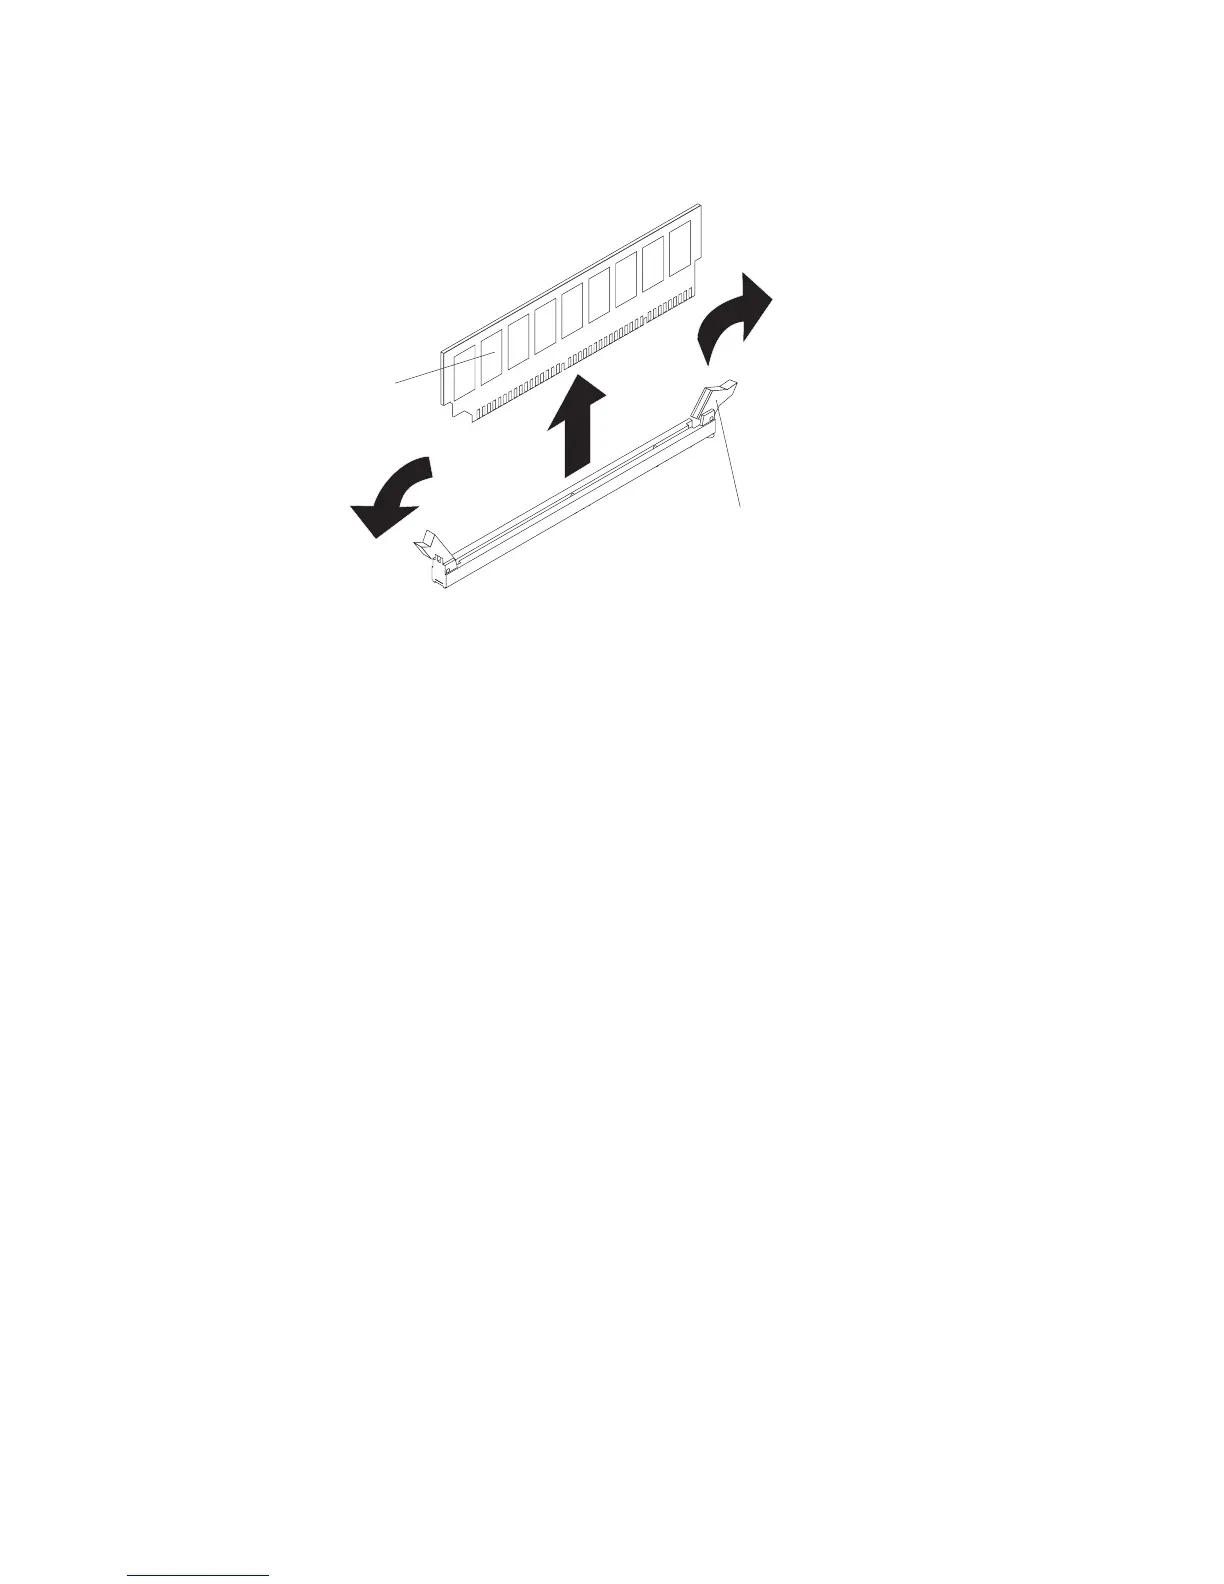
Removing a memory module (DIMM)
To remove a DIMM, complete the following steps.
DIMM
Retaining
clip
1. Read the safety information that begins on page vii and “Installation guidelines”
on page 65.
2. Turn off the server and peripheral devices, and disconnect the power cord and
all external cables.
3. Remove the cover (see “Removing the cover” on page 68).
Attention: To ensure proper cooling and airflow, do not operate the server for
more than 2 minutes with the cover removed.
4. Open the retaining clip on each end of the DIMM connector and remove the
DIMM from the connector.
5. If you are instructed to return the DIMM, follow all packaging instructions, and
use any packaging materials for shipping that are supplied to you.
Installing a memory module (DIMM)
The following notes describe information that you must consider when you install
DIMMs:
v The server comes with one 512 MB DIMM installed in DIMM connector 1. Some
models come with a second 512 MB DIMM installed in DIMM connector 3. If only
one DIMM is installed, when you install an additional DIMM, you must install it in
DIMM connector 3, and it must be the same size, speed, type, and technology as
the DIMM that is installed in DIMM connector 1. You can mix compatible DIMMs
from various manufacturers. The third and fourth DIMMs must be installed as a
pair, in DIMM connectors 2 and 4.
v If you install a pair of DIMMs in DIMM connectors 2 and 4, they do not have to
be the same size, speed, type, and technology as the DIMMs that are installed in
DIMM connectors 1 and 3. However, the size, speed, type, and technology of the
DIMMs that you install in DIMM connectors 2 and 4 must match each other.
v If you install a pair of 2 GB DIMMs and a pair of other-size DIMMs, the 2 GB
DIMMs must be installed as the first pair (in DIMM connectors 1 and 3).
To
install the replacement DIMM, complete the following steps.
Attention: To avoid breaking the retaining clips or damaging the DIMM
connectors, open and close the clips gently.
Chapter 4. Removing and replacing server components 79

 Loading...


