Number Part Number Quantity Description Part
11 45E3867 2 Screw, cross-recessed pan head, M6x10
12 07H6655 1 Hook-and-loop fastener strap
13 39M5378 1 Rack device to PDU power cord
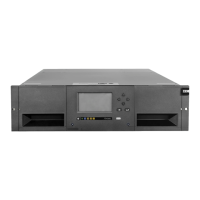
When you decide on a location in your rack for the library, consider that the Operator Panel has a small LCD screen. The library must be positioned to allow for easy
viewing. The rear of the library must be free from any obstructions to allow easy access to the power switch and other rear panel components.
Note: Before you begin the rack installation of the library, read the safety information in Rack safety. Also, verify that no desktop feet are attached to the bottom of the
library.
To install the library in a rack, follow the steps:
1. Verify that your rack kit includes all the necessary contents. See Table 1.
2. Determine the location in your rack for your library to be installed. With a pencil, mark the location on the front vertical rails (Figure 1) and rear vertical rails (Figure
2) in your rack.
Figure 1. Rack mount screw locations for front vertical rails
Figure 2. Rack mount screw locations for rear vertical rails
3. Attach the left 3 and right 4 (Figure 3) front brackets to the front of the library chassis with 2 flat-head screws 8 on each side. Use the bottom two screw holes on
each side.
Figure 3. Attaching the front brackets to the library chassis
 Loading...


